This guide explains how to set up the now deprecated Private Packagist Self-Hosted (Replicated Native).
If you are using our product Private Packagist Self-Hosted Kubernetes, use this guide.
Replicated Native shuts down November 30th, 2024.
To keep using Private Packagist Self-Hosted, you need to migrate to the next iteration of our Self-Hosted product: Private Packagist Self-Hosted Kubernetes.
Requirements
- License Key File (file extension .rli)
Don't have one yet? Sign up for a free trial license! - One (sub-)domain to operate the web interface, e.g. packagist.myintranet.com
- One (sub-)domain to operate the composer repository, e.g. repo.packagist.myintranet.com or packagist-repo.myintranet.com
- An SSL certificate valid for both chosen domains
- An SMTP server or a GMail account for Private Packagist Self-Hosted to send email
- A Linux Server
- Linux Kernel 3.10 or greater
- At least 4GB memory
- At least 2 CPU cores
- At least 20GB disk space
- Ports 443 and 8800 must be accessible
- Must be reachable at the chosen domain names from your local machine
- If your firewall restricts external connections the following domains must be accessible from the server:
- get.replicated.com
- api.replicated.com
- registry.replicated.com
- registry-data.replicated.com
- quay.io
- d2g7dkkfx863il.cloudfront.net
- docker.io
- index.docker.io
- registry-1.docker.io
Installing Replicated
Replicated is the application which will provide you with a management interface to your Private Packagist Self-Hosted installation and allow you to monitor the task and perform maintenance operations such as backups or updates.
The easiest way to install replicated is the easy install script. You can run it using the following two commands:
curl -sSL -o install.sh https://get.replicated.com/docker/privatepackagist/stable
sudo bash ./install.sh
Alternatively you can manually install the required tools and services. Replicated on Kubernetes or Docker Swarm is not currently supported for use with Private Packagist Self-Hosted.
To learn more about the different methods of Installing Replicated and options for the easy install script, please refer to the Replicated manual on Installing the application.
Replicated Configuration
Replicated Setup
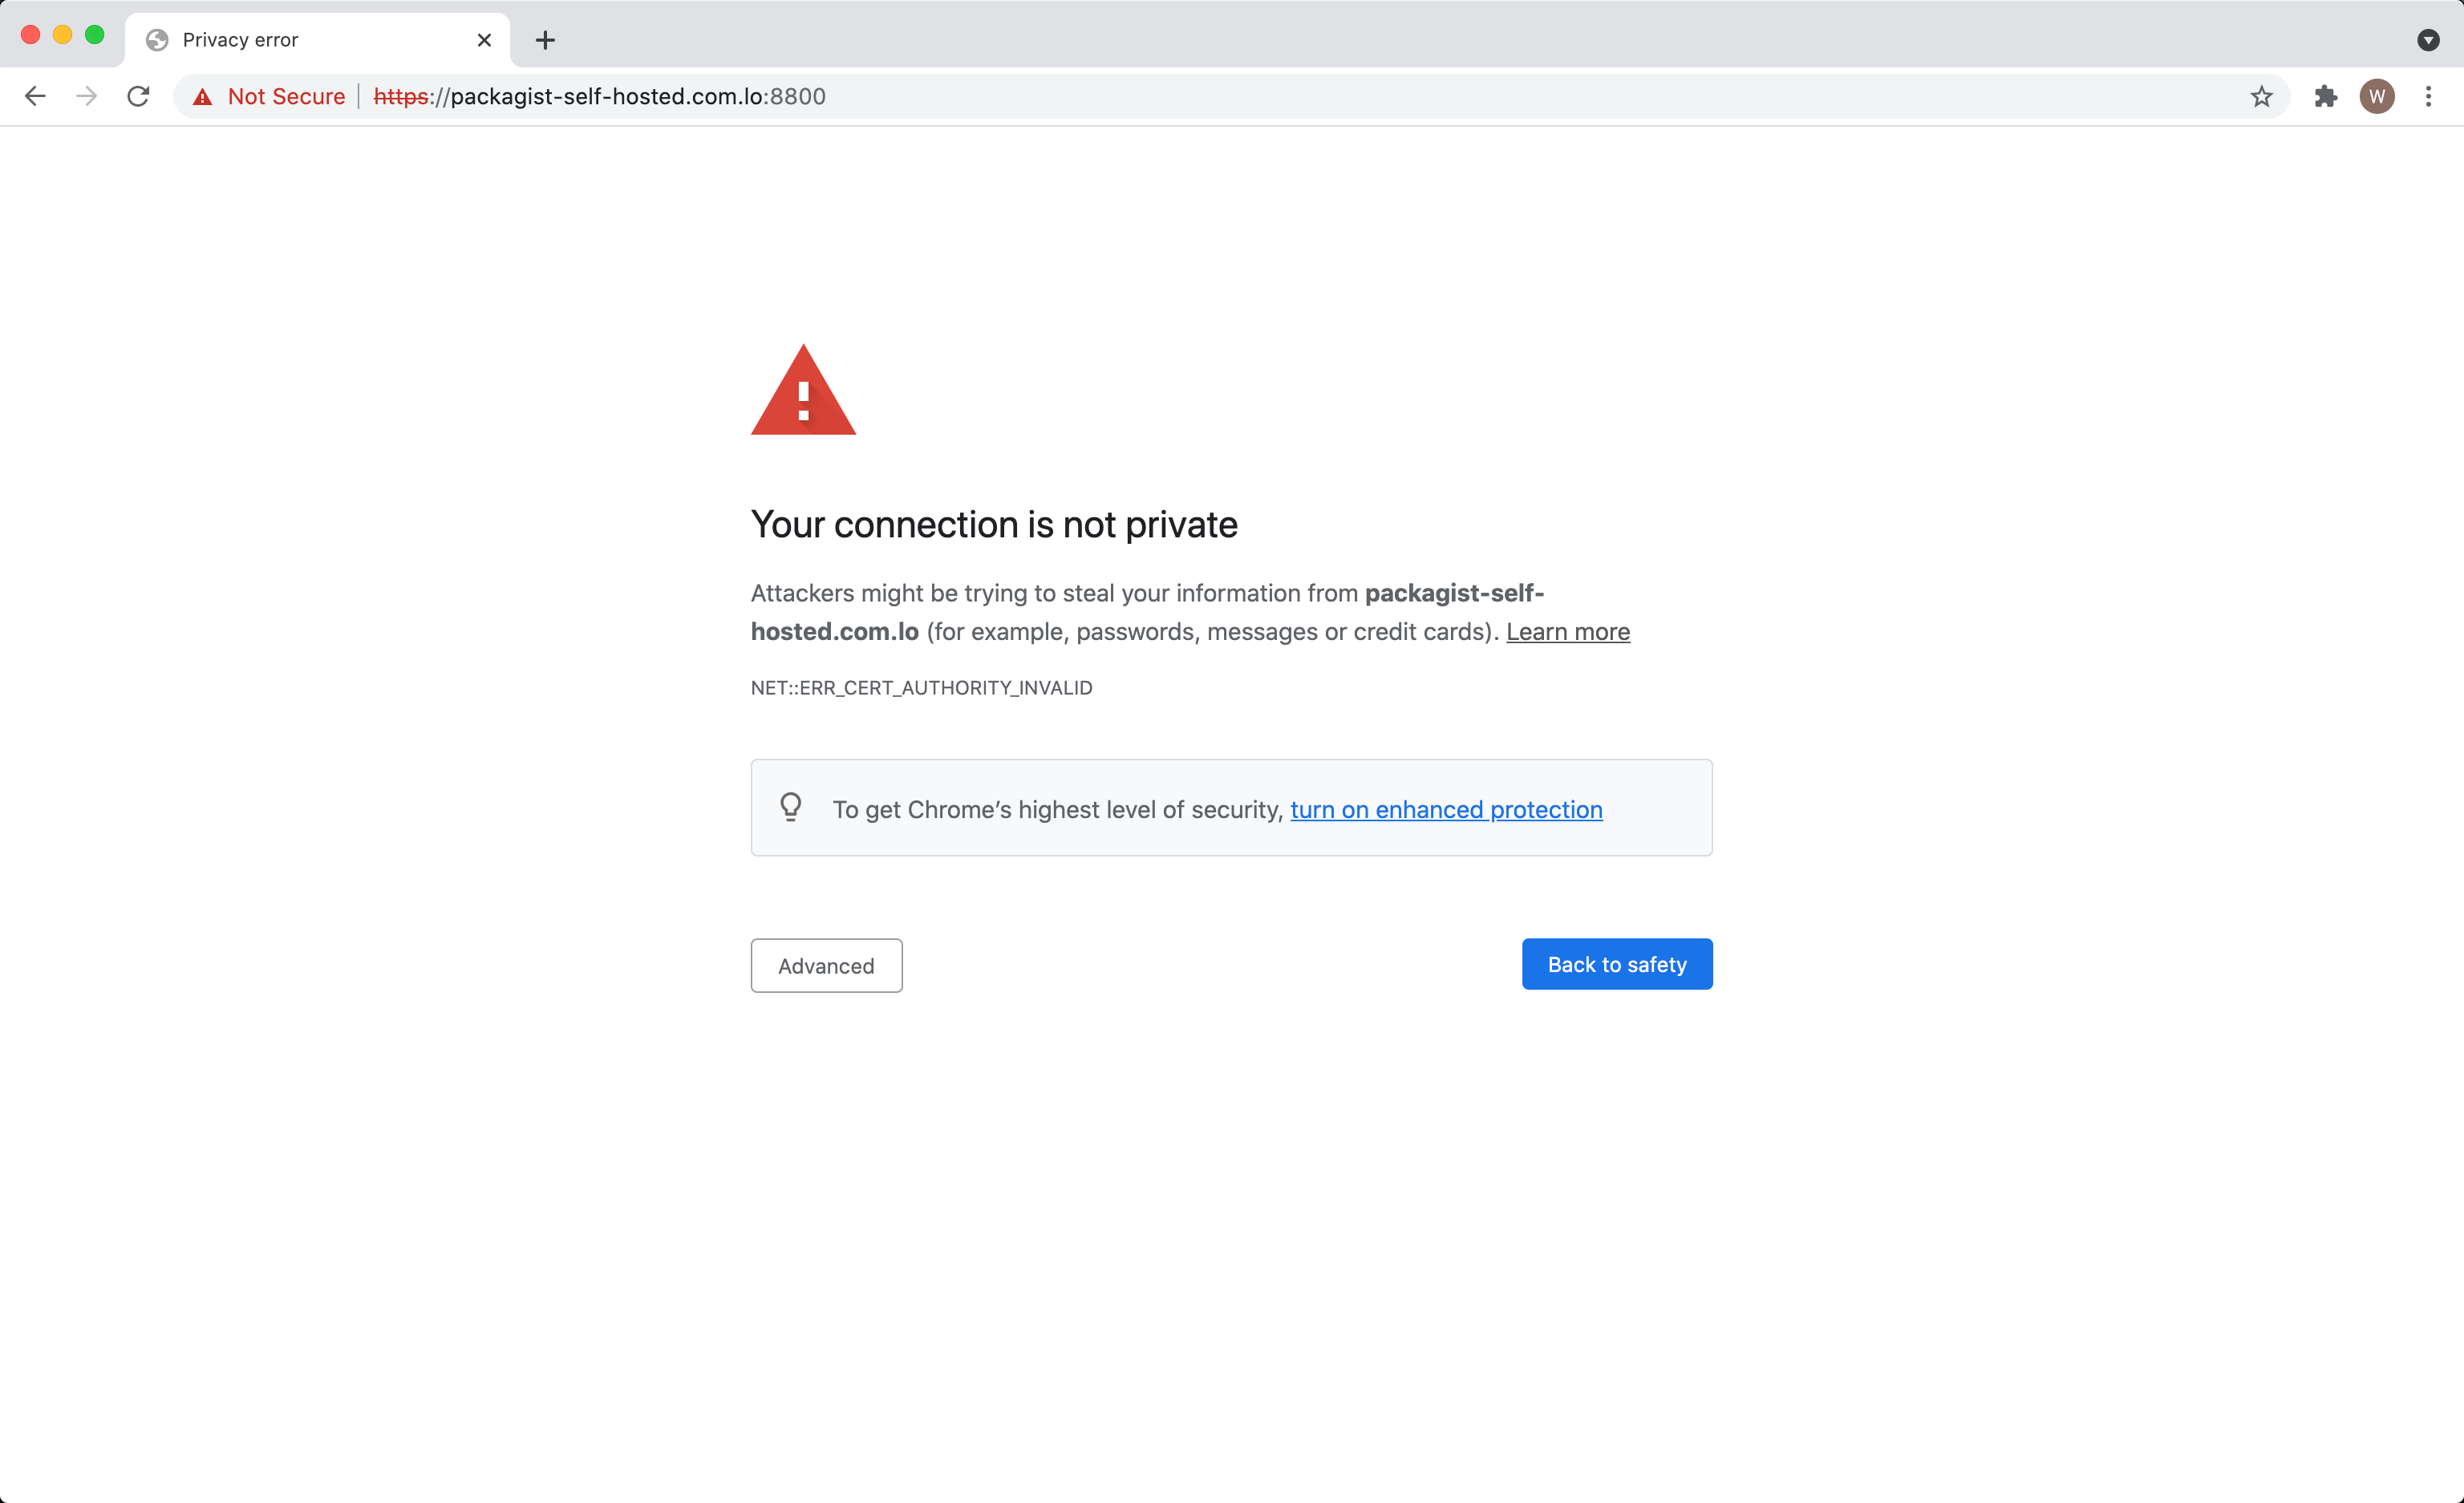
Once Replicated’s services are installed on your server you need to access the management console on your browser. It’s available via SSL on port 8800. So open https://packagist.myintranet.com:8800/ in your browser (replace the domain with your own). You will have to proceed despite the security warning (since your certificate is still missing).
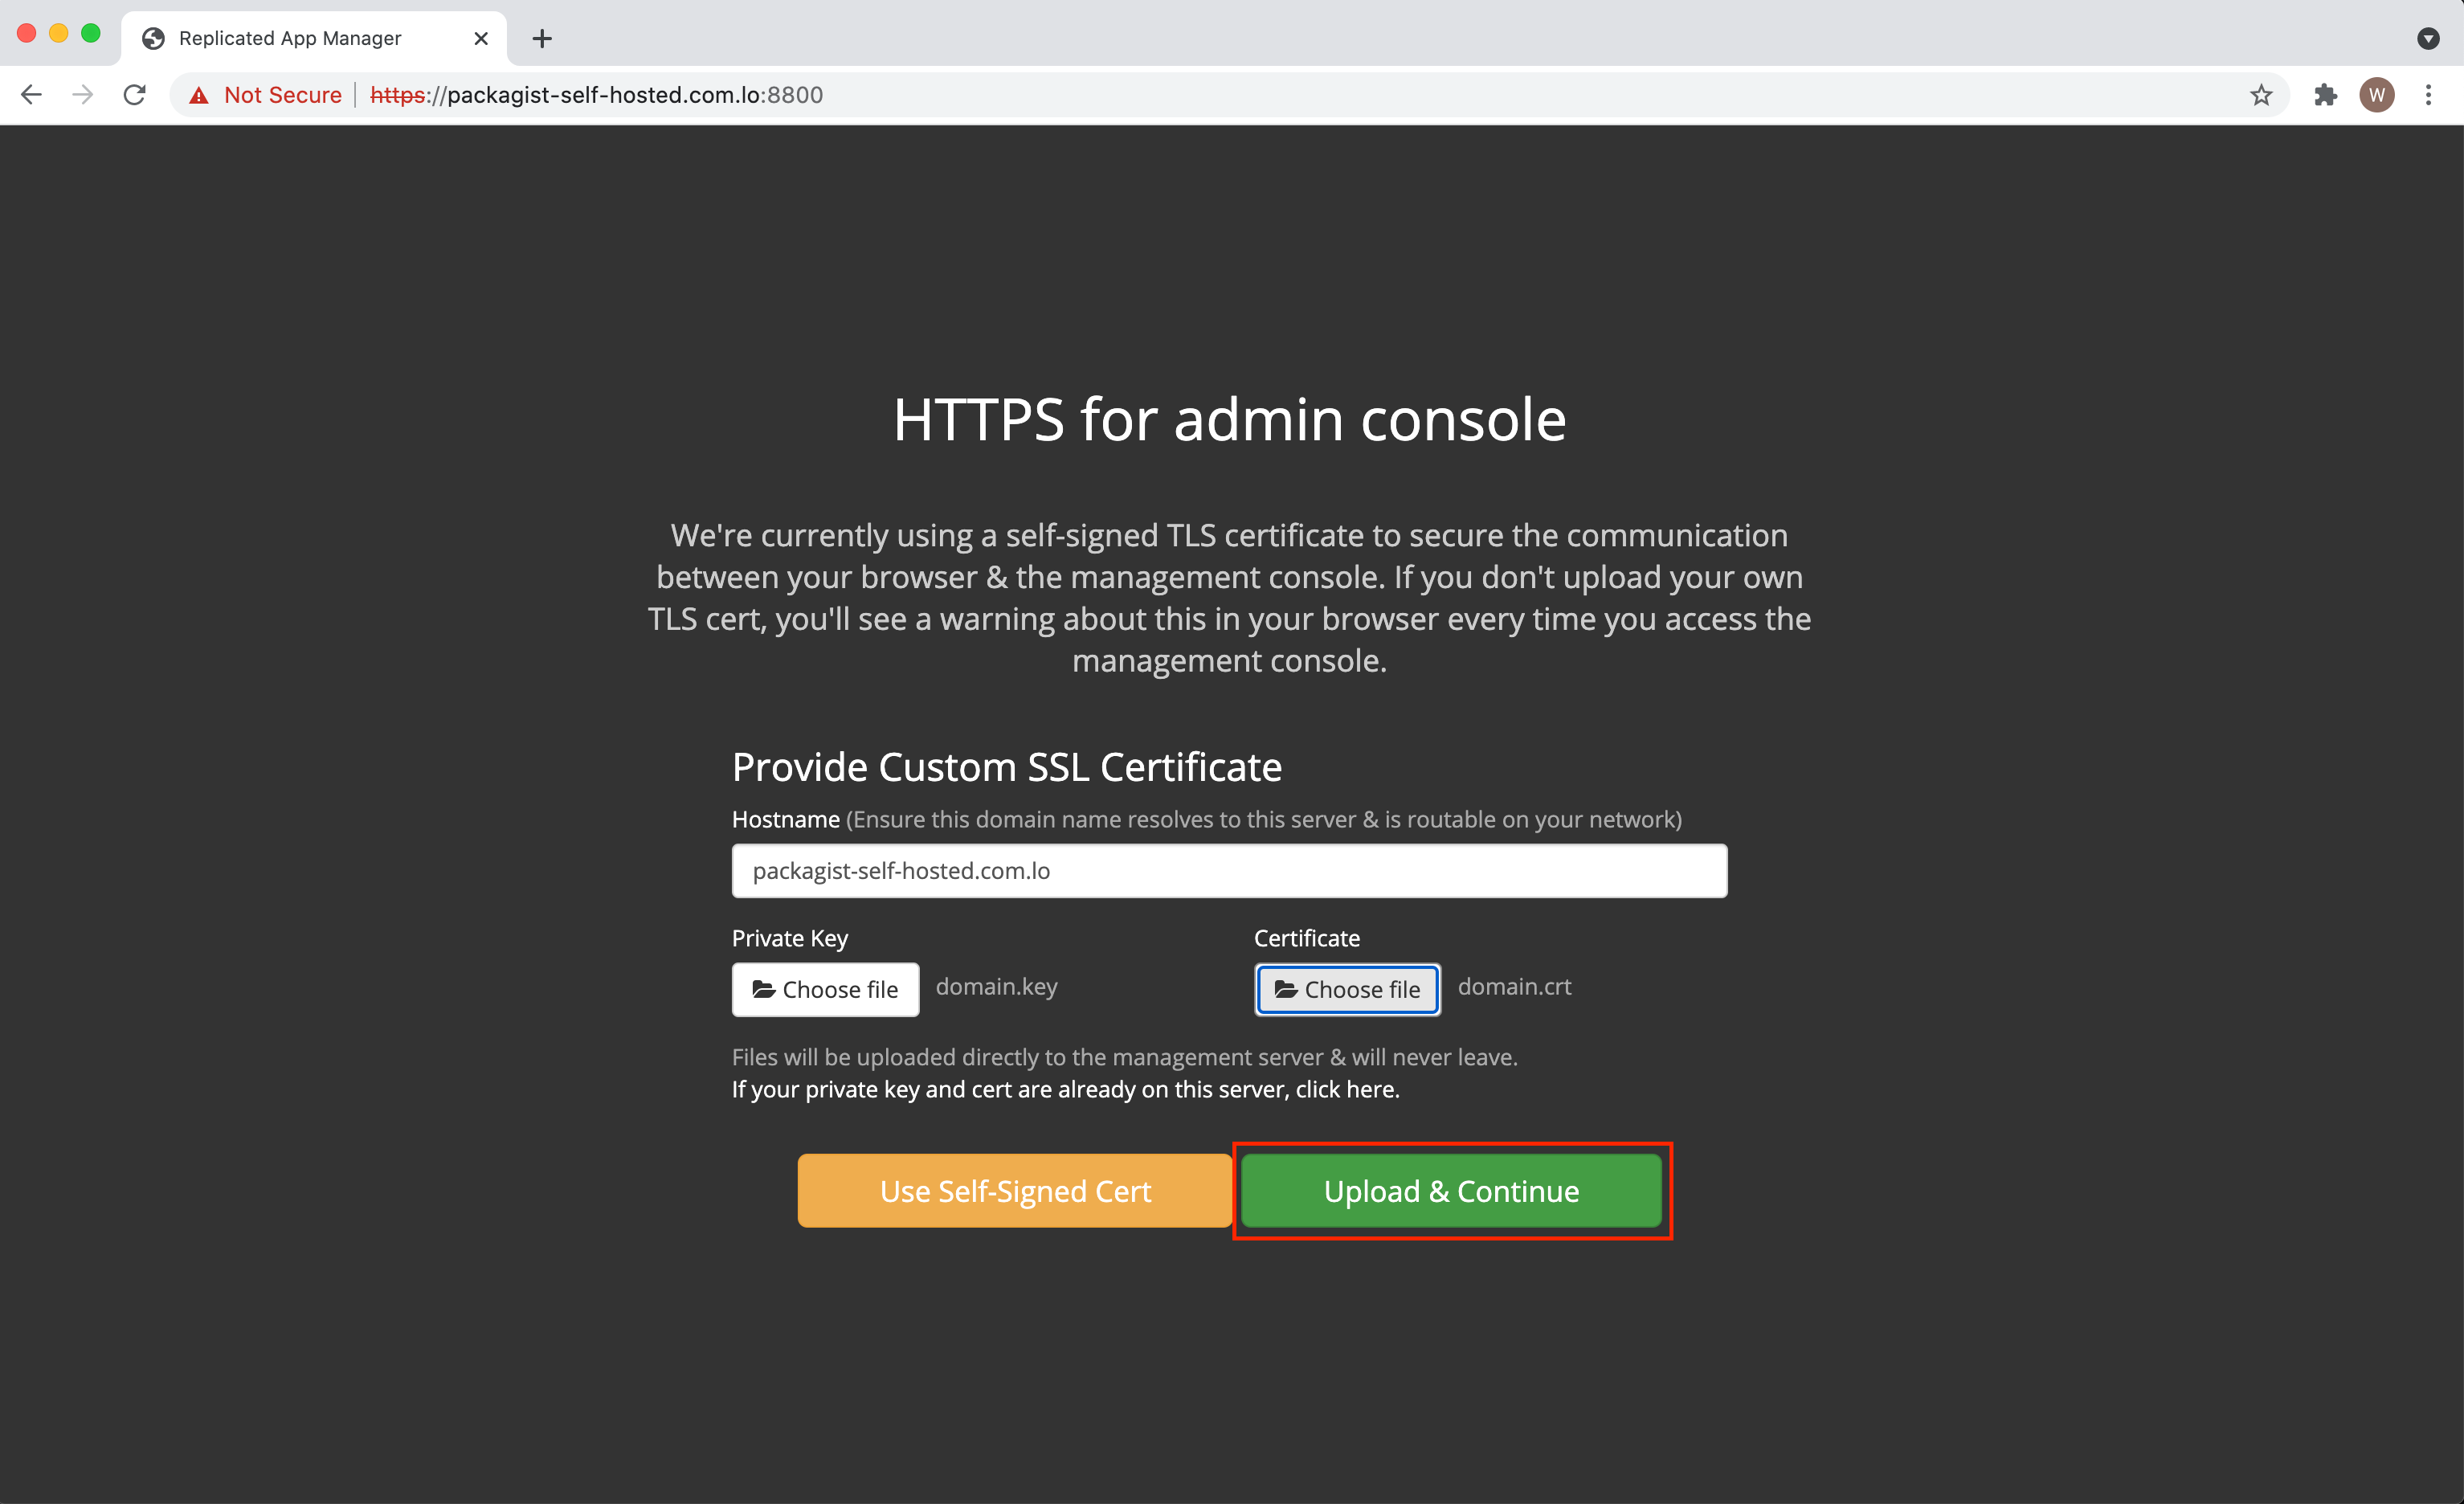
Upload your SSL certificate on the next screen. SSL should work correctly from the next page. If your certificate requires intermediate certificates to be recognized by your browser and/or Composer, you can paste them into the certificate file together with your own certificate. Make sure your own certificate comes first, any intermediate certificate next and the root certificate last. If the order is off replicated will not recognize your certificate at all.
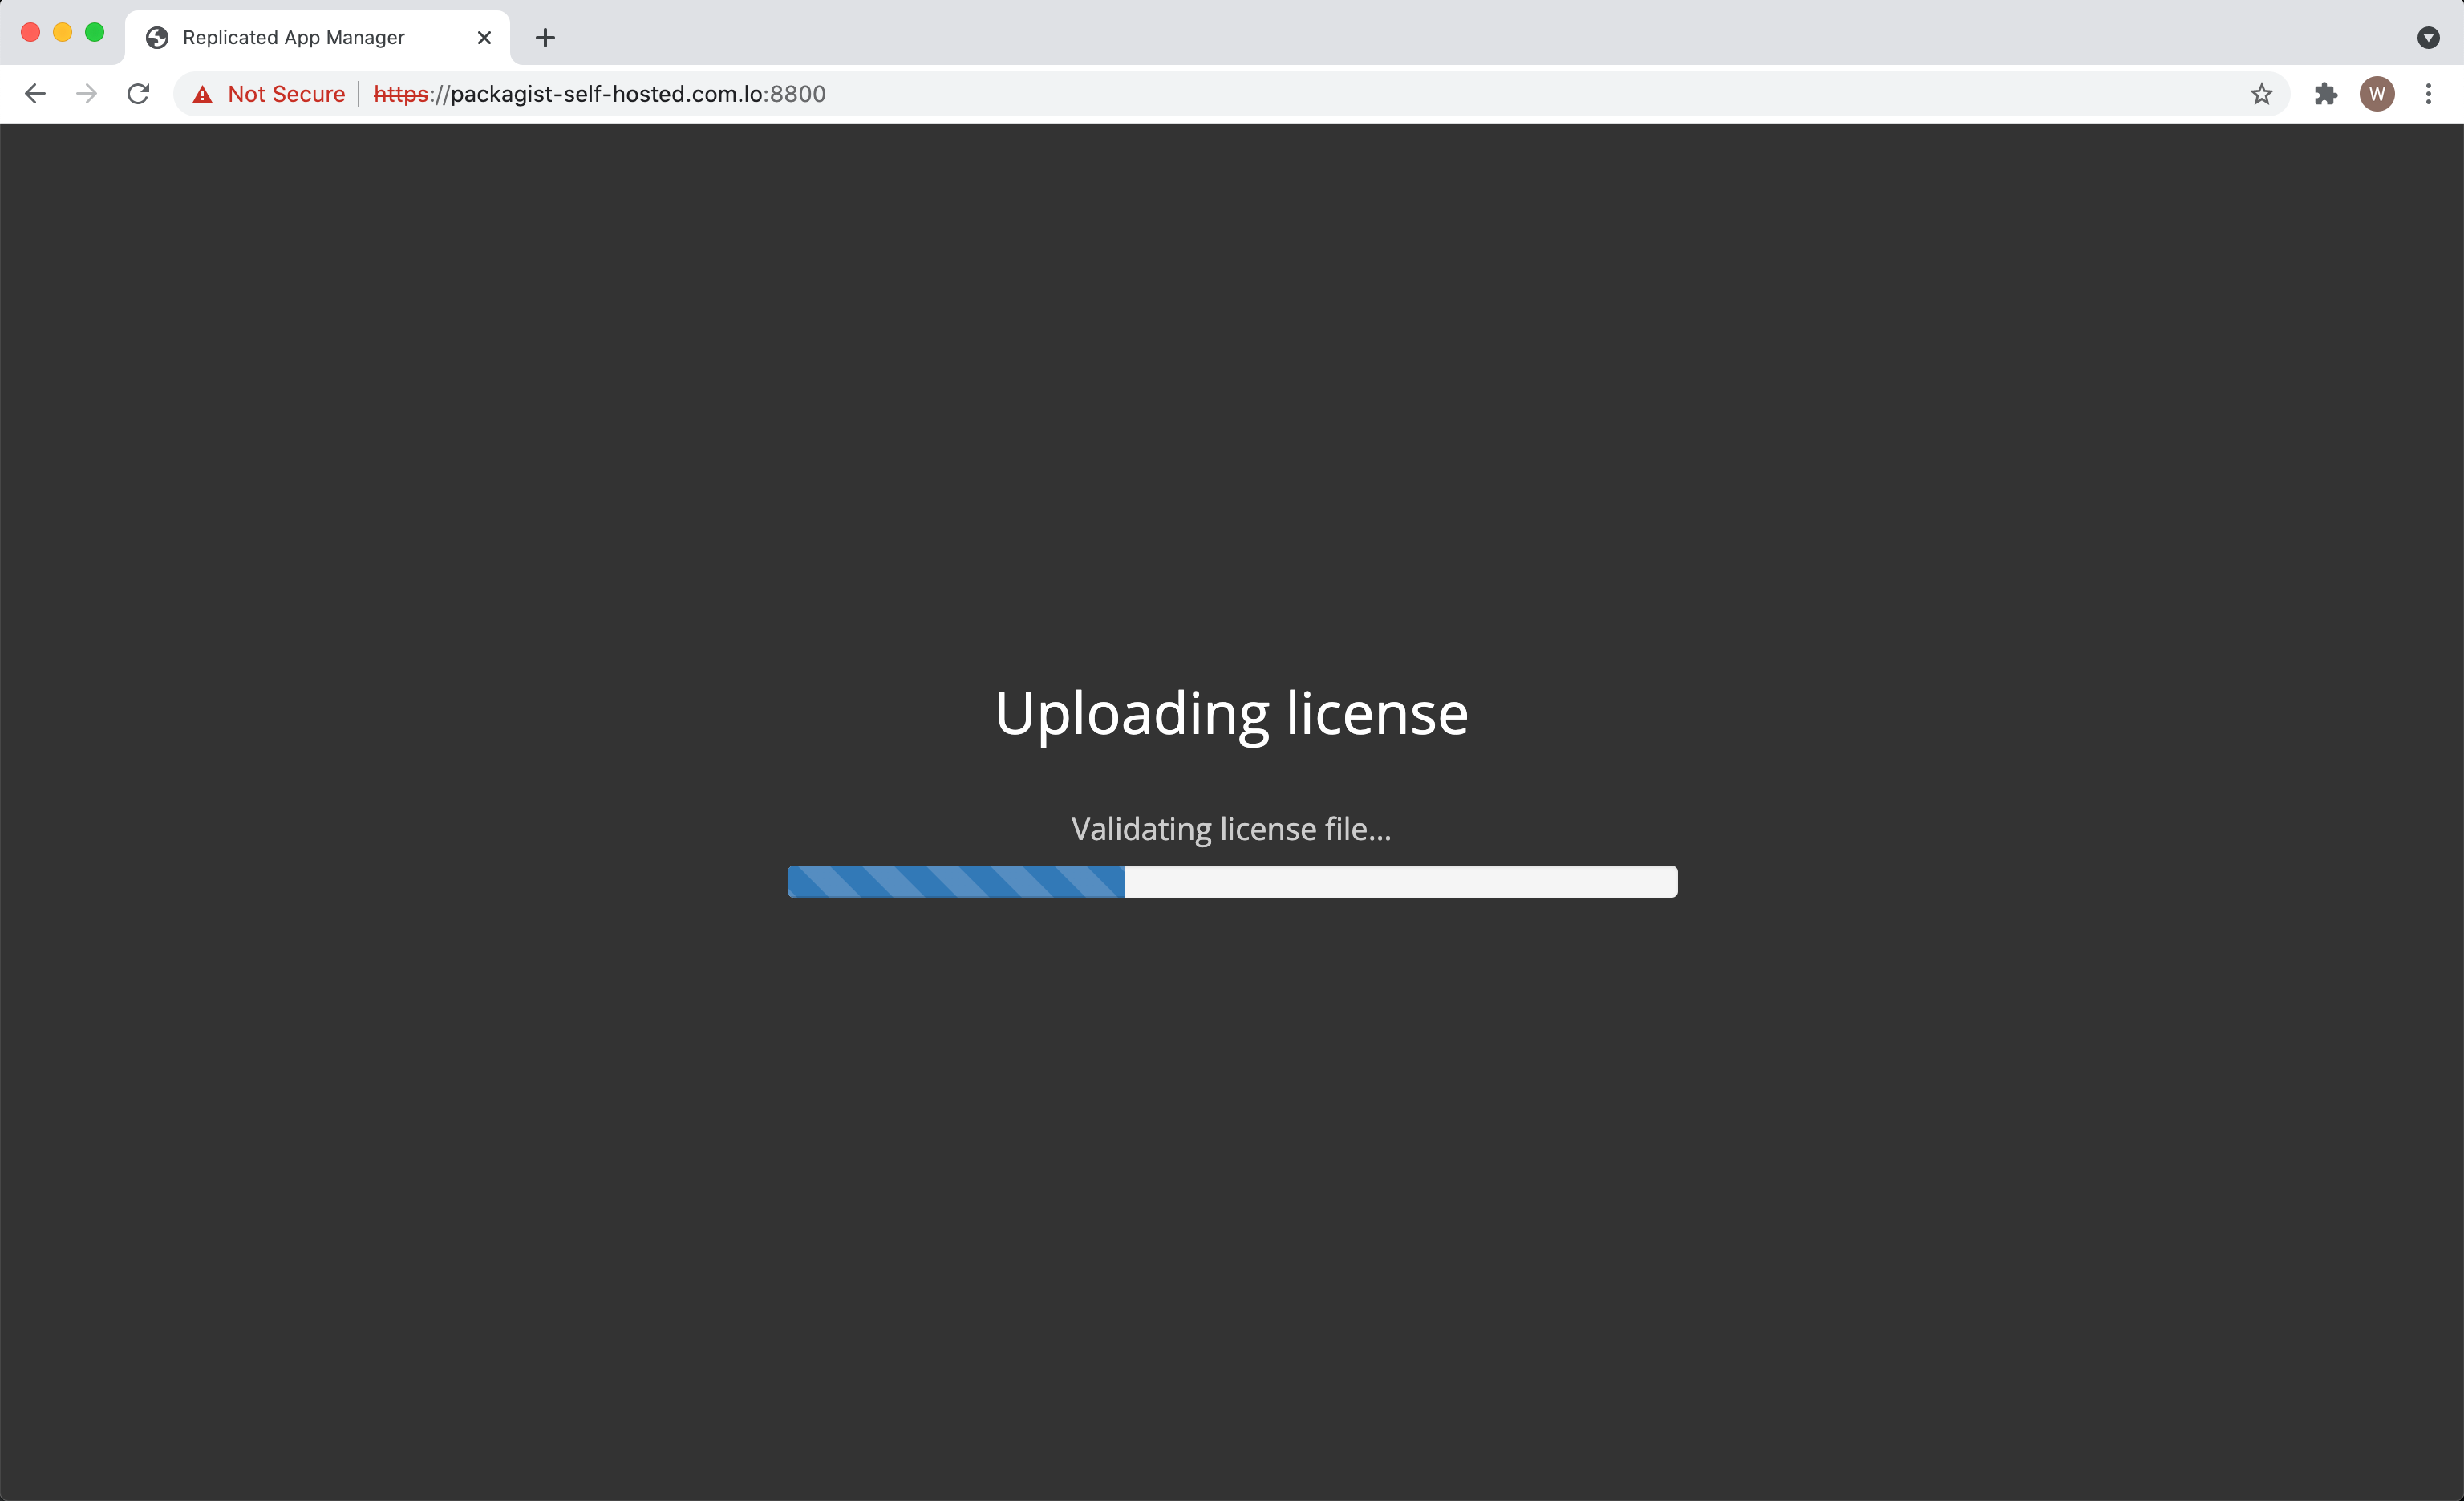
On the next screen you can upload the supplied .rli license key file.
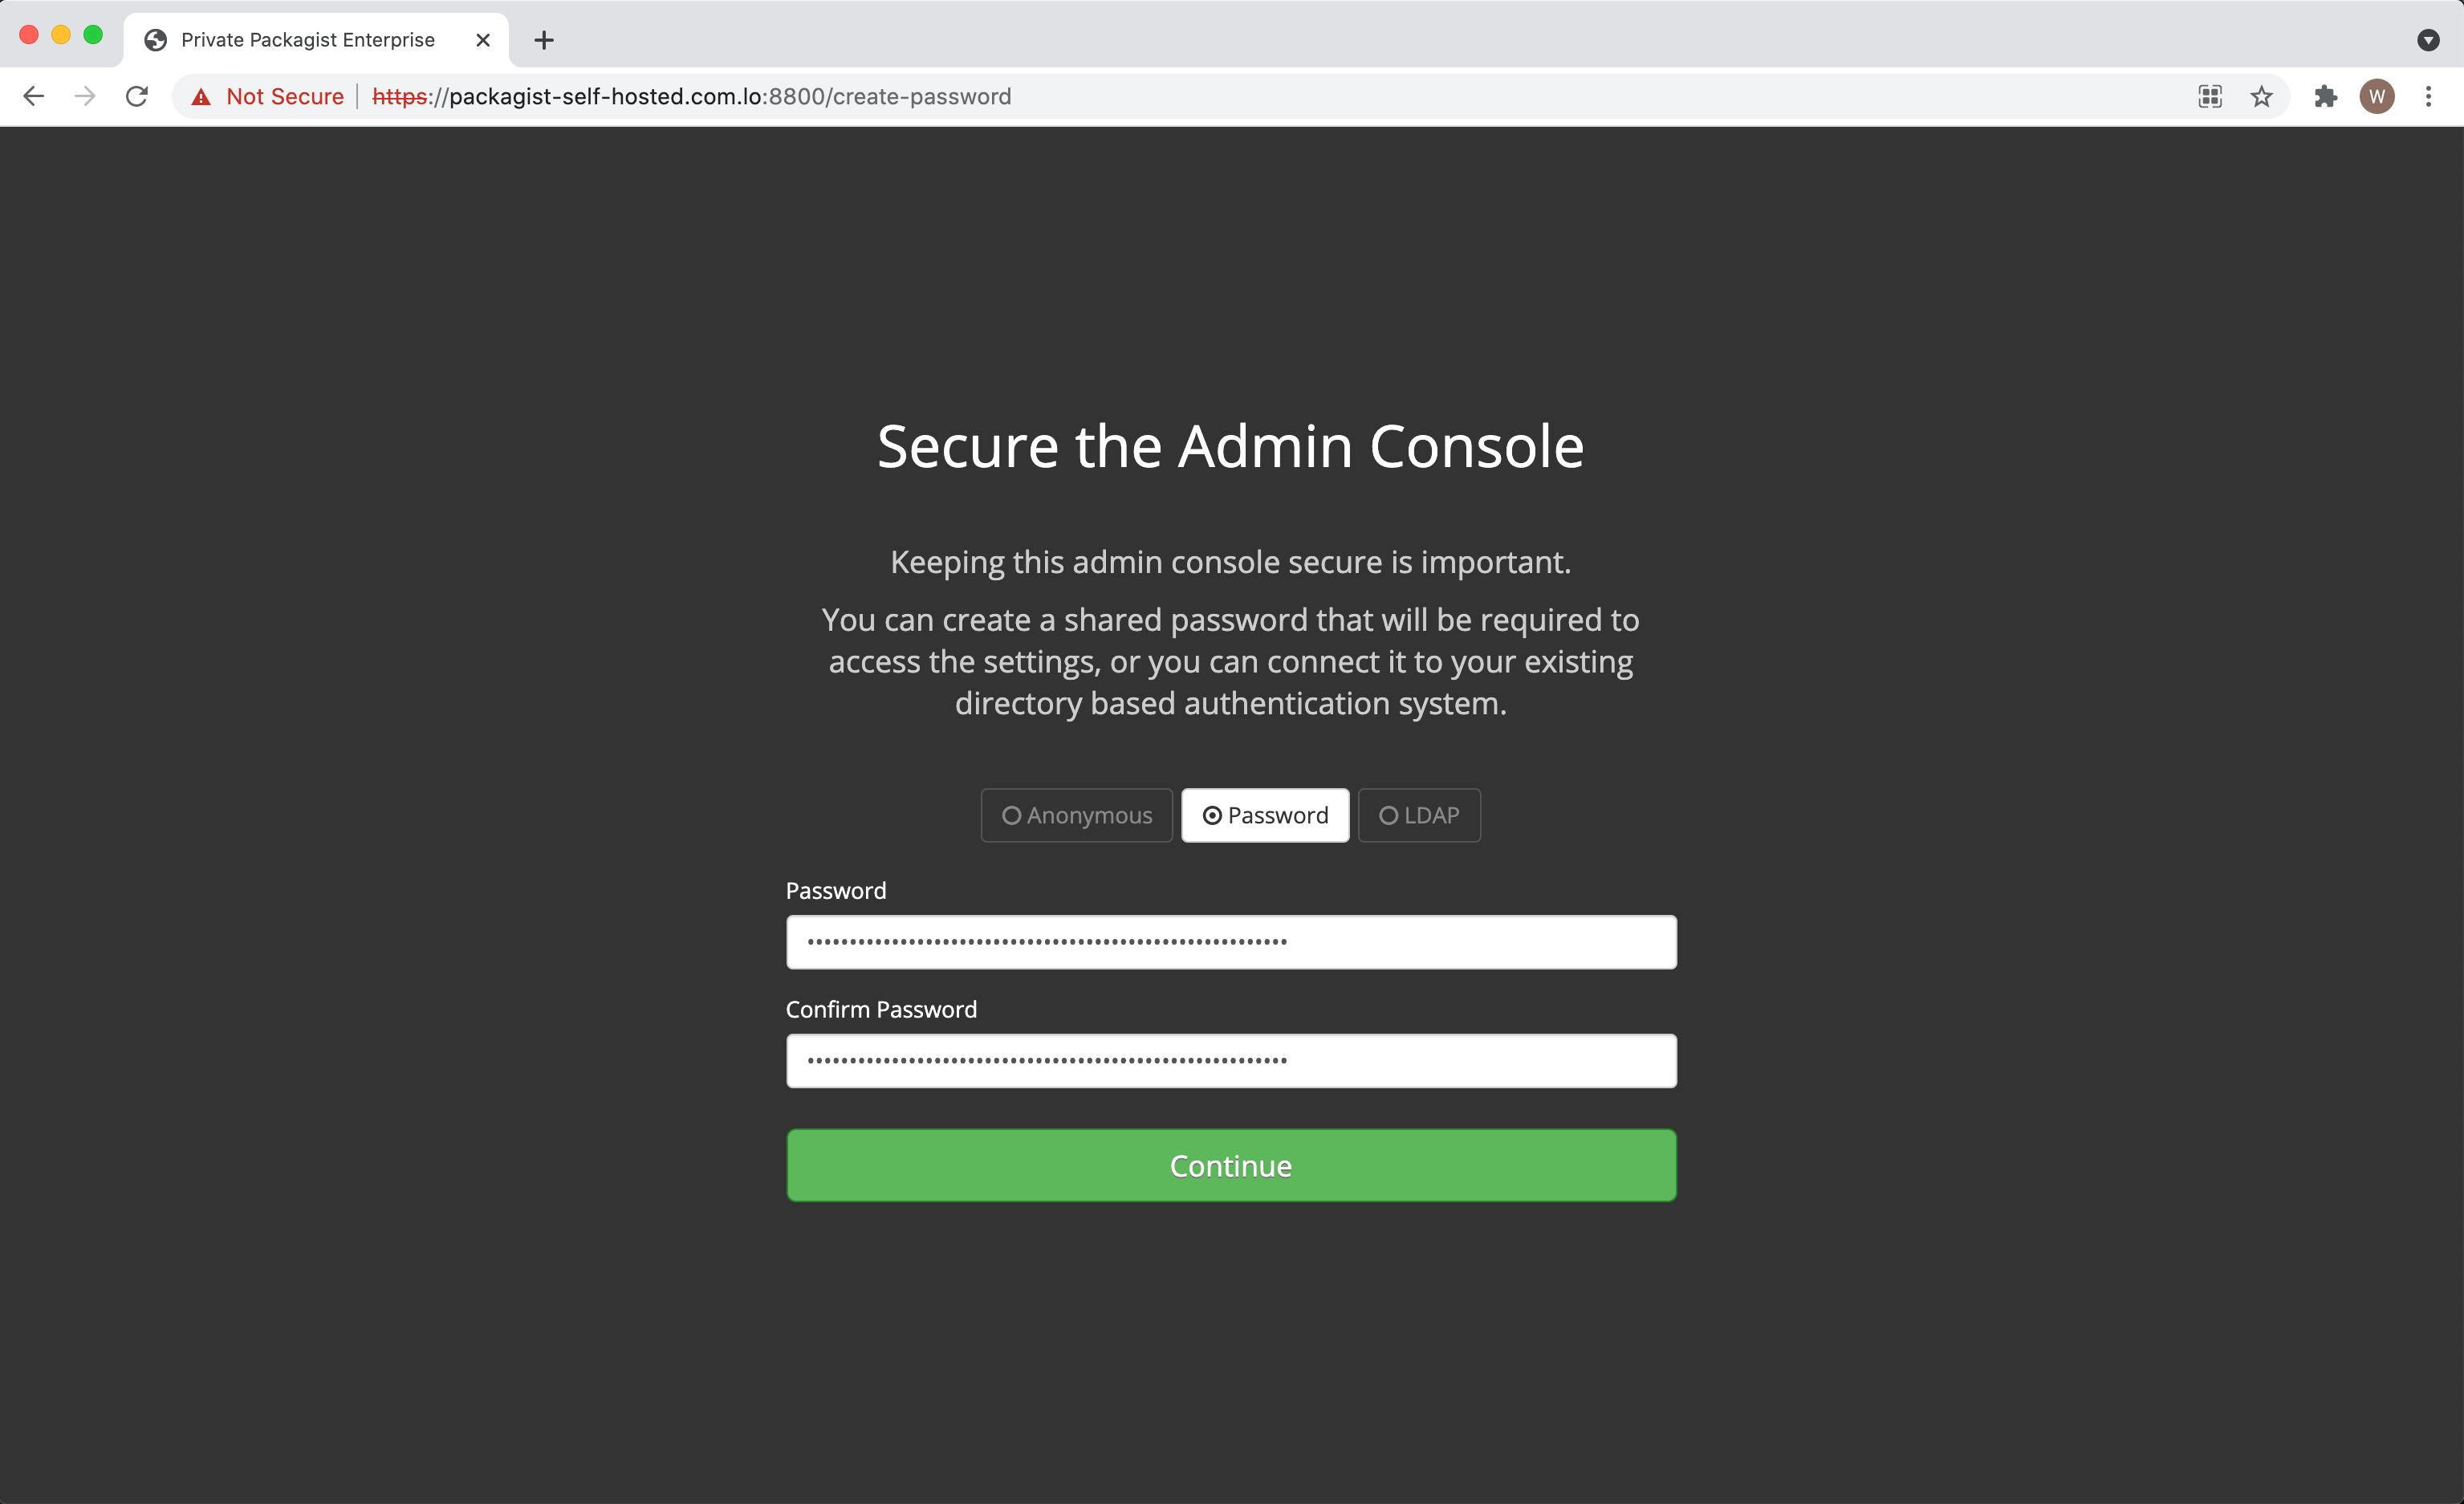
Once validated, you will be asked to set a password for the management console or to protect it with a different authentication mechanism.
Server Settings
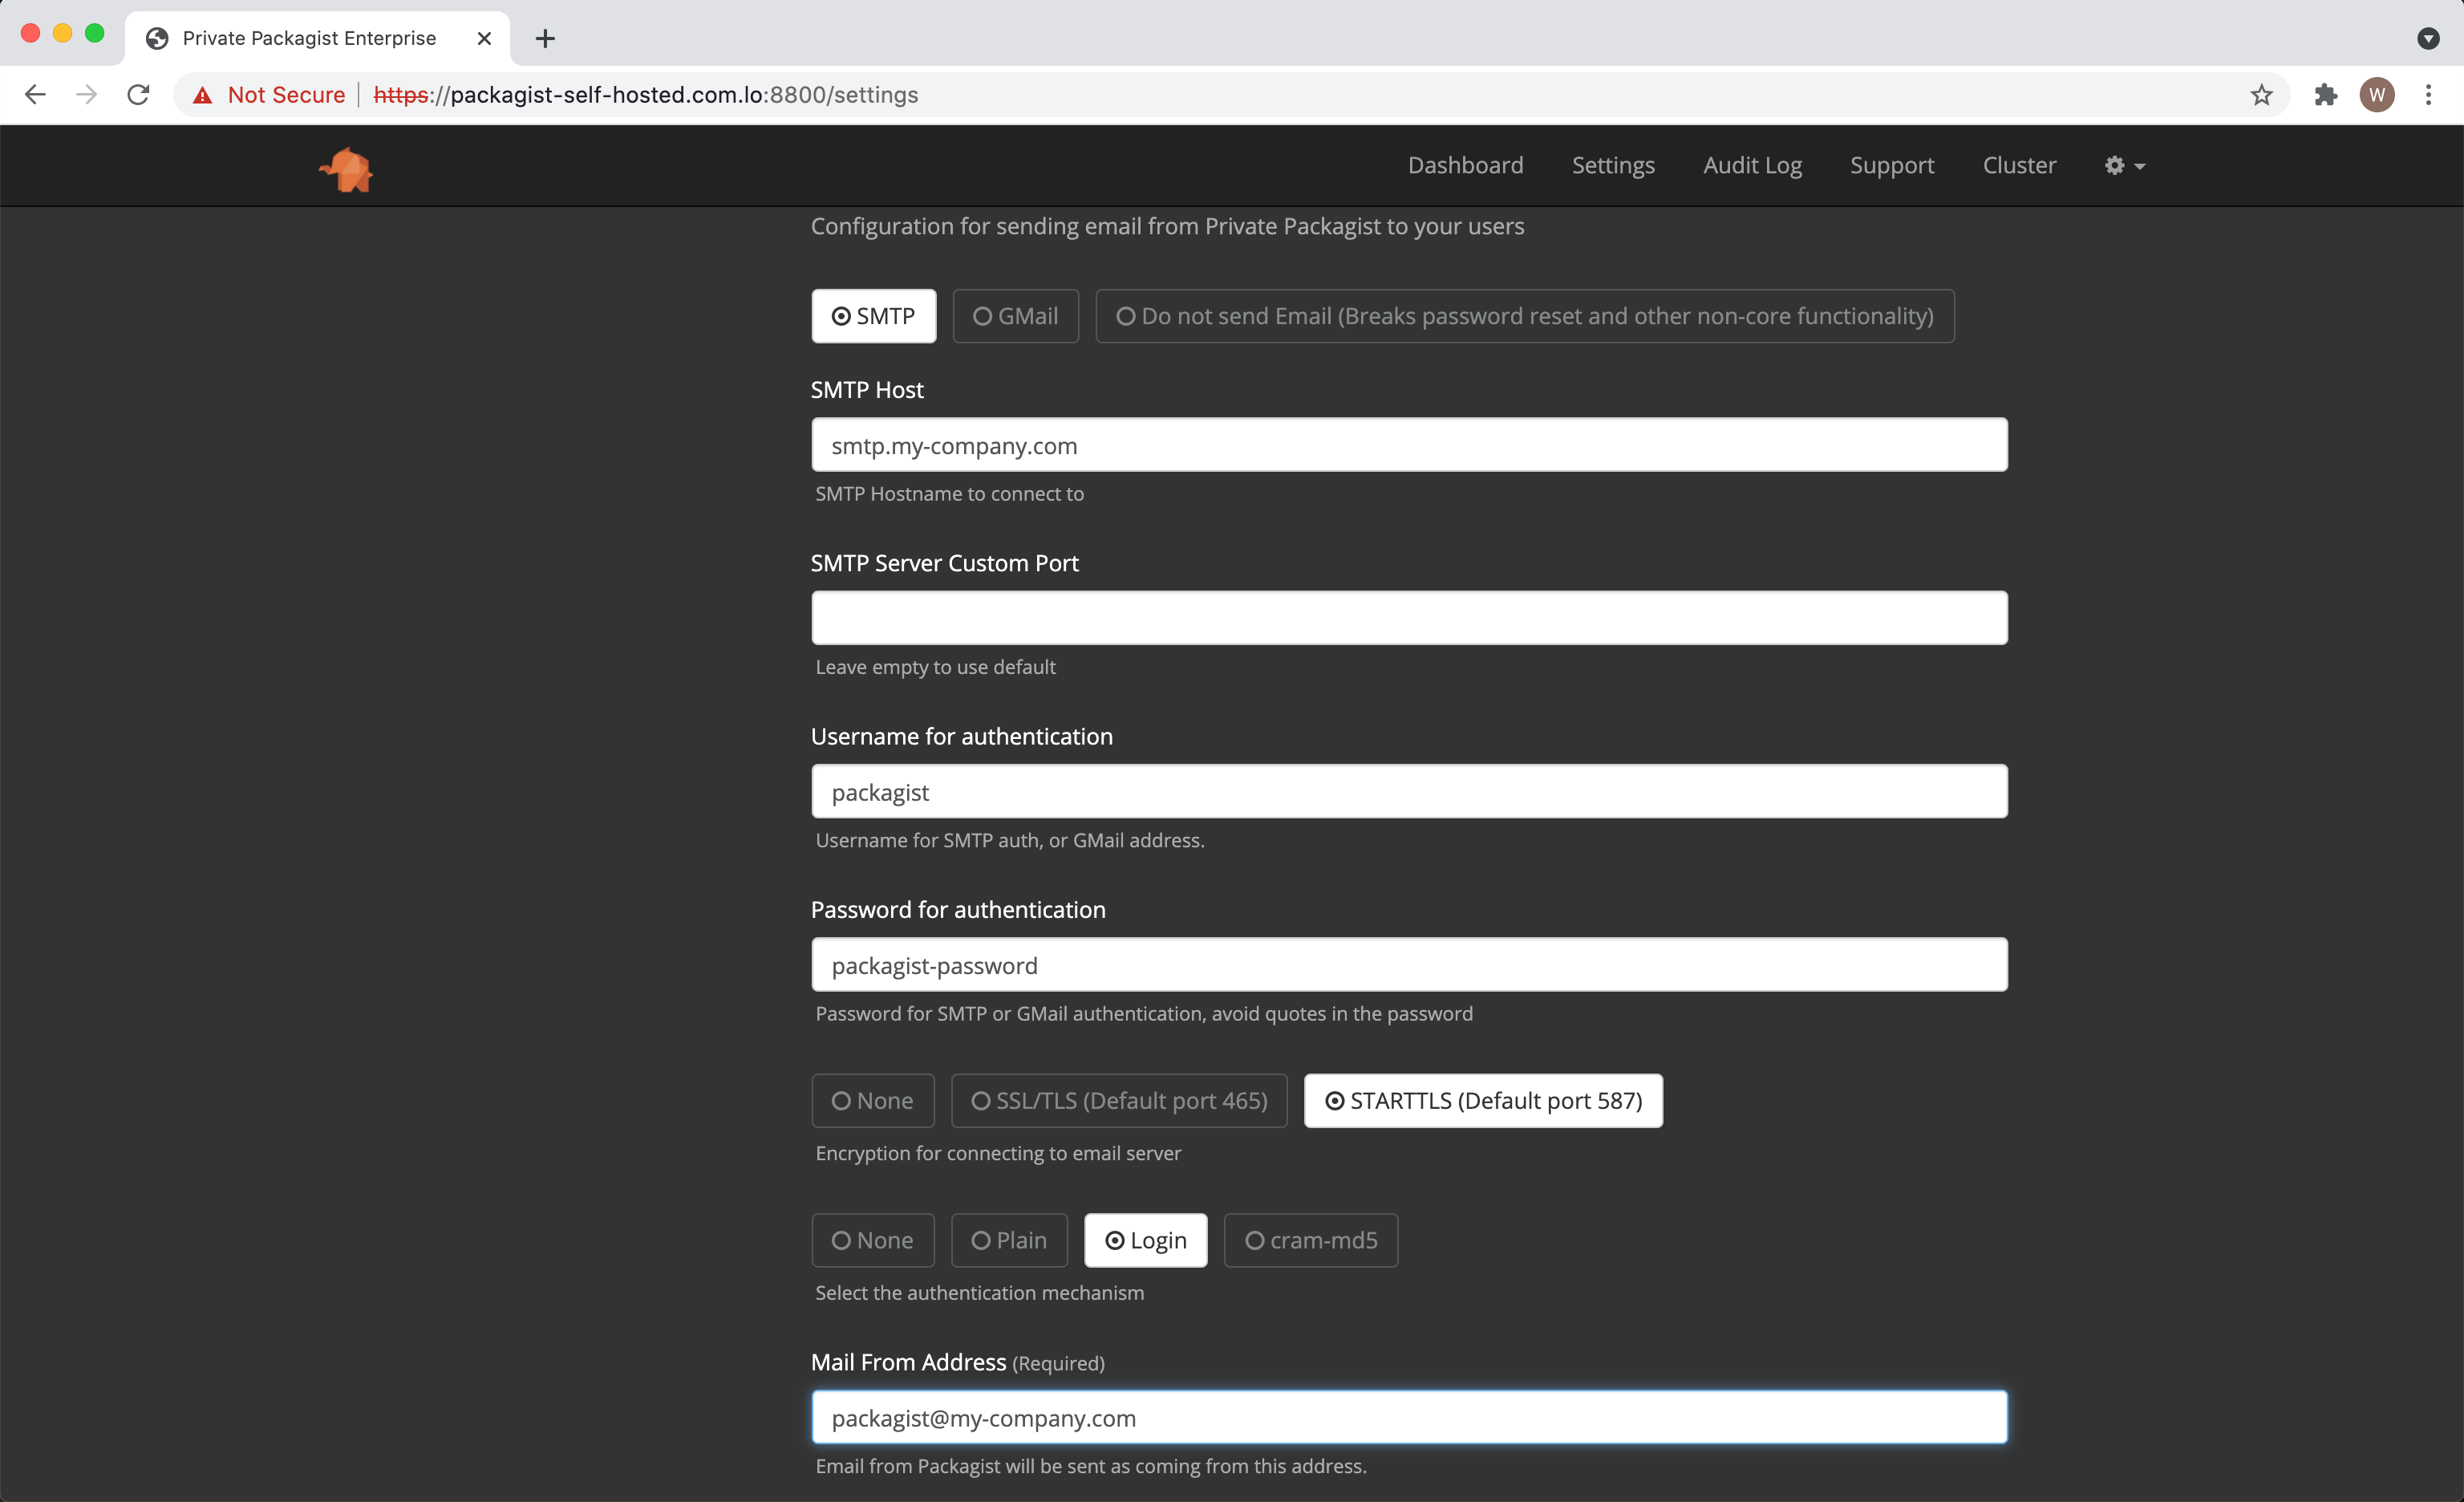
In the management console you will have to configure a few options before you can start the Private Packagist Self-Hosted application.
Select options for your SMTP server or use the GMail option for a simplified form if want to send email through GMail. This step is required to allow Private Packagist to send transactional email to users.
Application Startup
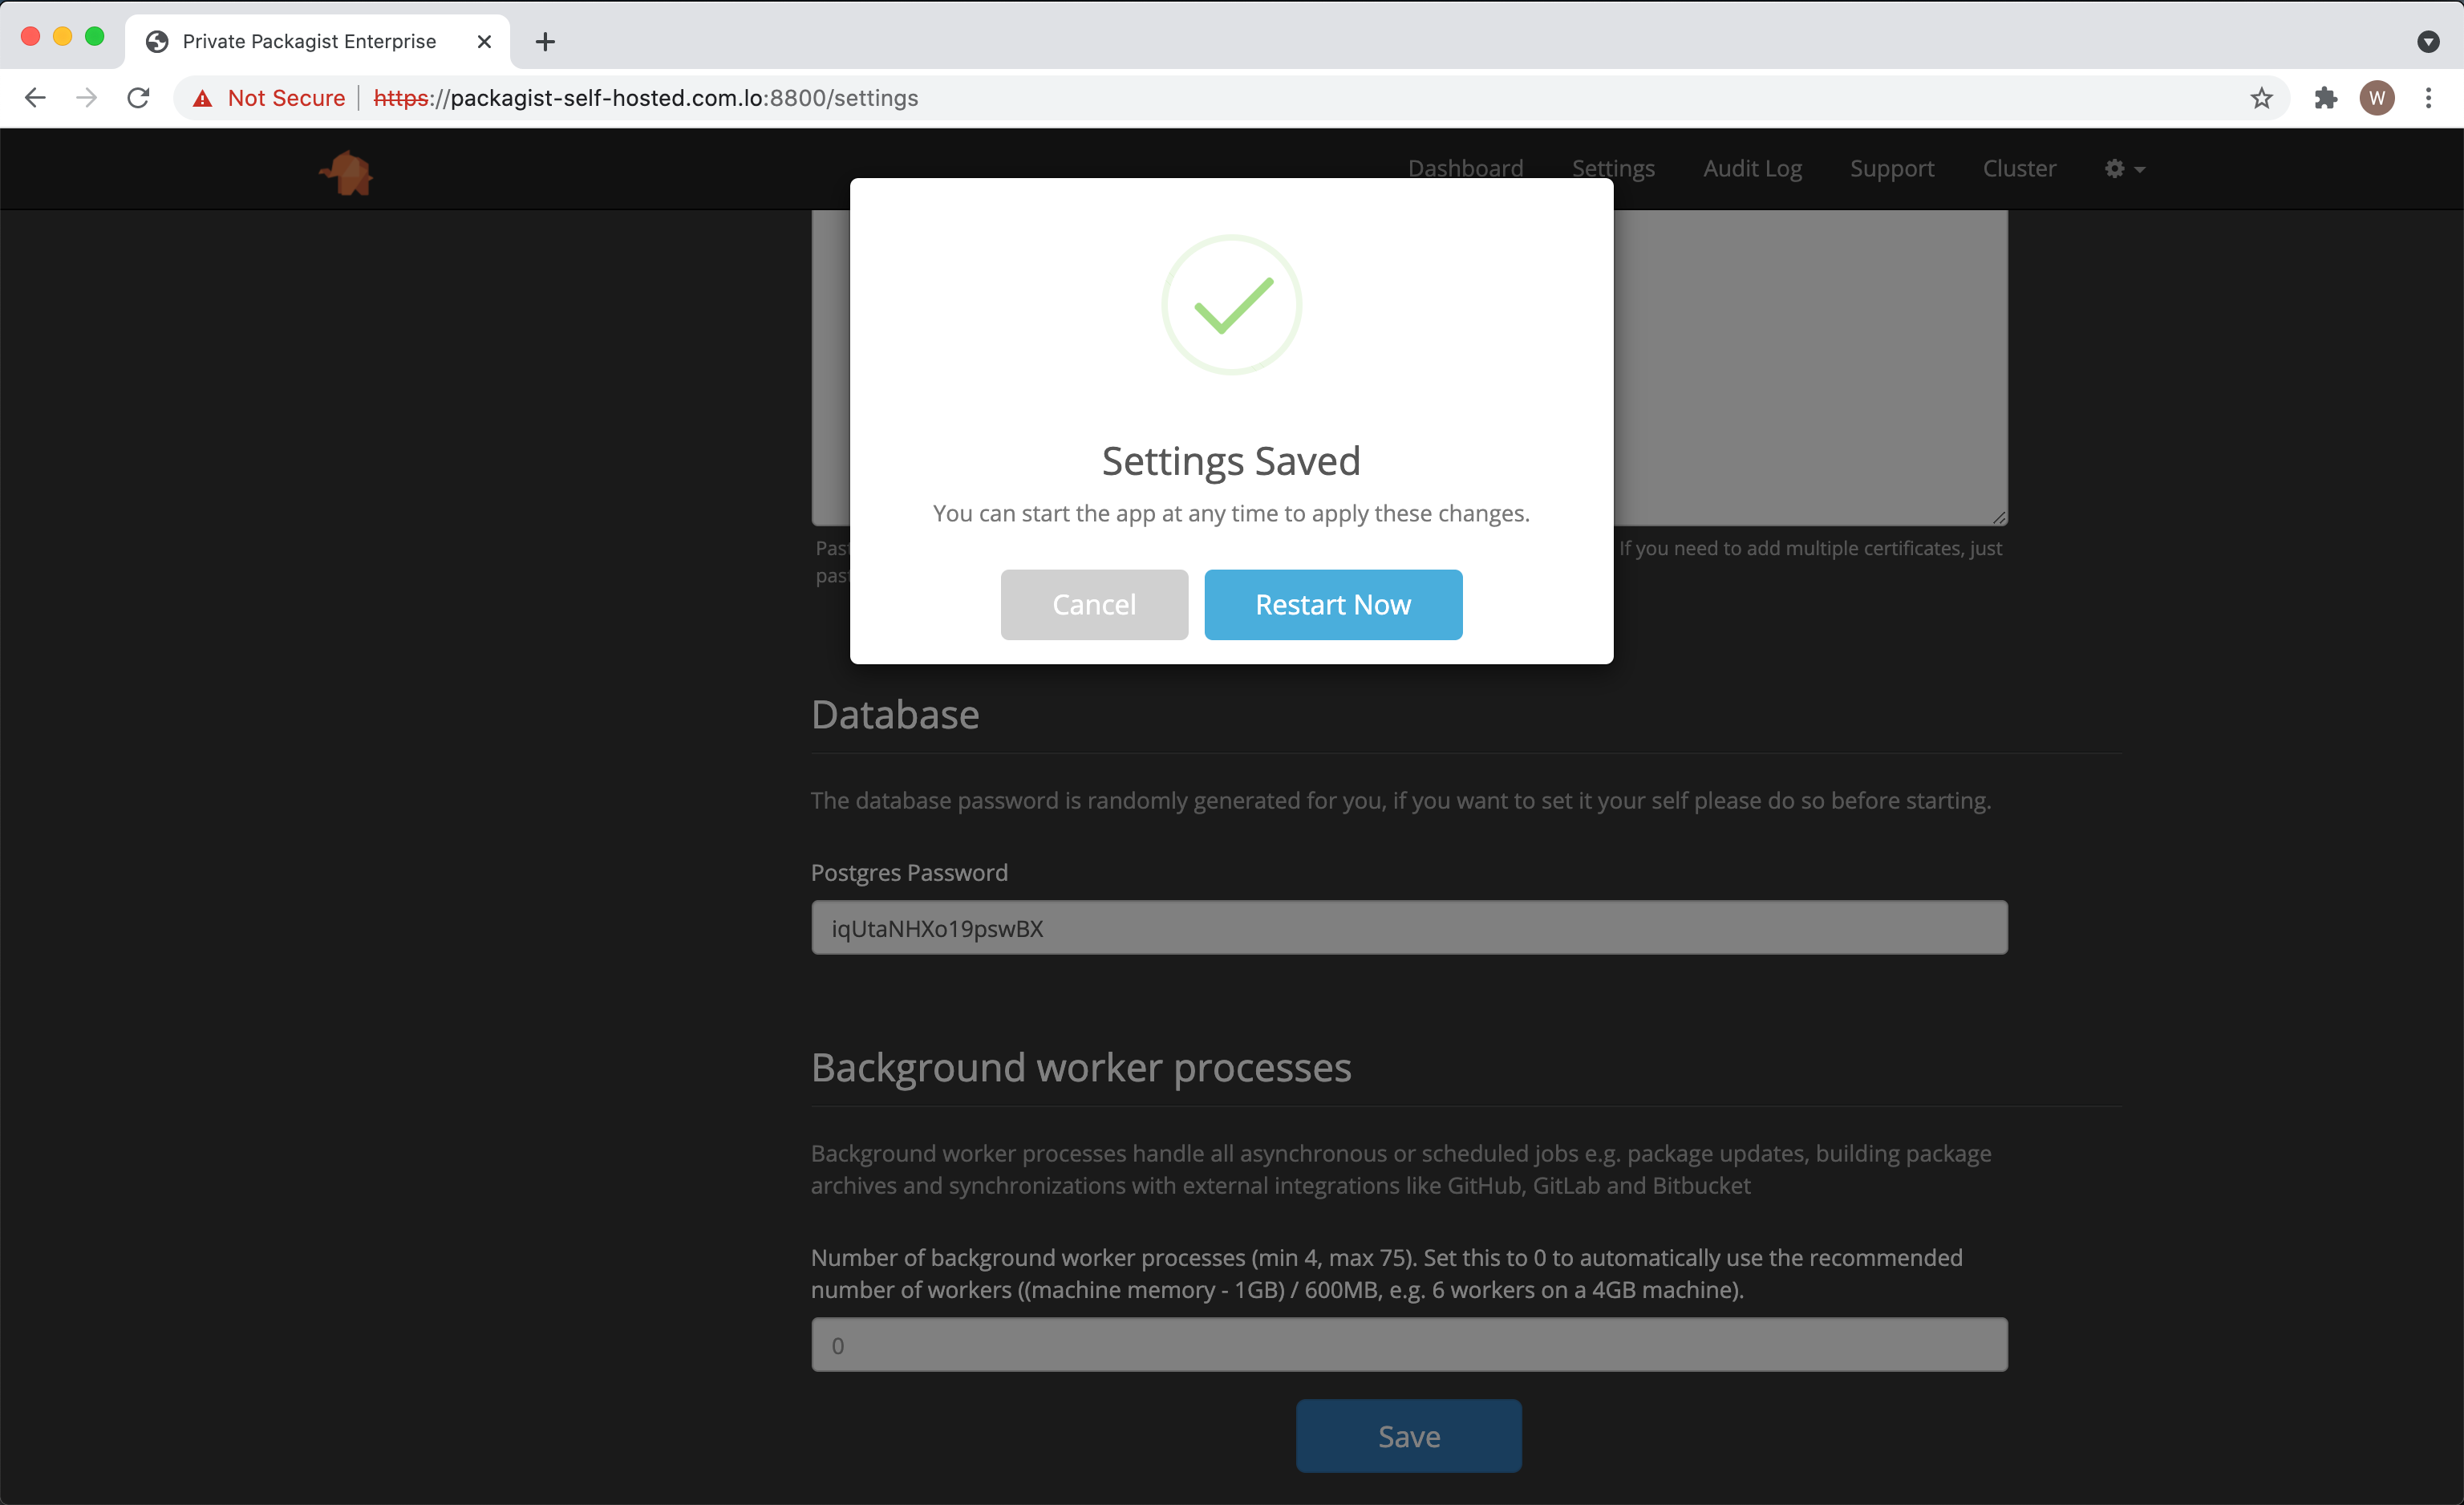
Save and apply the settings to start Private Packagist Self-Hosted. Leave the Setup Mode enabled.
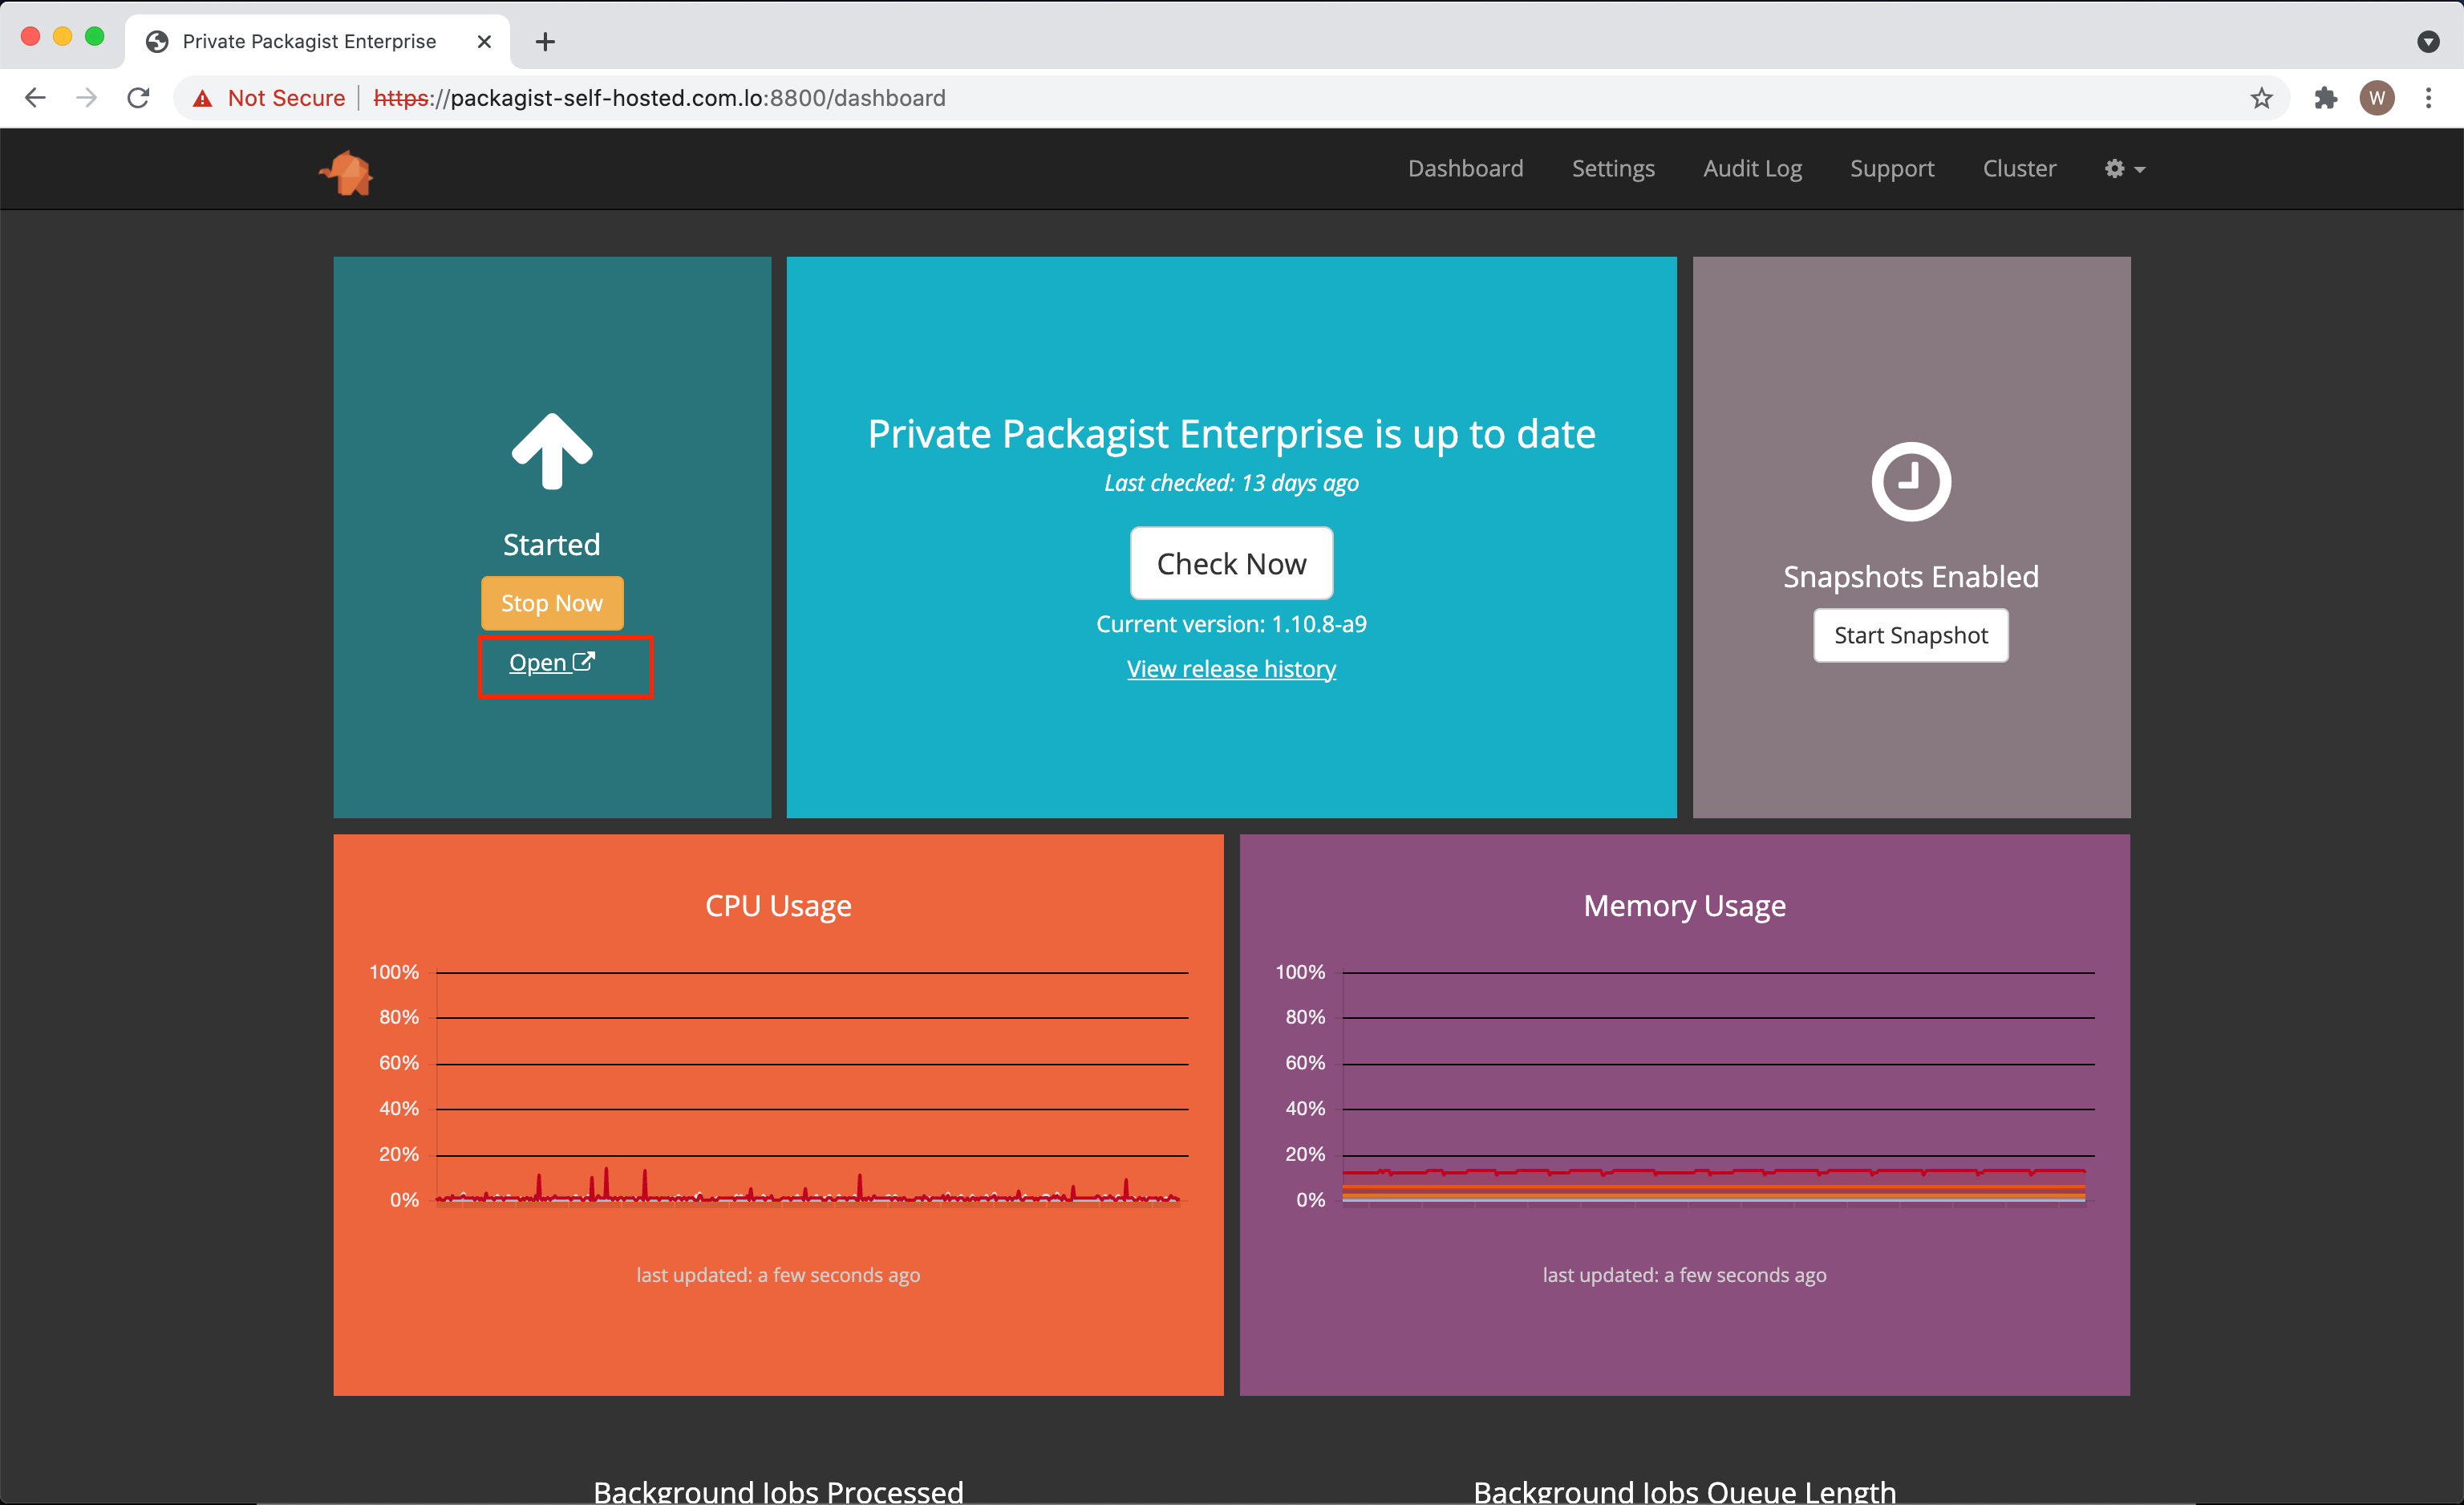
Once the application has started, click on the open link to access the Private Packagist Self-Hosted Web Interface.
Configuring an HTTP Proxy
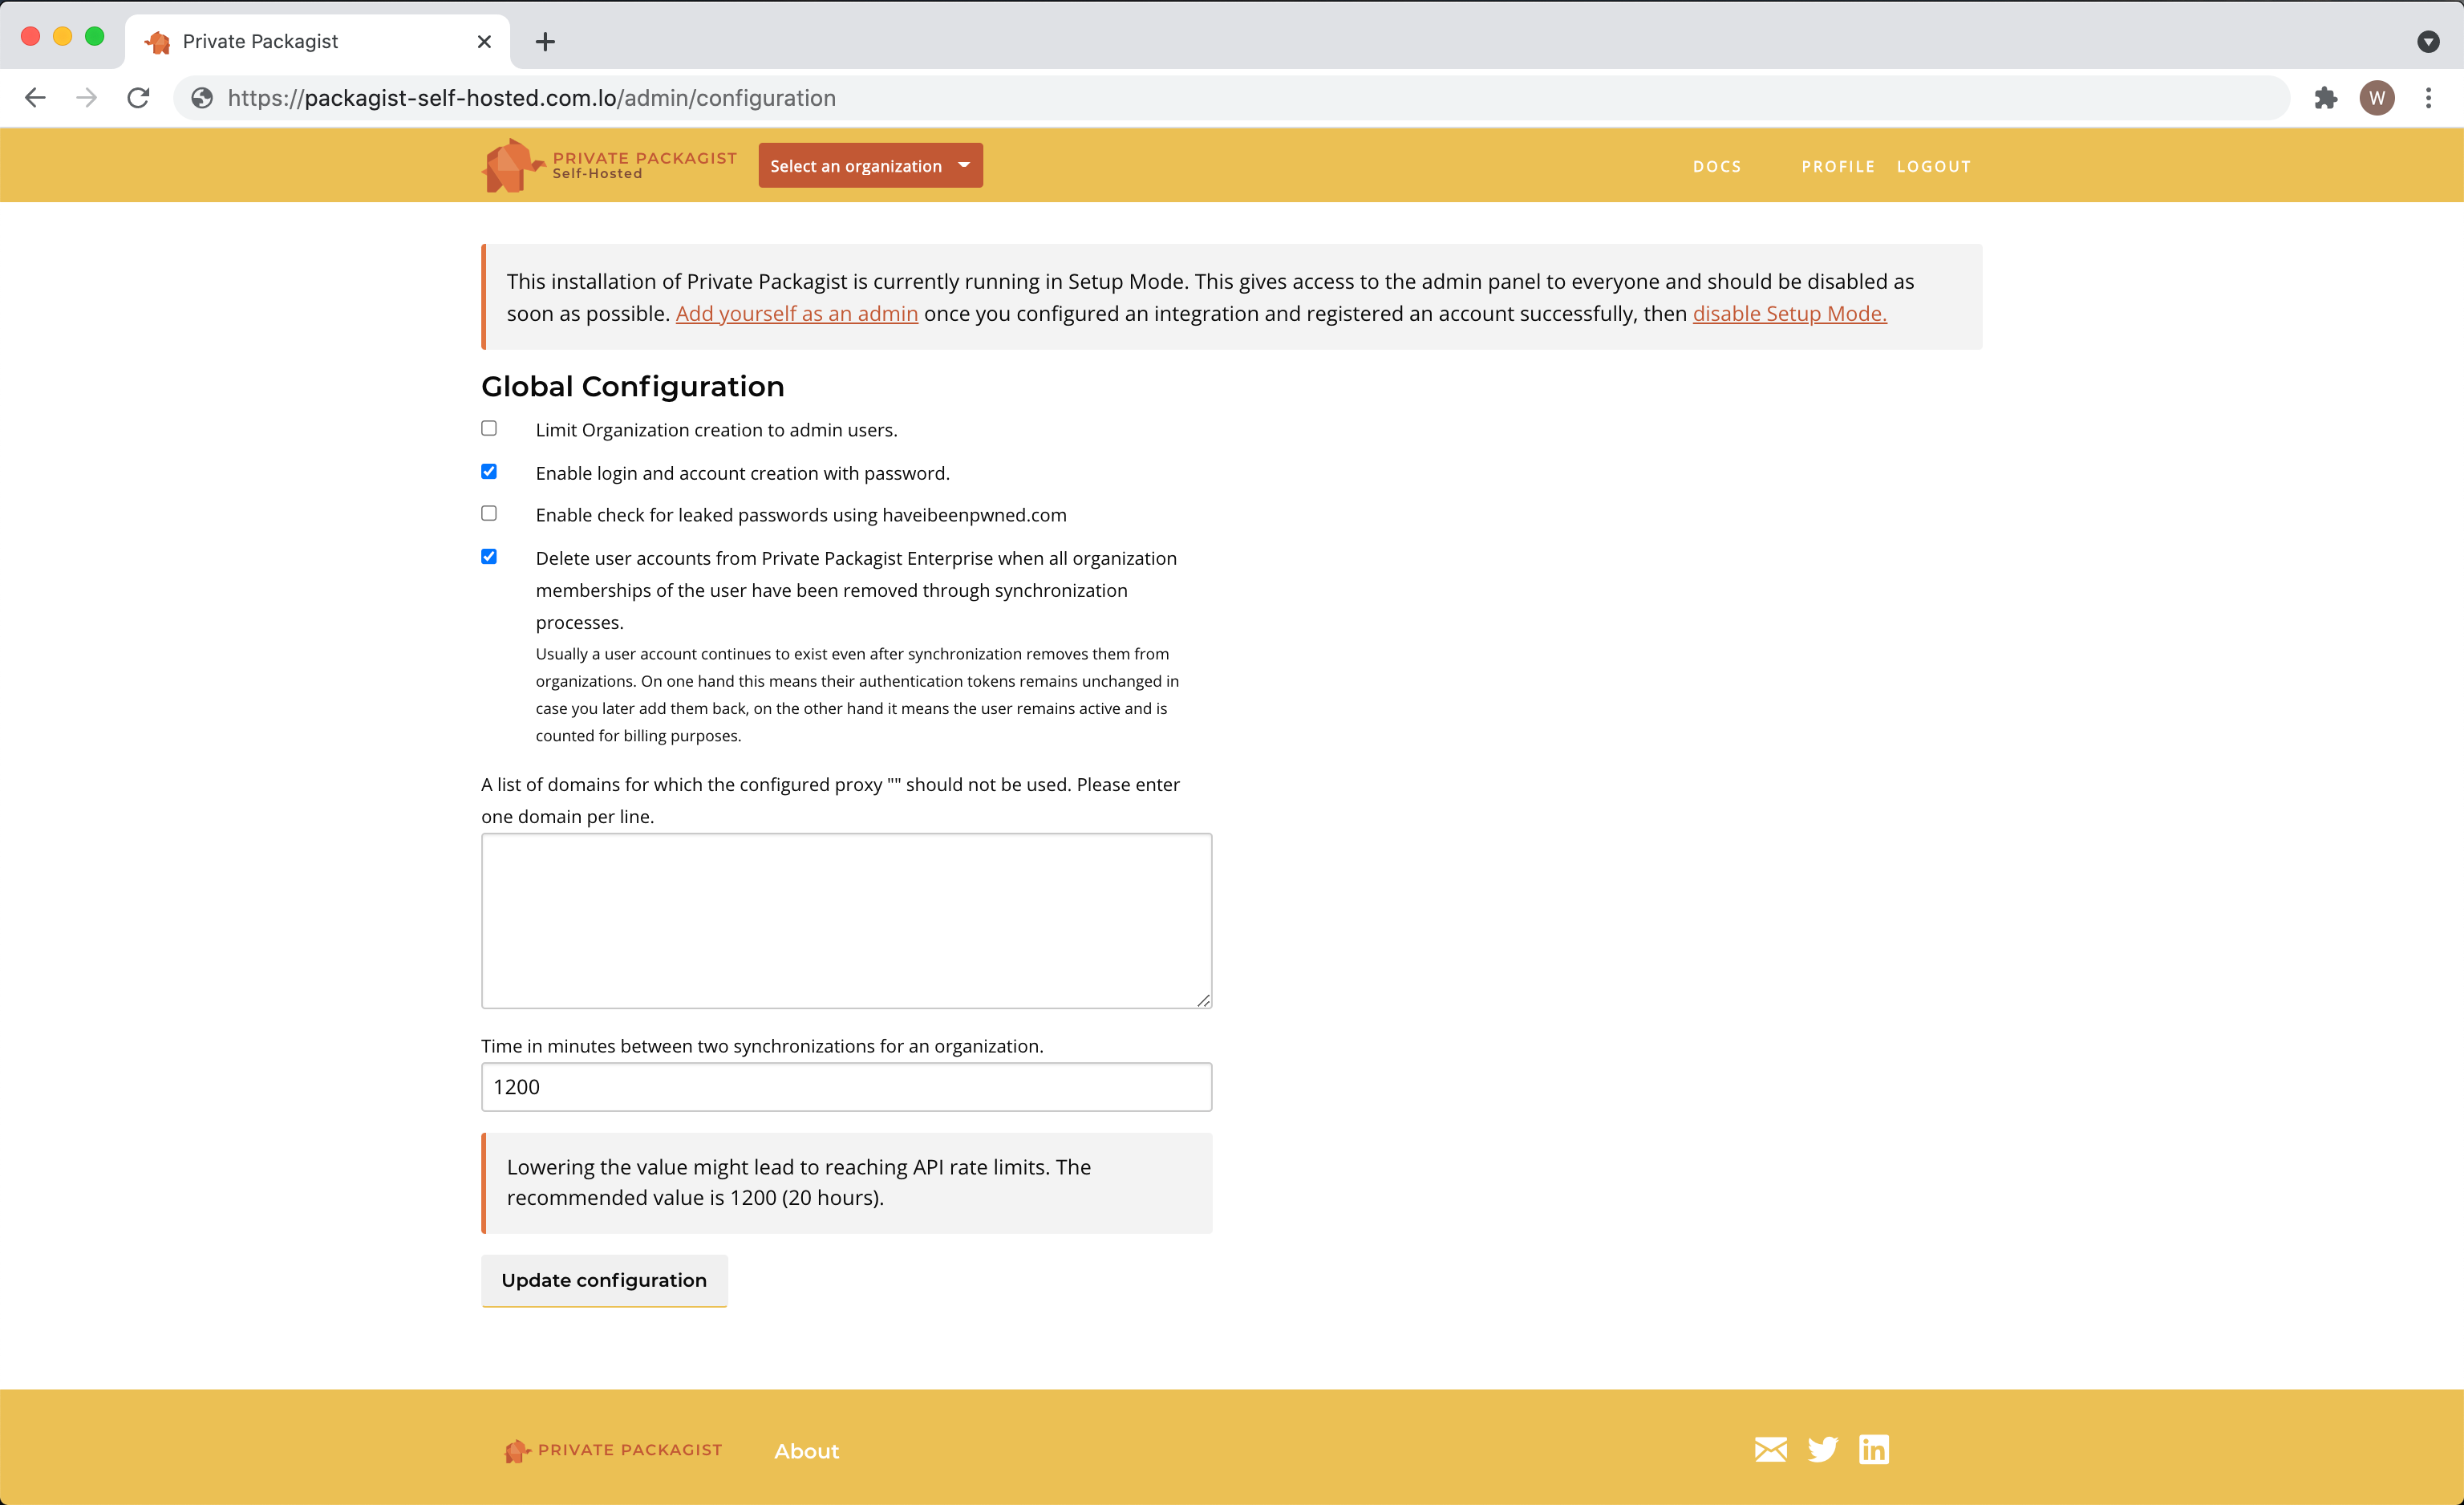
If accessing websites outside of your network, e.g. packagist.org, requires an HTTP proxy then you can enable and configure this in the Console Settings under the HTTP Proxy section which you can access in the Replicated management console by clicking on the gear icon in the menu bar.
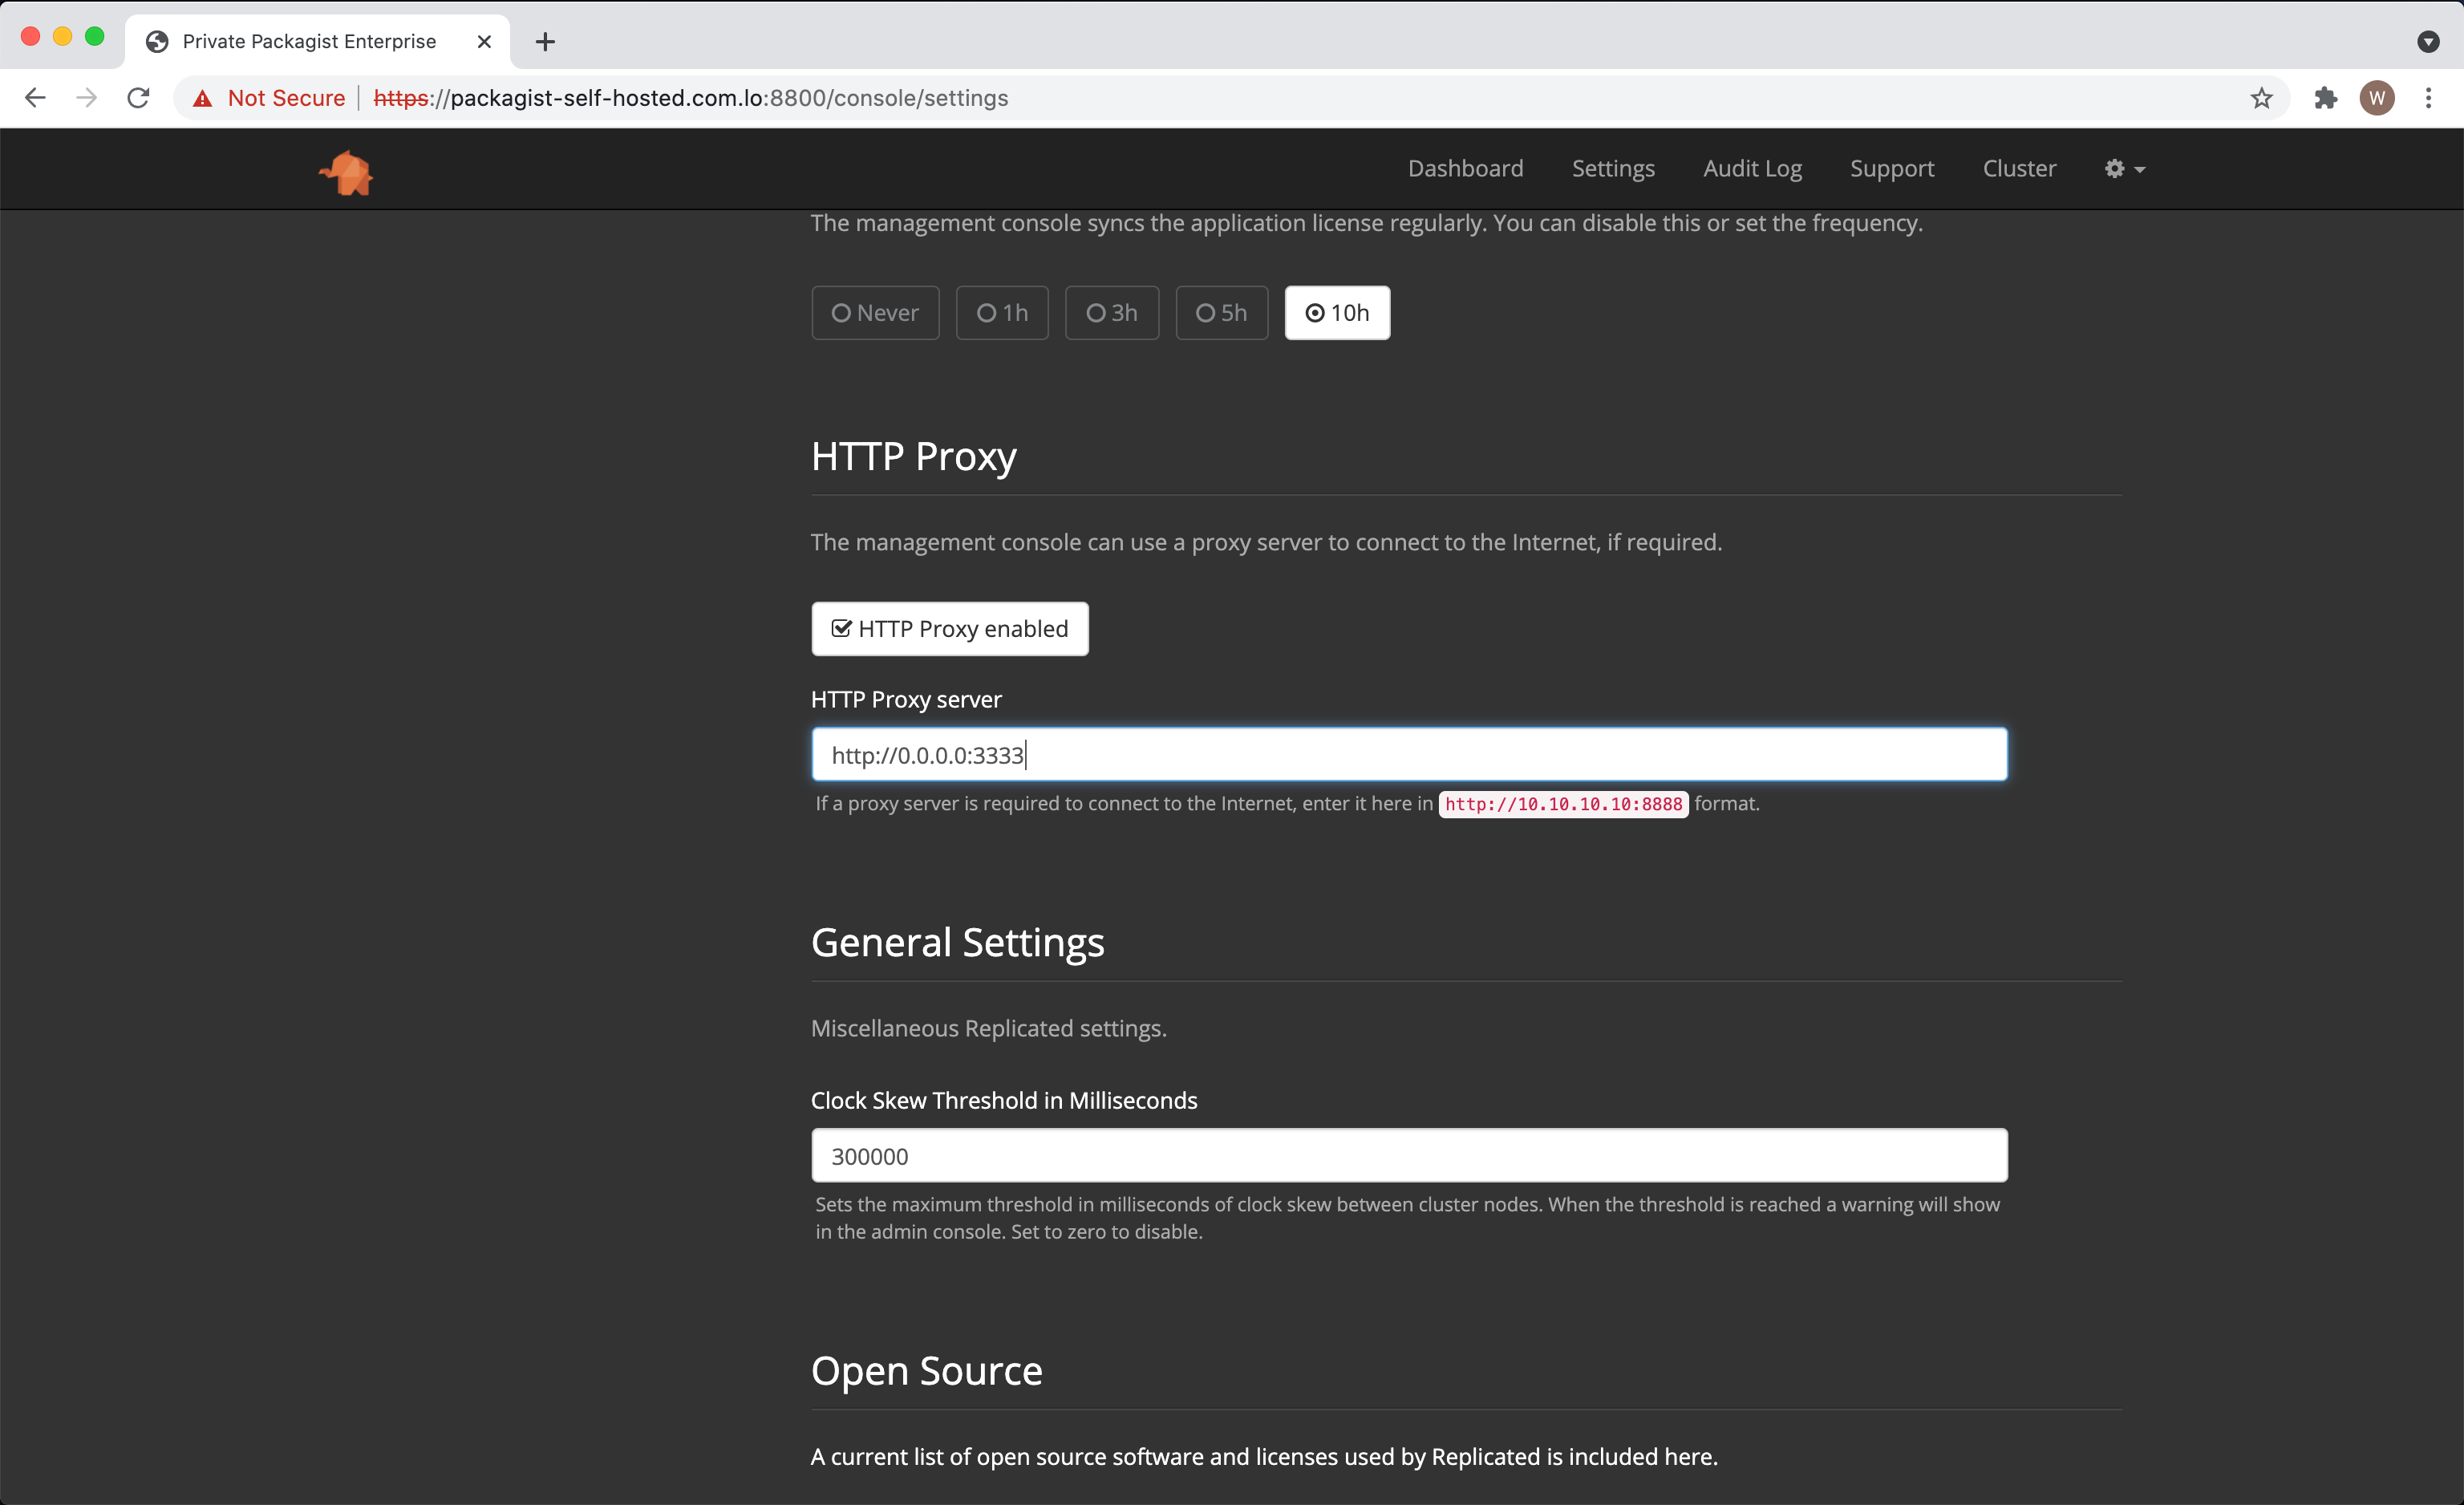
In case the HTTP proxy should not be used to access certain domains or IPs then you can configure such a NO_PROXY list in the Private Packagist application in the Admin Panel under Global Configuration.
Authentication Setup
Within Private Packagist Self-Hosted you now need to set up at least one user authentication method. You have the choice between authentication with email addresses and passwords and several OAuth integrations with third party services. We provide integrations with on-premises versions of GitHub, Bitbucket, or GitLab, or their public services on github.com, bitbucket.org or gitlab.com. Follow the instructions to create the respective required identifiers, tokens and secrets.
- GitHub (Enterprise) Integration Setup
- Bitbucket.org Integration Setup
- Bitbucket Data Center / Server Integration Setup
- GitLab Integration Setup
- Authentication with Email Addresses and Passwords.
Selecting Admins
After setting up at least one authentication mechanism you can login through the top menu. Register an account and pick a username.
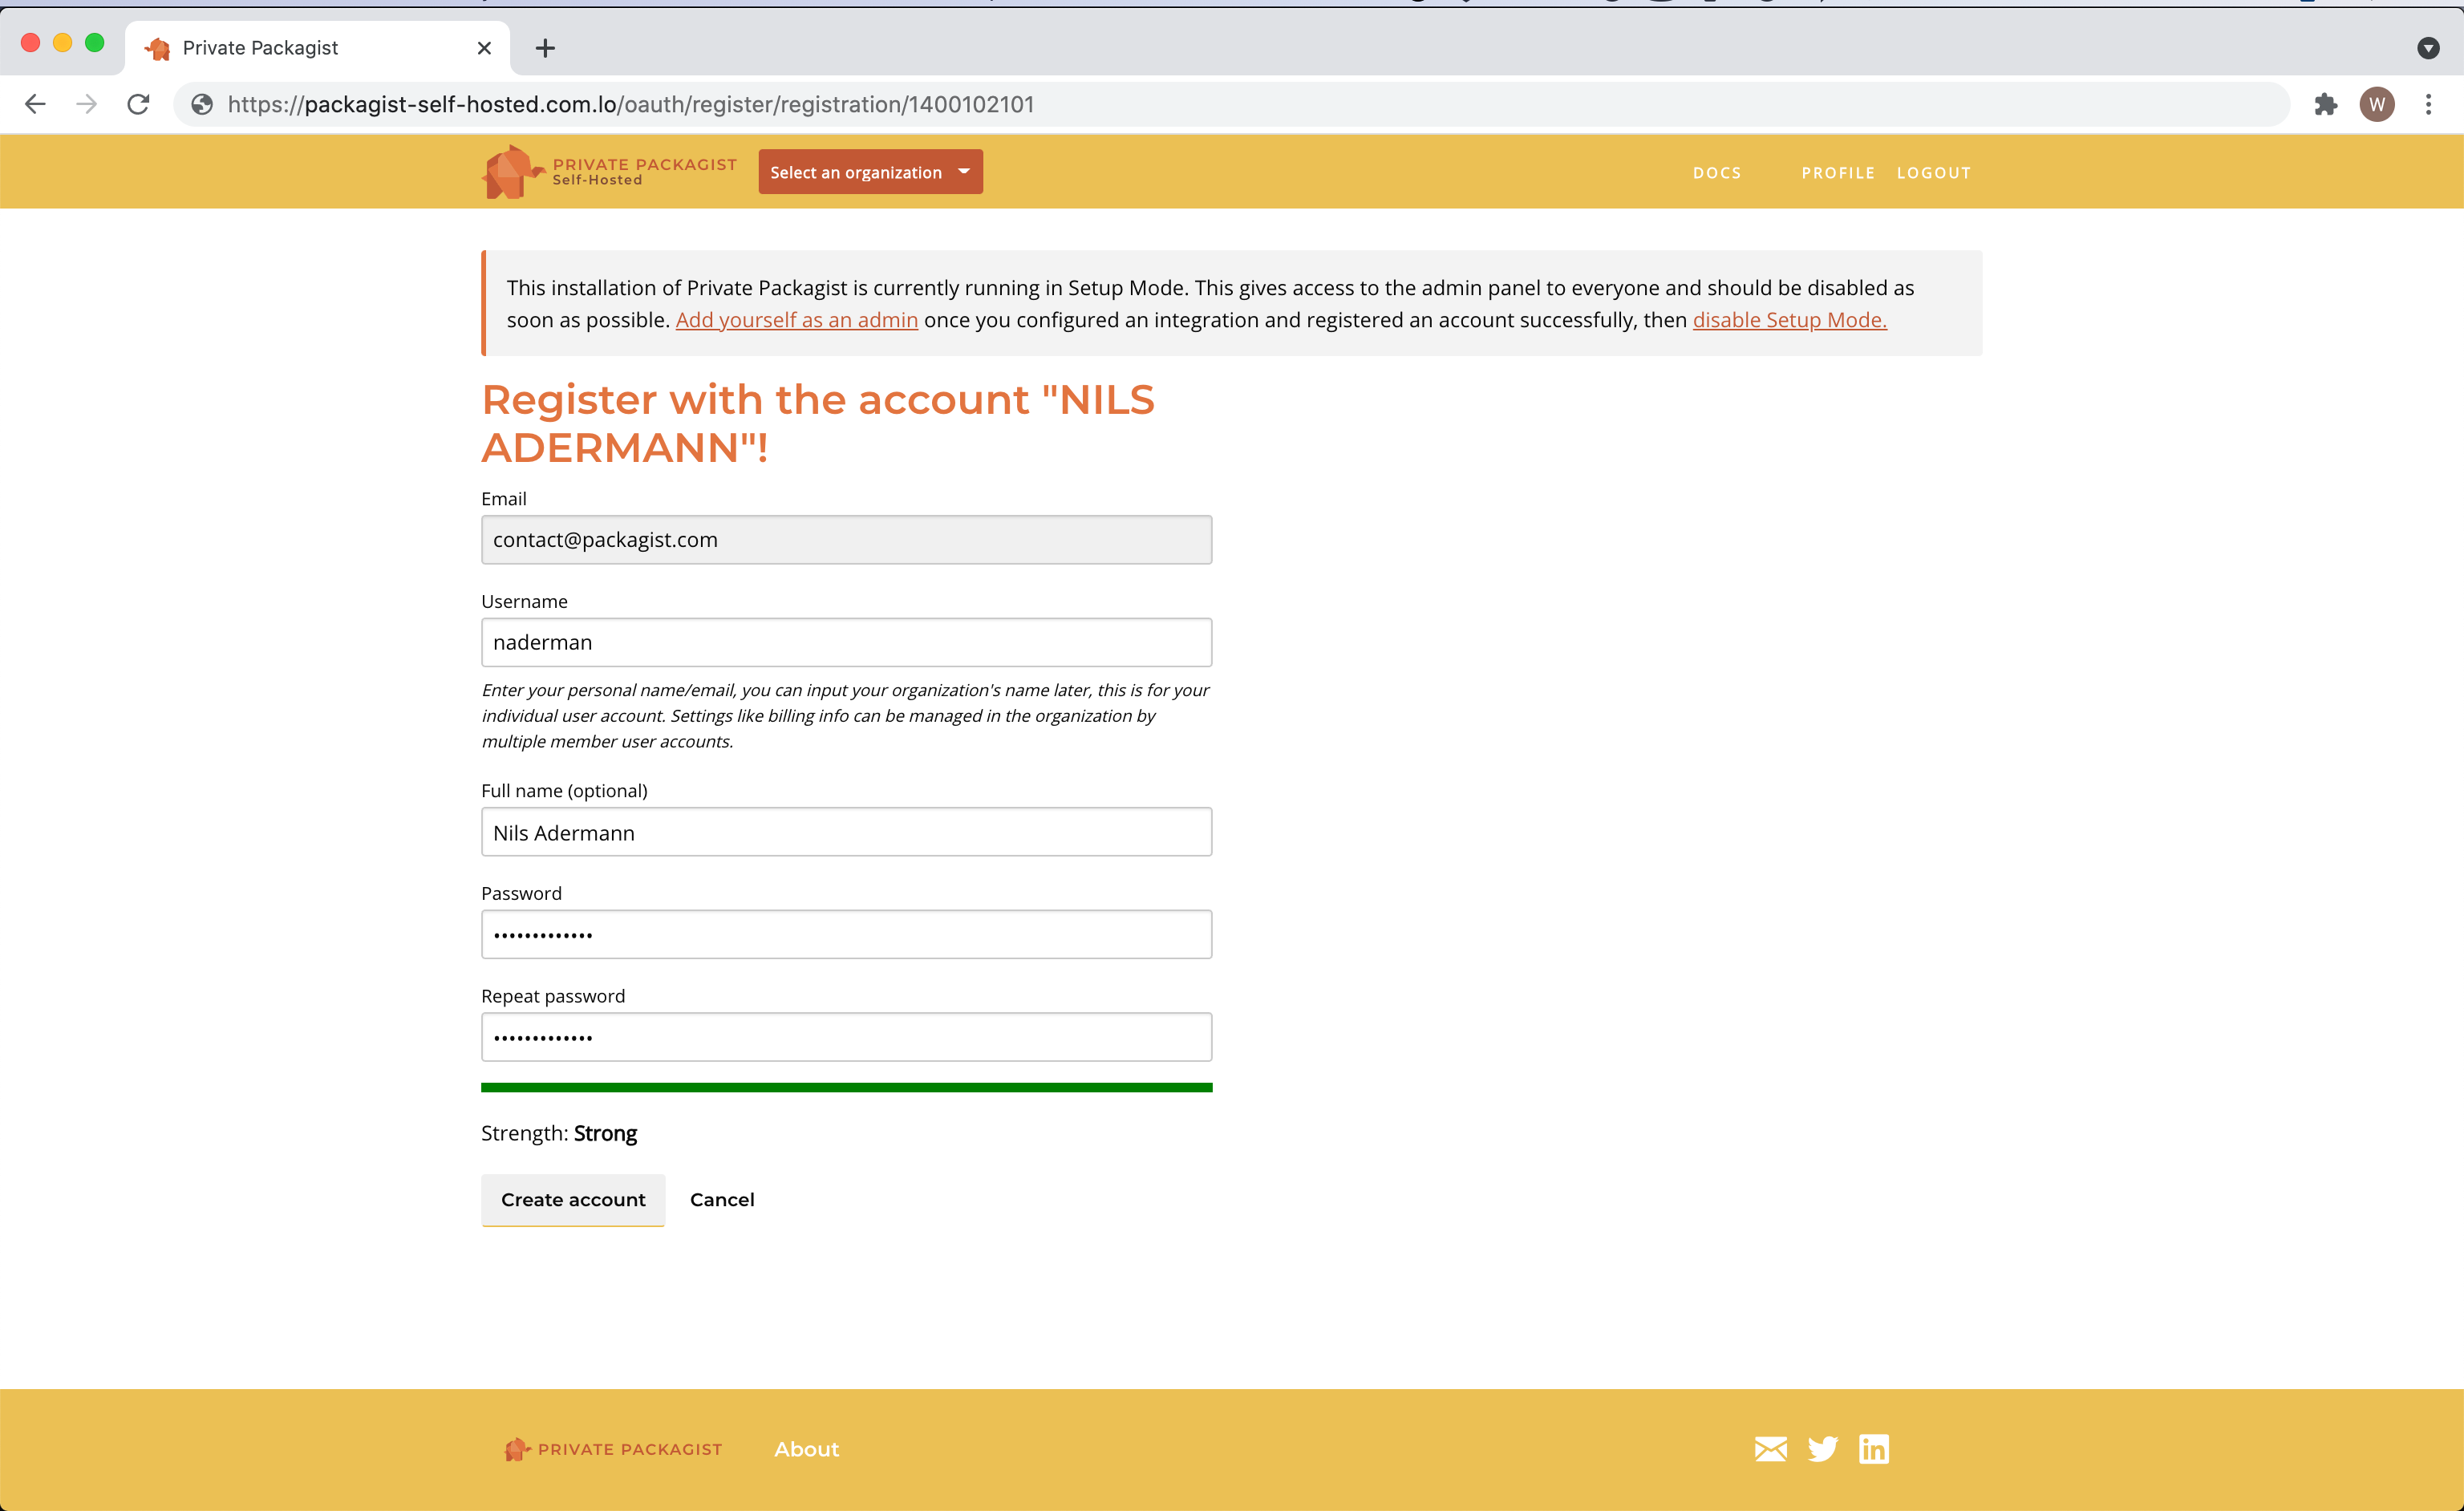
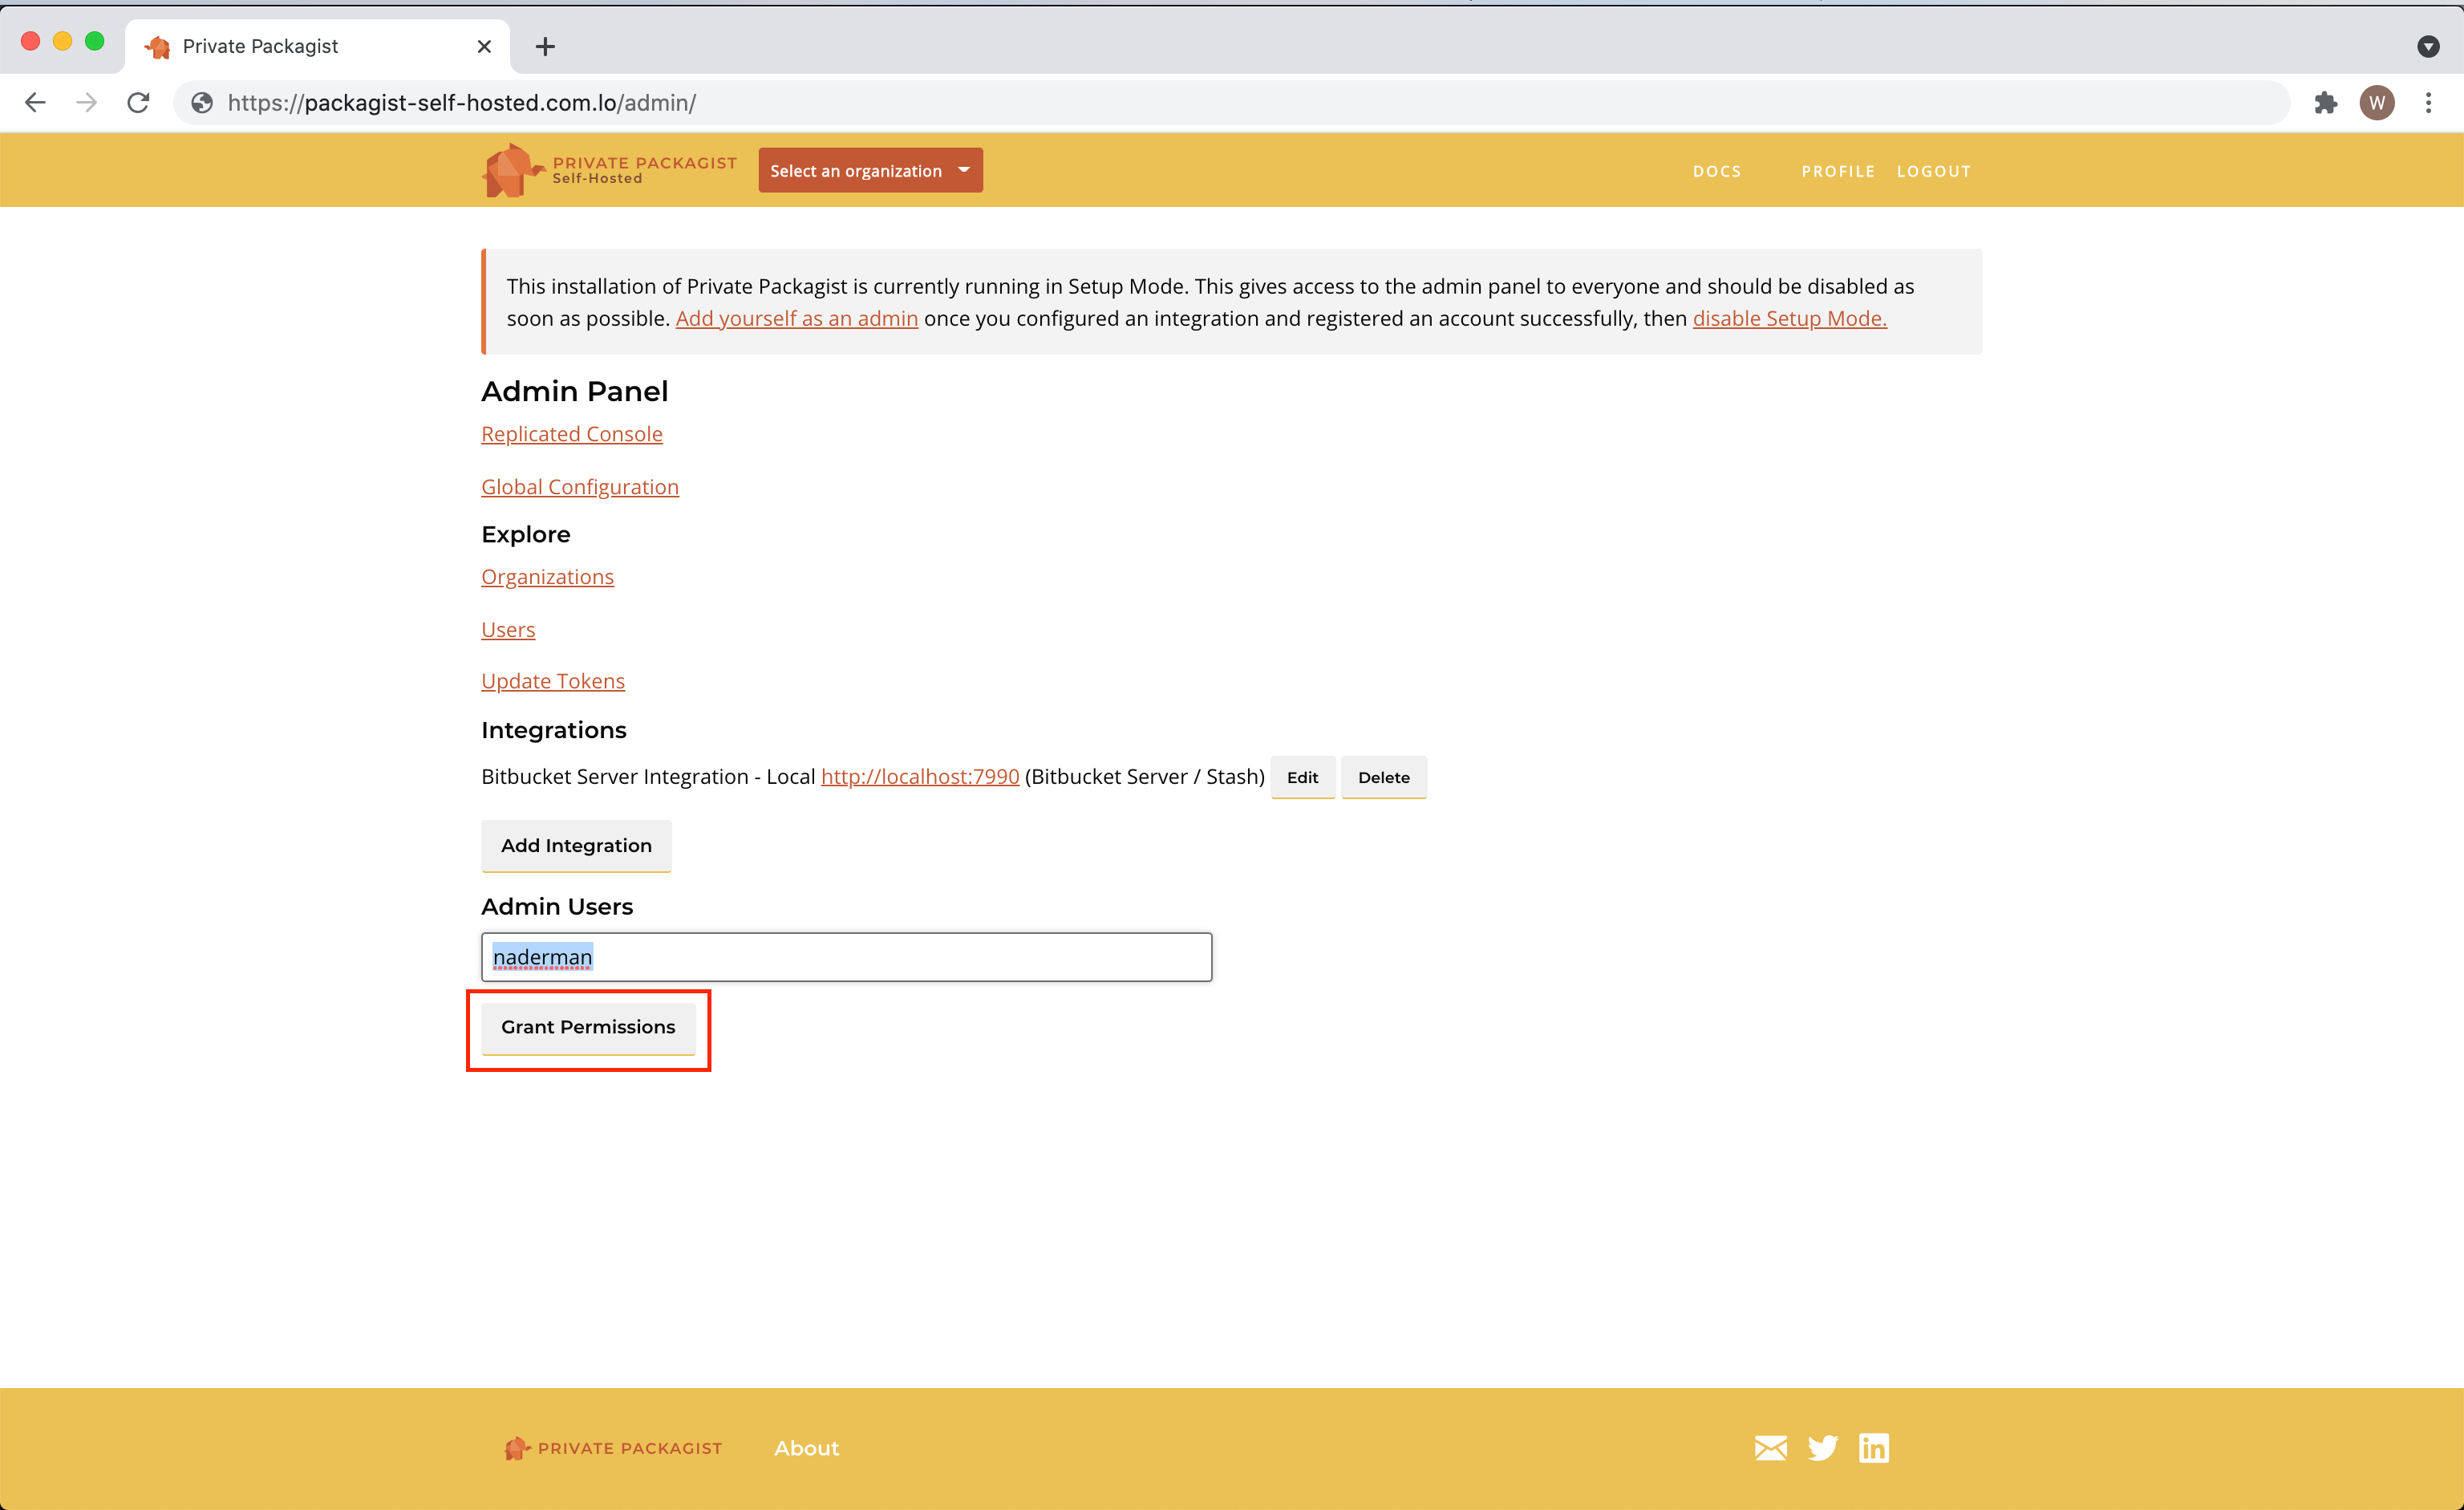
The first user is granted admin permissions automatically. You can grant admin permissions to more users in the admin panel.
Switching to Production Mode
Head back to the Replicated management console to disable the Setup Mode in Settings.
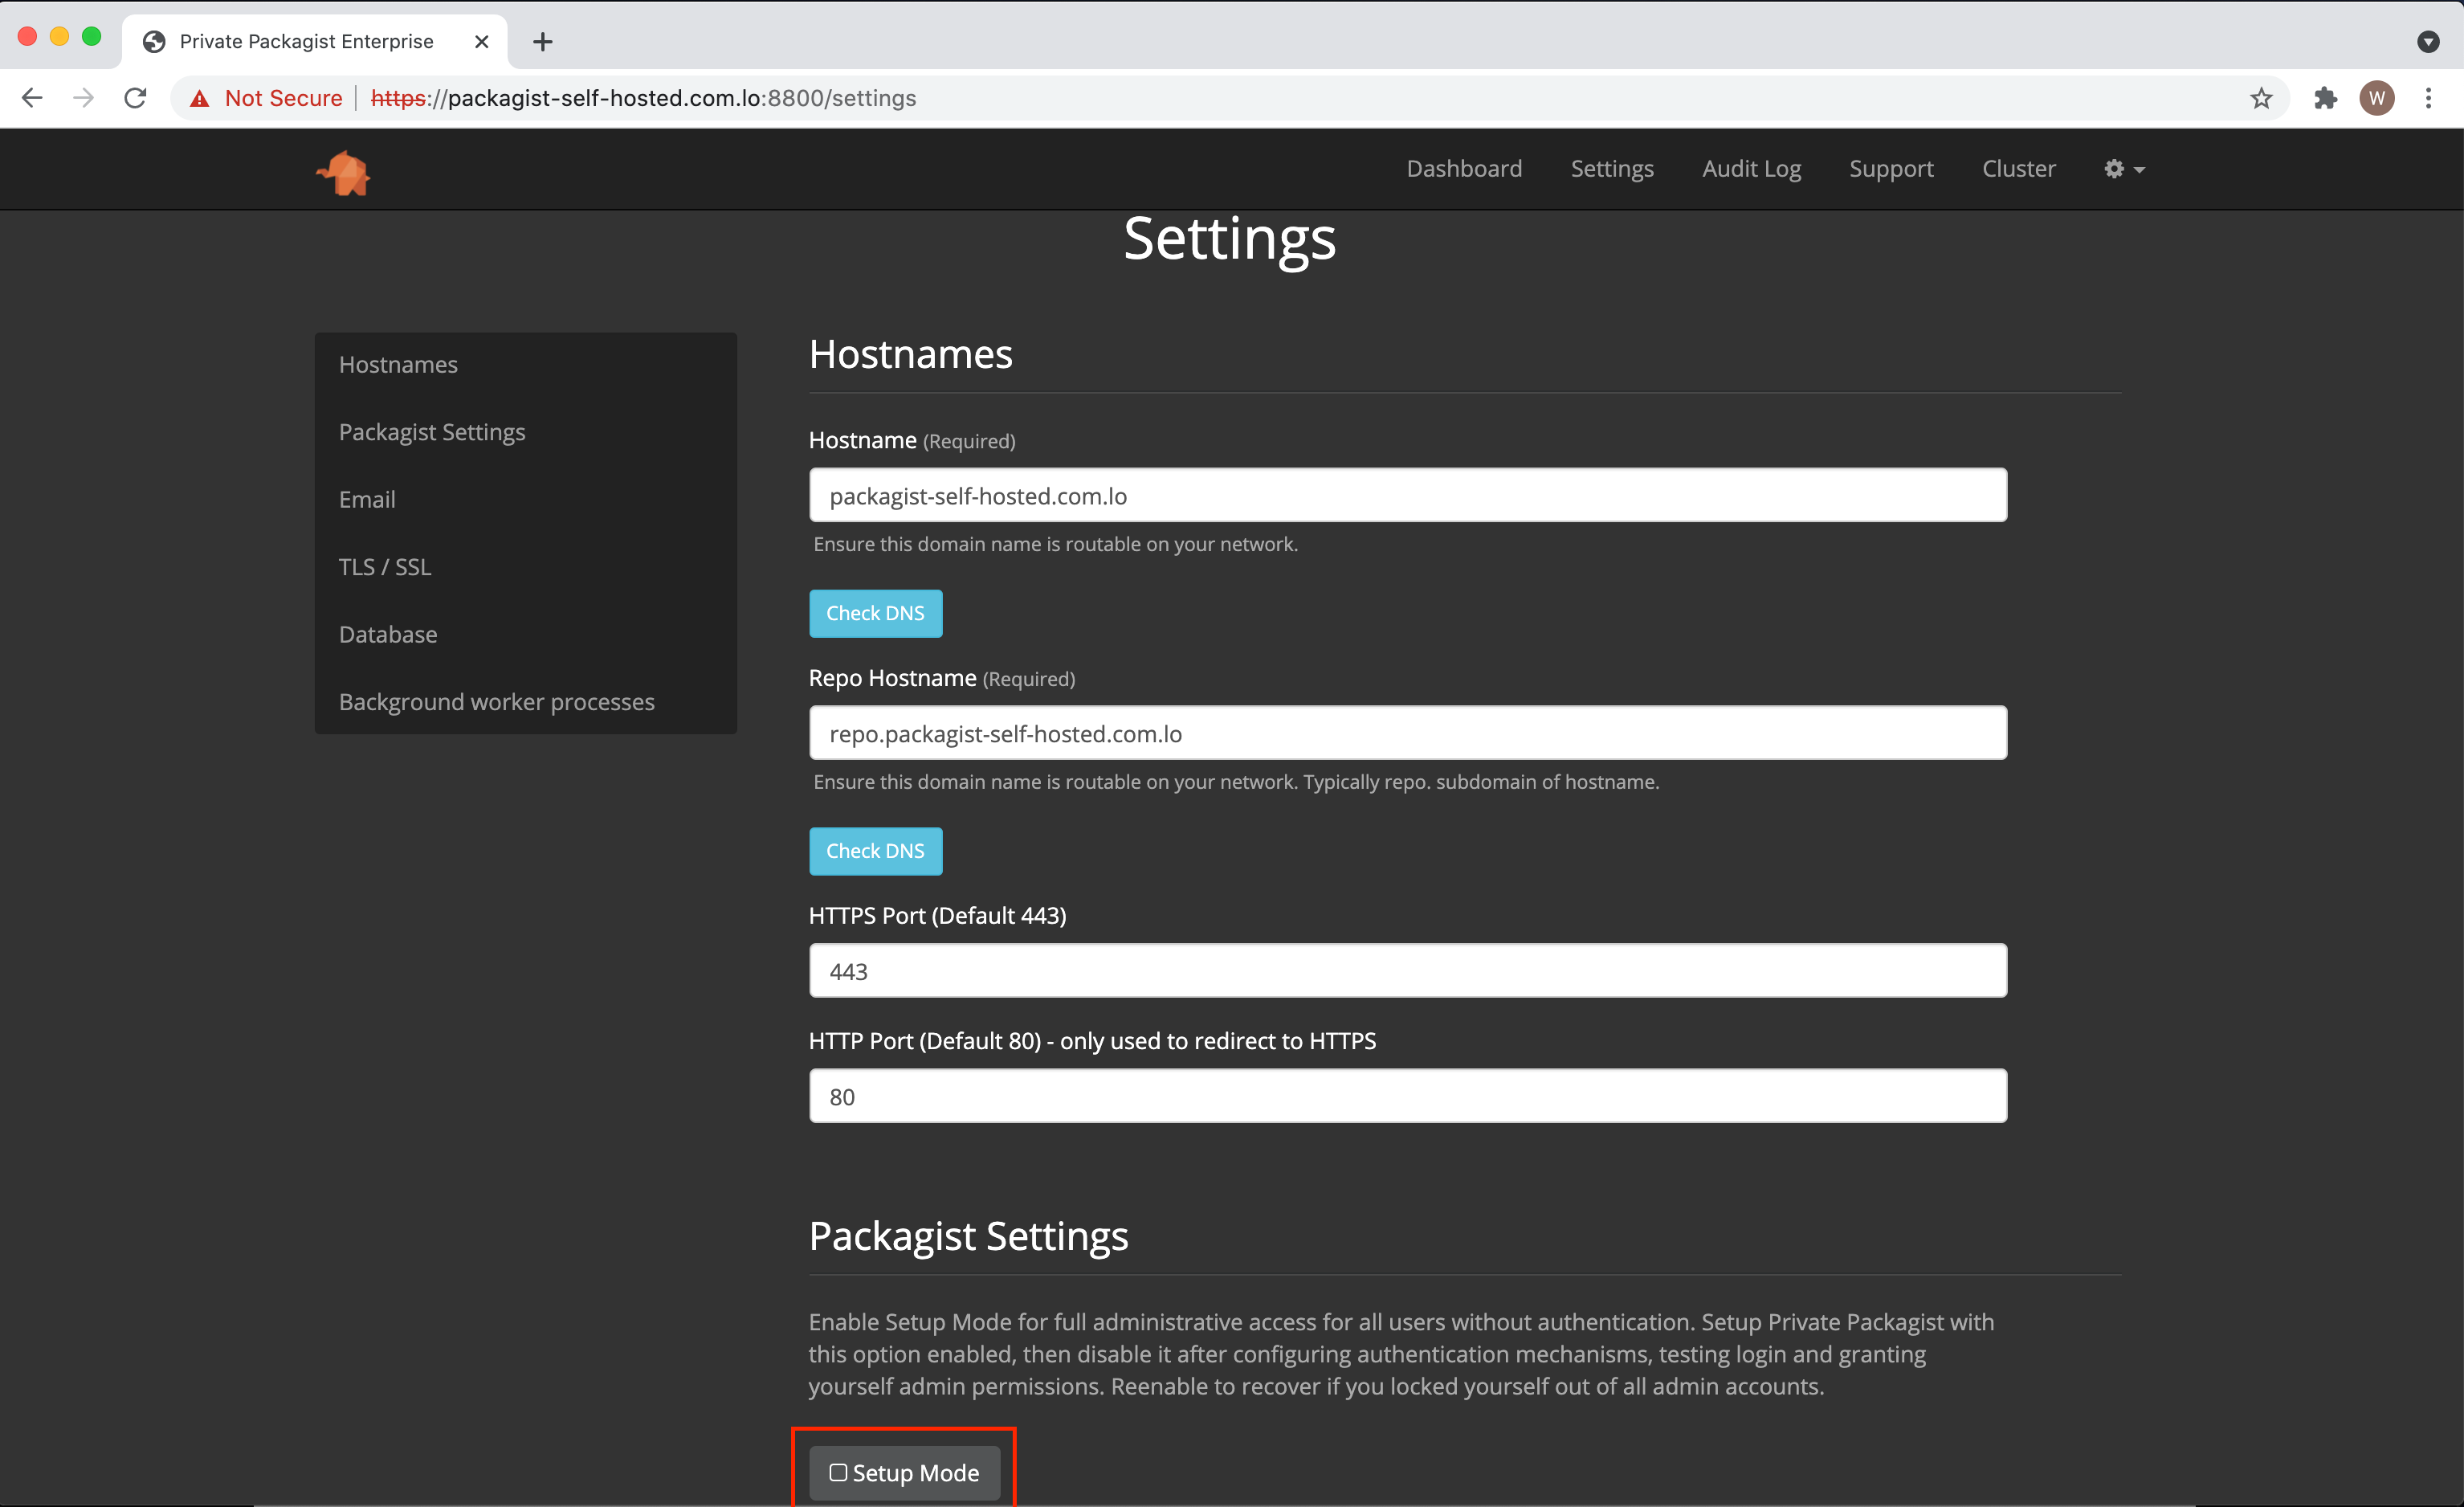
Apply the changes and wait while the application restarts.
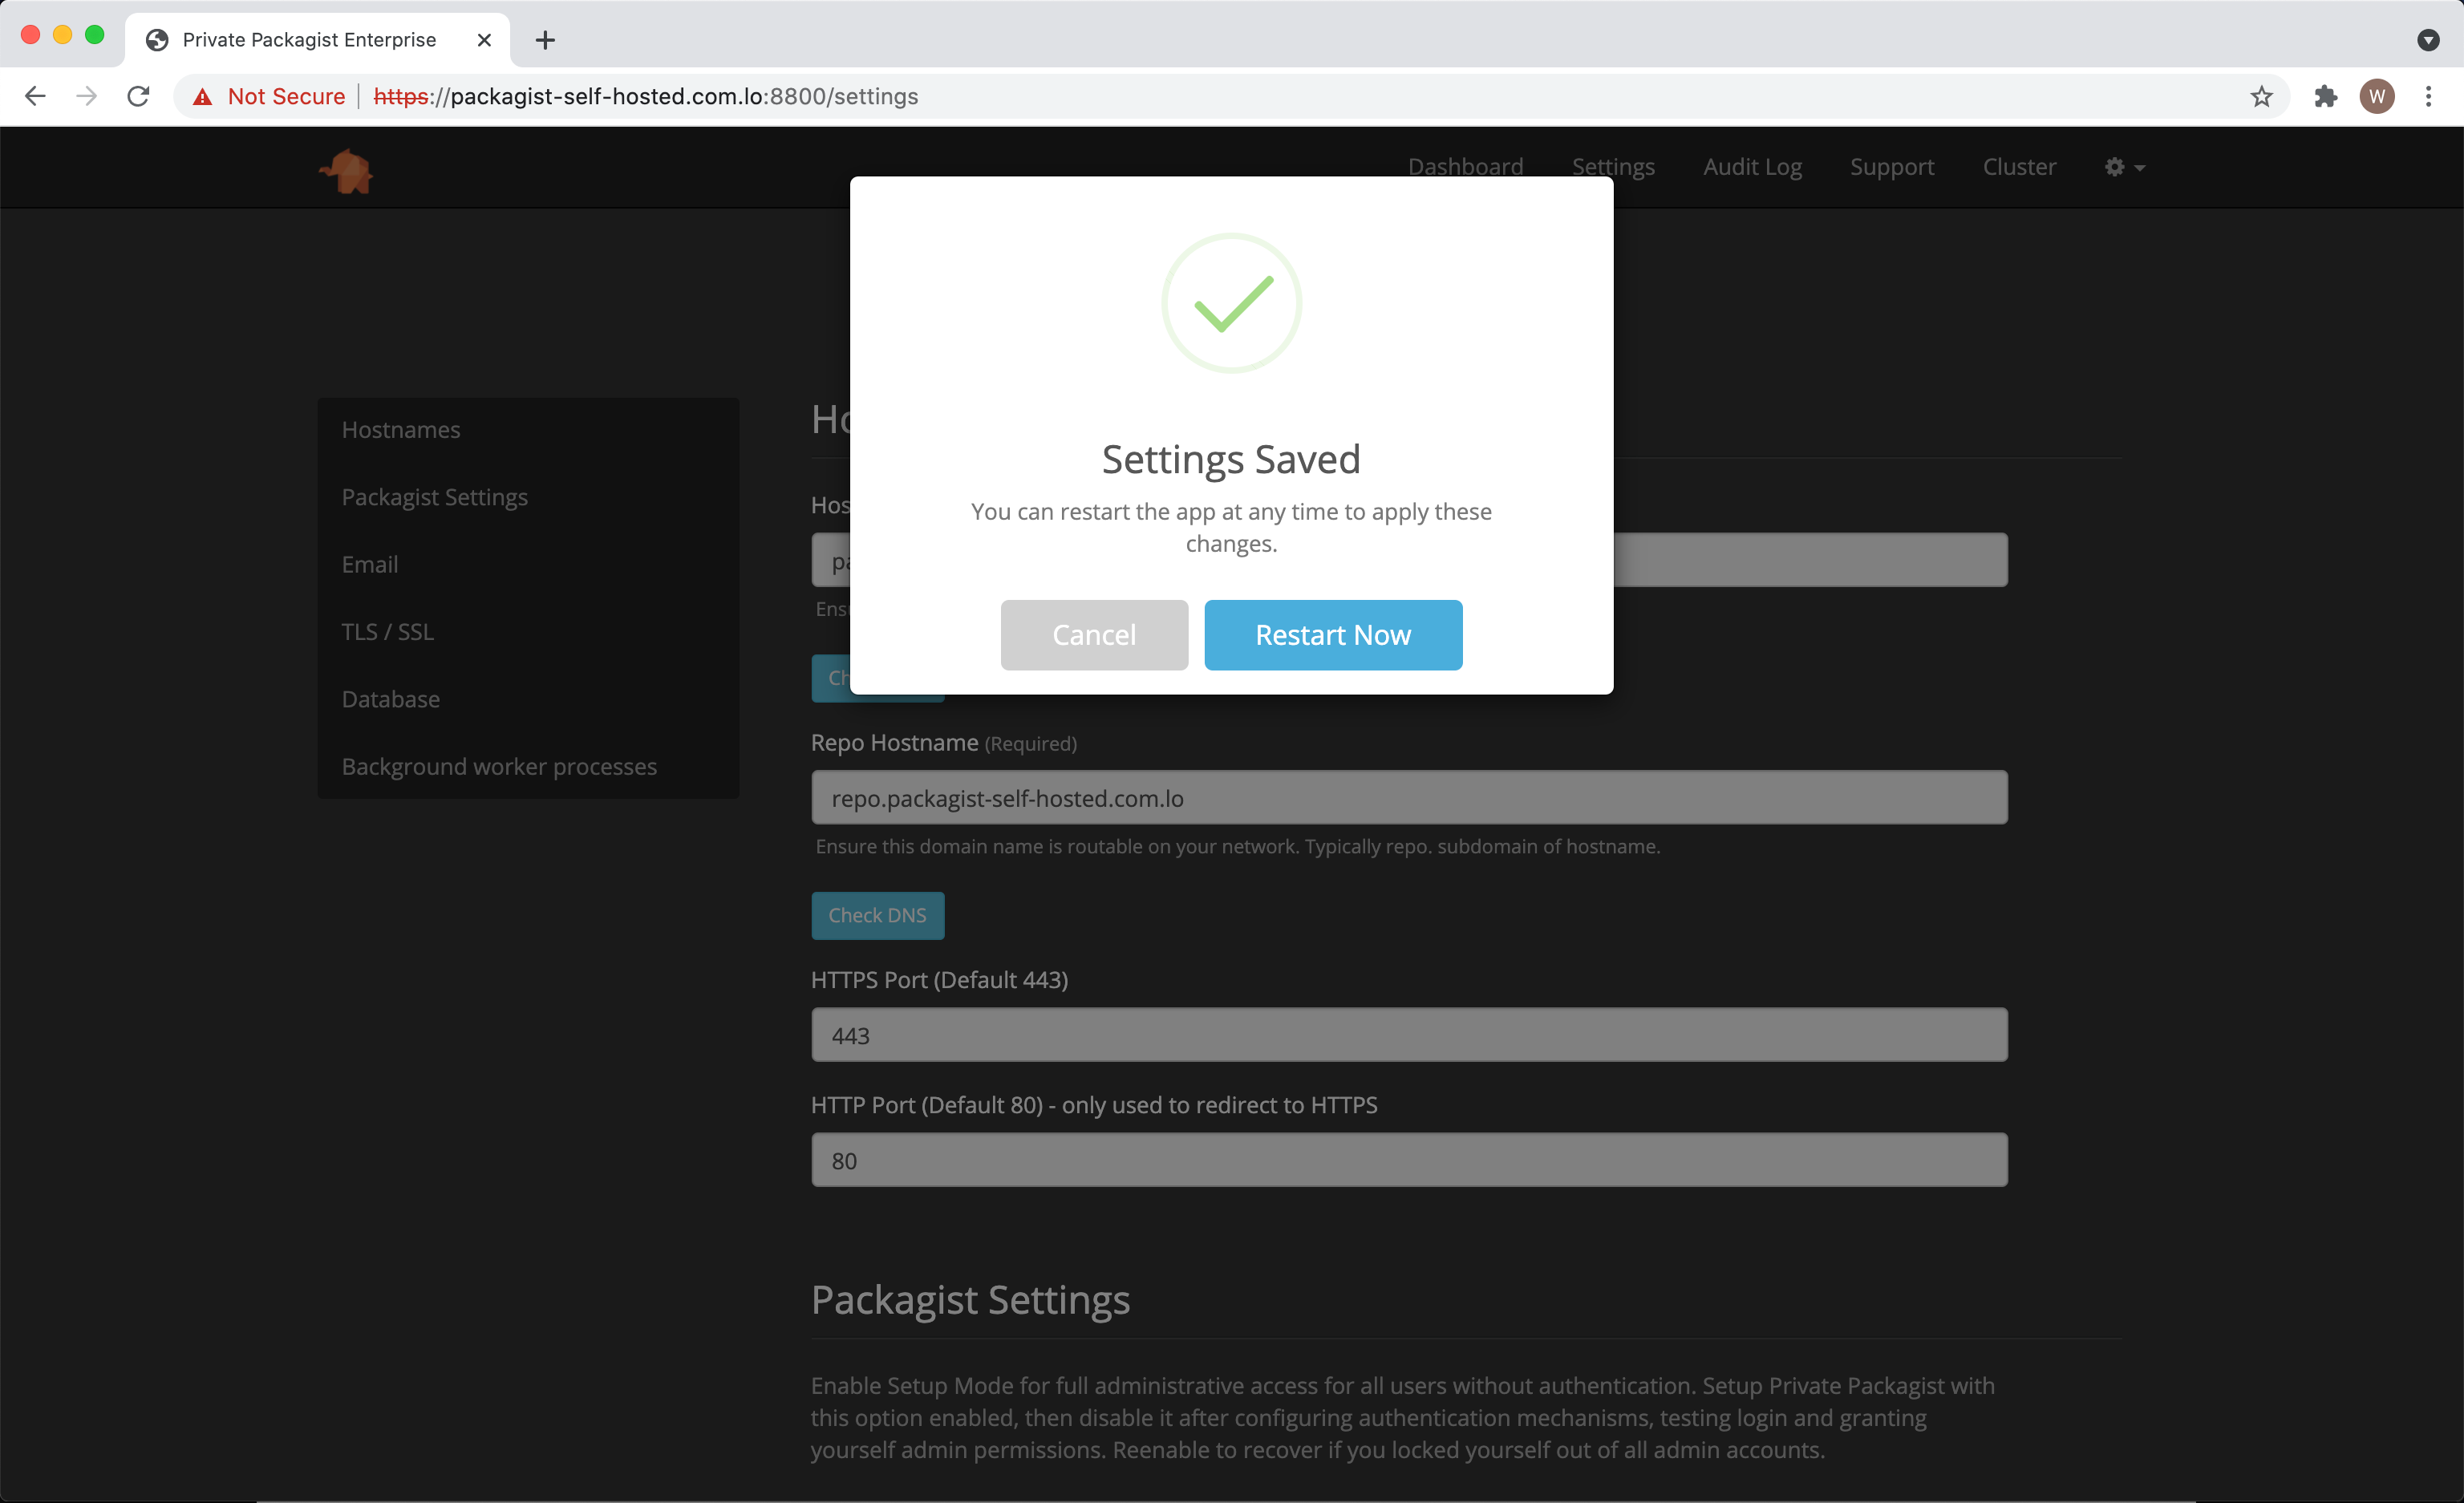
That’s it! Private Packagist Self-Hosted is now ready to be used! You’ll find all further information in the web interface.
Backups
Once the application is running you can create a snapshot in the management console using the “Start Snapshot” button. You can view a list of all snapshots created under “Snapshots” when you click on the gear icon on the menu bar. Further you can configure automatic regular snapshots in the “Console Settings” after clicking on the gear icon. We recommend you configure Snapshots to store files via SFTP or on S3 instead of locally to avoid a very slow snapshot process.
Snapshot are stored in `/var/lib/replicated/snapshots` on the Replicated host. This location may not be suitable for keeping large amounts of data. Additionally, by default, it is likely to be on the same physical volume as all other critical data. We highly recommend this location is configured to be on a separate volume with large capacity to ensure data can be recovered in case of a disaster.
If you ever need to restore the application from a snapshot you need to store it on the host’s hard drive before you start the management console. You can then select a snapshot at the setup step that asks for a license key file. See https://www.replicated.com/docs/kb/supporting-your-customers/restoring-from-a-snapshot/ for screenshots of the process.
Updates
Please see the Maintenance section for details about how to update your Private Packagist Self-Hosted setup.
Start Free Trial
Login to create an organization and start your free trial!

 Bitbucket
 GitHub
 GitLab
 Log in or register with email/password