Private Packagist Self-Hosted leverages the kots kubectl plugin by Replicated to run on a Kubernetes cluster. The plugin provides a management interface to your Private Packagist Self-Hosted installation and allows you to monitor the application and perform maintenance operations such as backups or updates.
This page will guide you through an installation without an existing cluster. To instead install Private Packagist Self-Hosted in an existing Kubernetes cluster using Helm follow this guide.
General requirements
- License Key File (file extension .yaml) Don't have one yet? Sign up for a free trial license!
- One (sub-)domain to operate the web interface, e.g. packagist.myintranet.com
- One (sub-)domain to operate the composer repository, e.g. repo.packagist.myintranet.com or packagist-repo.myintranet.com
- An SSL certificate valid for both chosen domains or use Let's Encrypt to generate a certificate for you
- An SMTP server or a GMail account for Private Packagist Self-Hosted to send email
- A Linux Server
- A supported operating system
- At least 8GB memory
- At least 4 CPU cores
- At least 80GB disk space (or 40GB of disk space if a hosted Redis, PostgreSQL, and blob storage are used)
- Ports 80, 443, and 8800 must be accessible, for a full list of ports
- Must be reachable at the chosen domain names from your local machine
- If your firewall restricts external connections the following domains must be accessible from the server:
- packagist.org
- index.docker.io
- cdn.auth0.com
- *.docker.io
- *.docker.com
- replicated.app
- proxy.replicated.com
- registry.replicated.com
- kots.io (required to install the kots CLI)
- github.com (required to install the kots CLI)
- k8s.kurl.sh (required to install the kots CLI)
- s3.kurl.sh (required to install the kots CLI)
- amazonaws.com (required to install the kots CLI)
- Please also consult the list in the Replicated documentation.
- To mirror Composer packages in Private Packagist, the following domains must also be accessible:
- *.packagist.org (required to fetch package metadata)
- github.com (required to download ZIP files for mirrored packages)
- api.github.com (required to download ZIP files for mirrored packages)
- Any other mirrored third-party repository you use like drupal.org, asset-packagist.org, or repo.magento.com
Installation
To install Private Packagist Self-Hosted and Replicated run the command below. To learn more about options for the easy install script, please refer to the kURL documentation.
curl -sSL https://kurl.sh/privatepackagistkots | sudo bash
To log in to the admin console, you will need the password shown at the end of the install command. You can also always
regenerate the admin console password via sudo kubectl kots reset-password privatepackagistkots.
After your Replicated Kubernetes cluster is up and running you can follow the rest of the Packagist guide.
Replicated Configuration
Replicated Setup
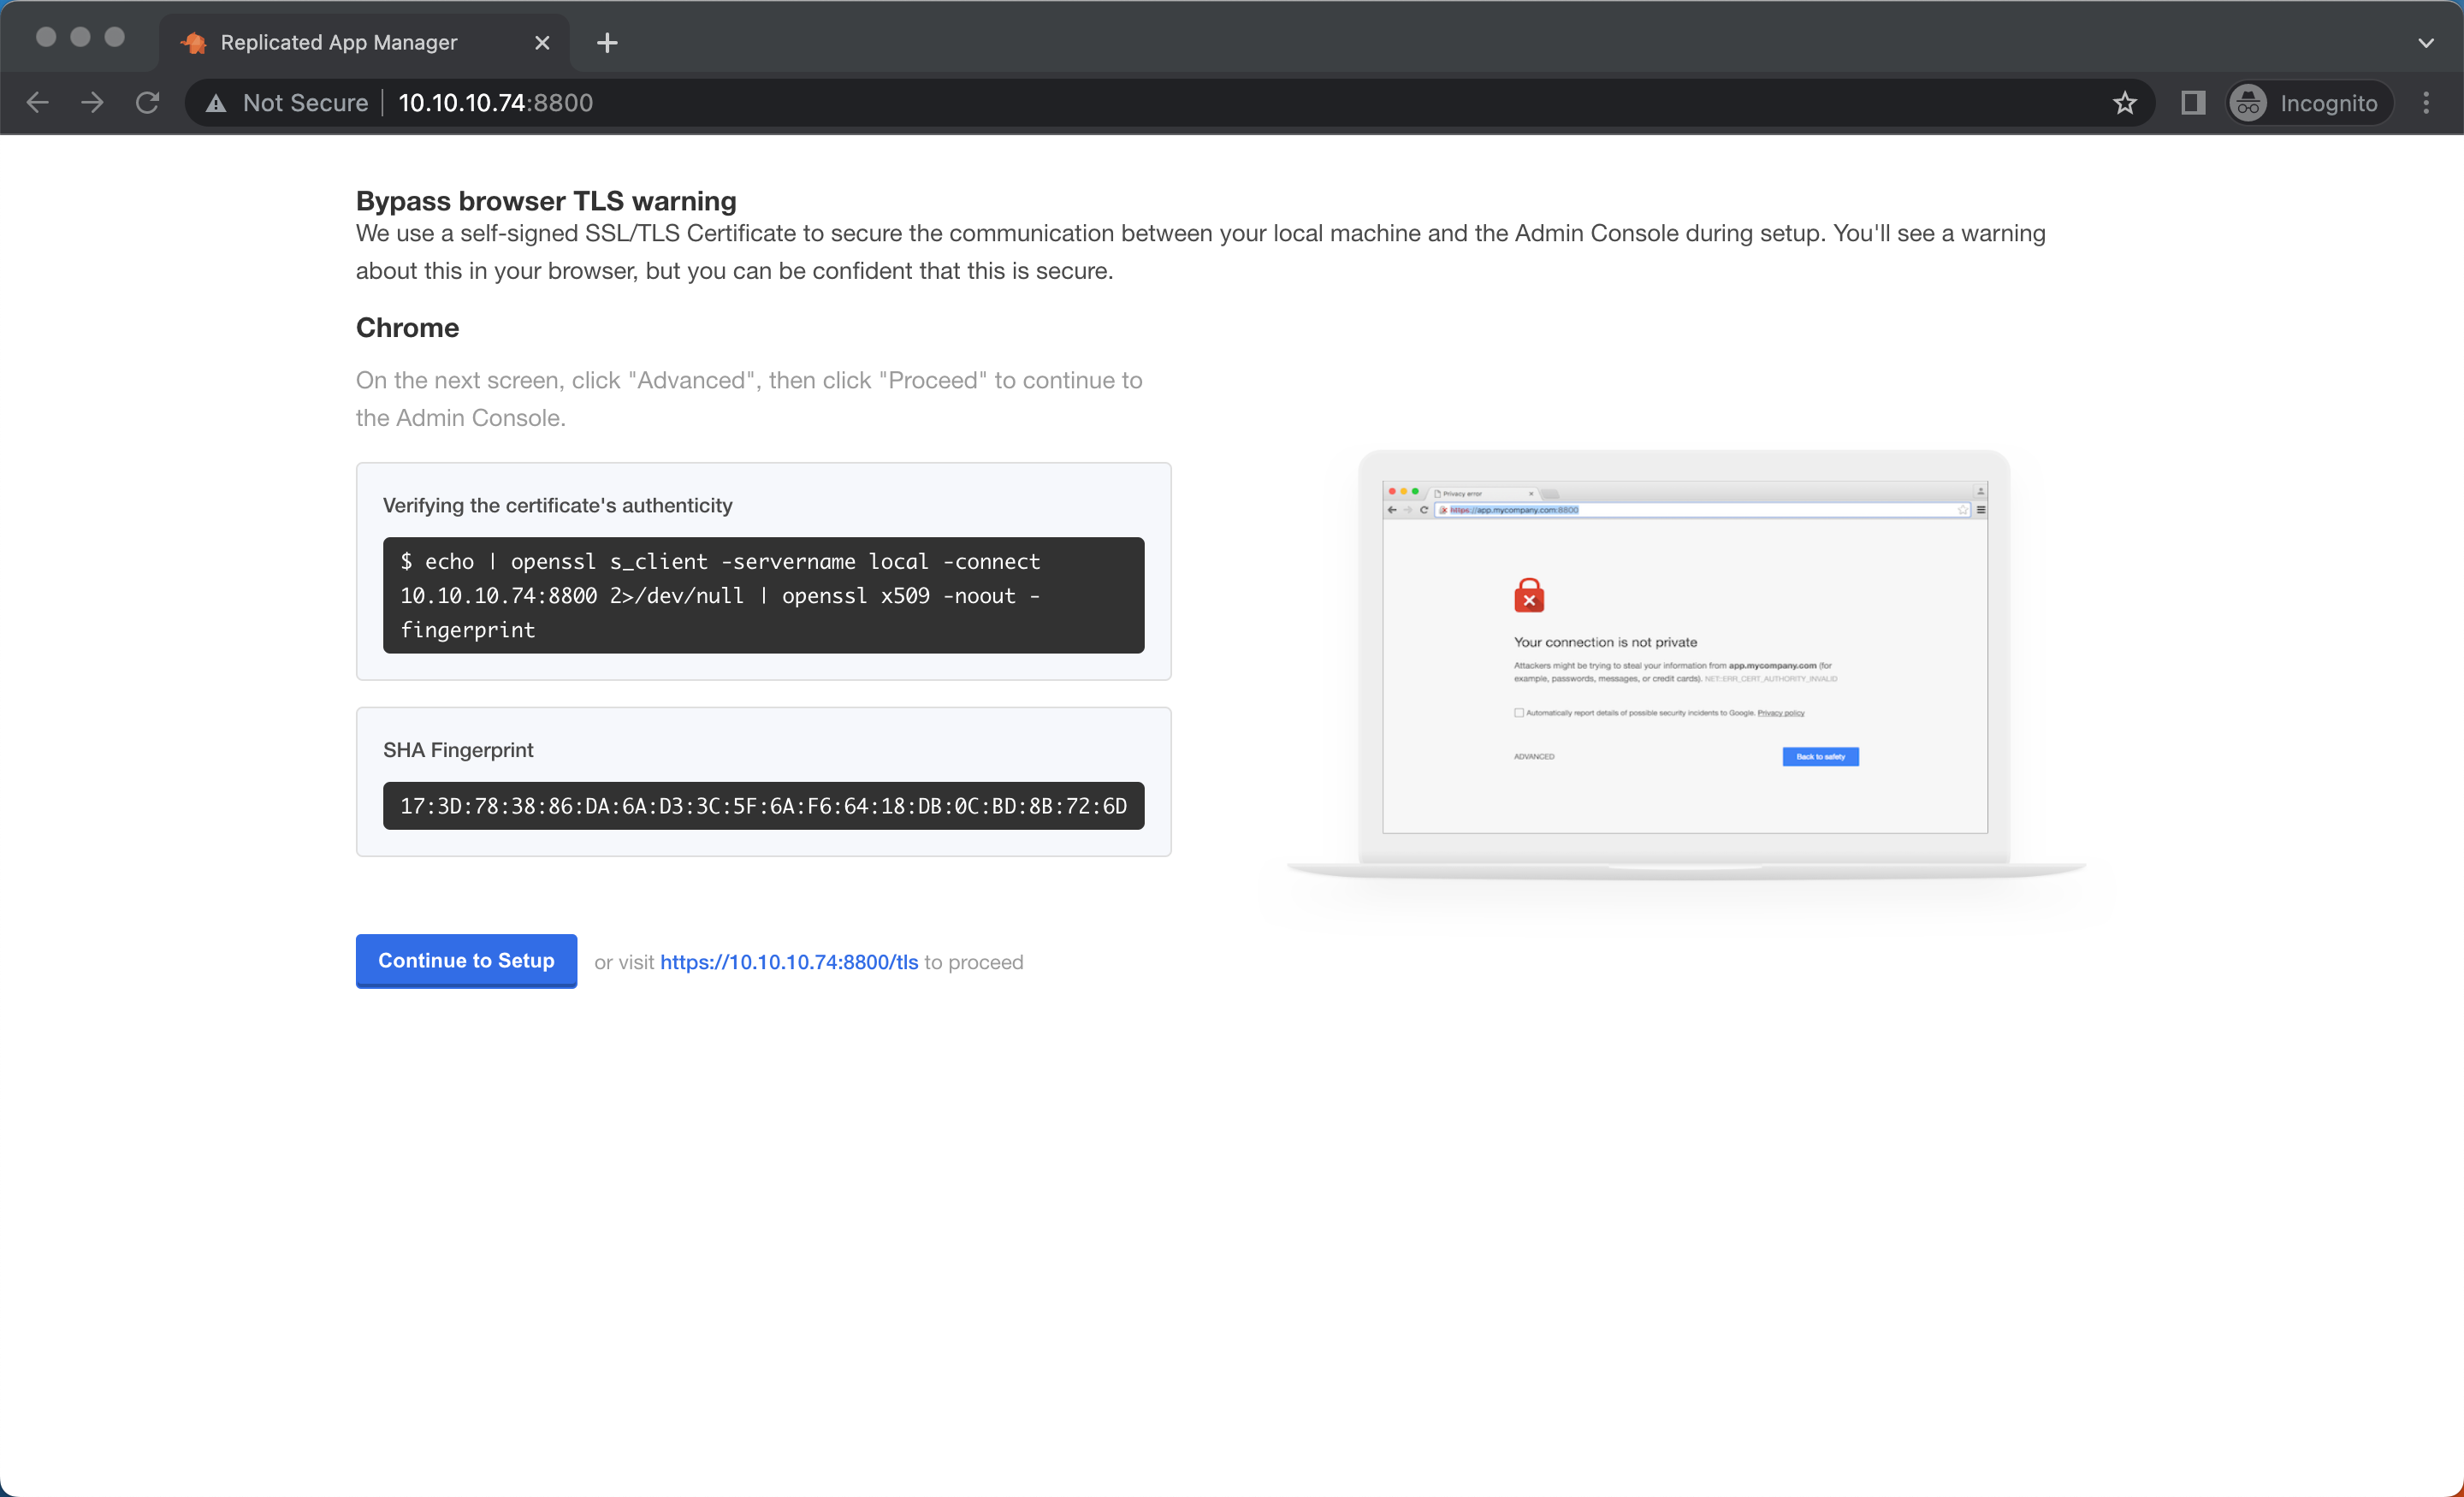
Once Replicated’s services are installed on your server you need to access the management console on your browser. It’s available via SSL on port 8800. Open https://packagist.myintranet.com:8800/ in your browser (replace the domain with your own). You will have to proceed despite the security warning (since your certificate is still missing).
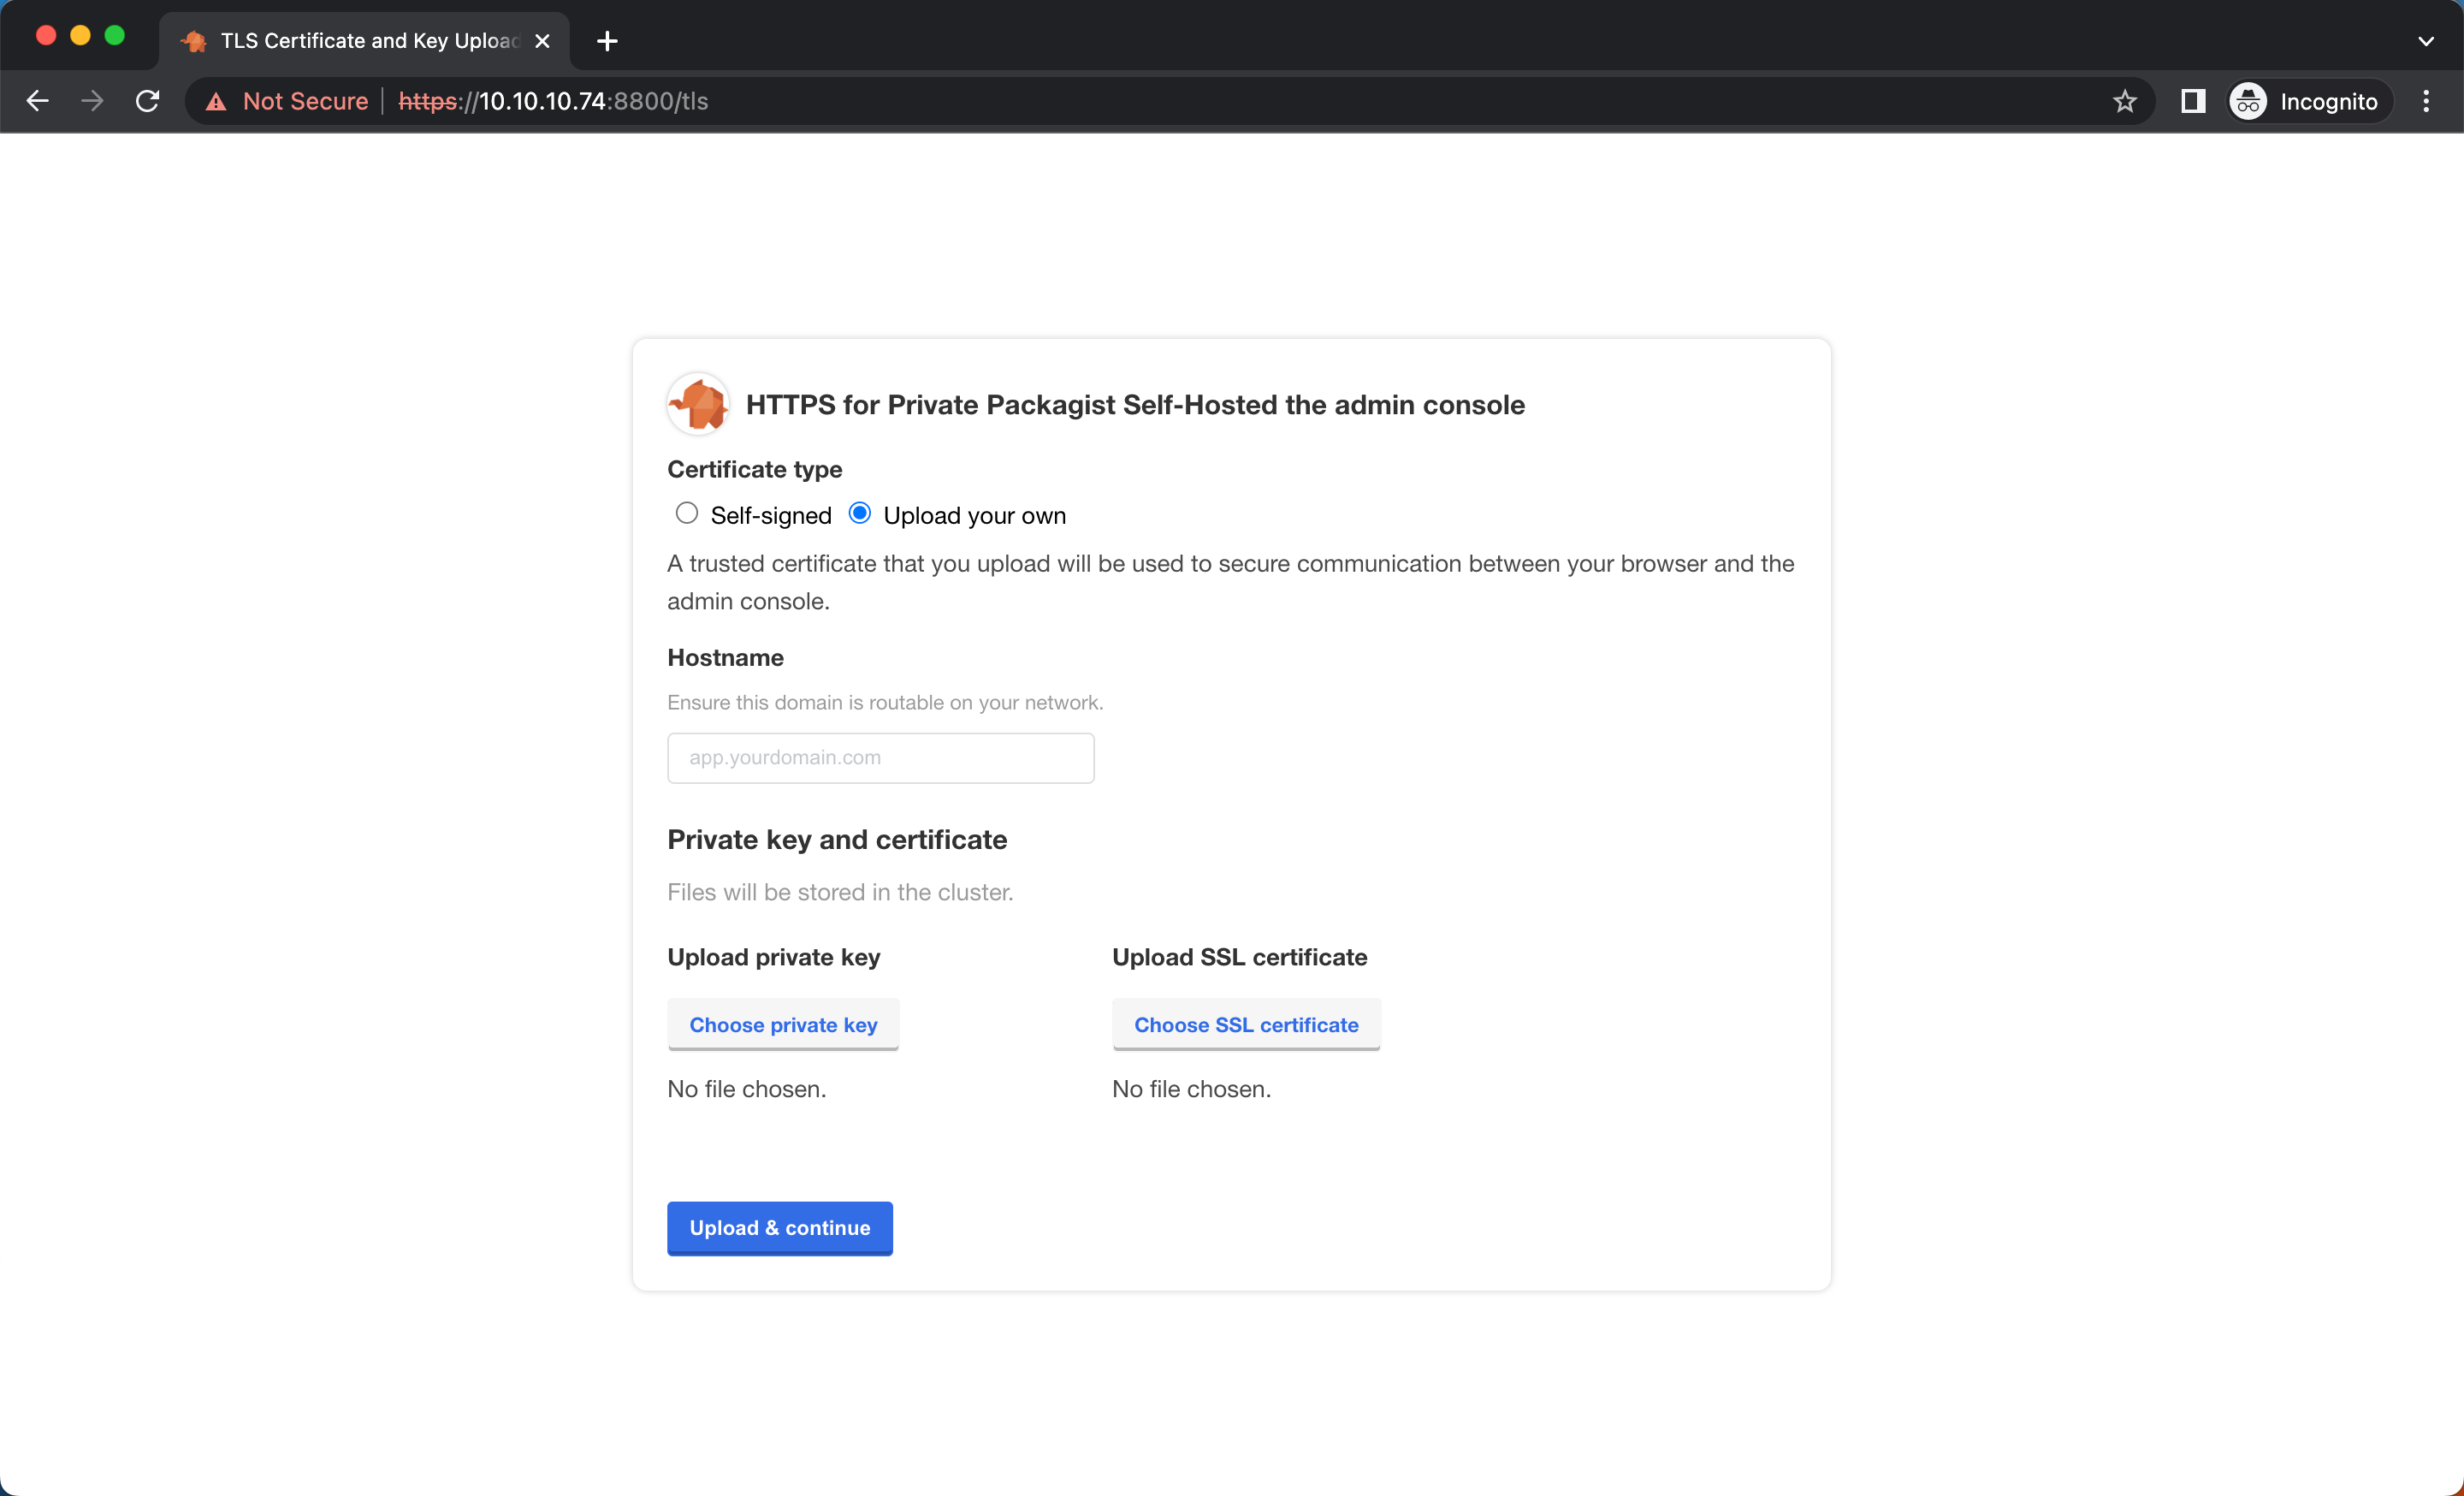
Upload your SSL certificate on the next screen. SSL should work correctly from the next page. If your certificate requires intermediate certificates to be recognized by your browser and/or Composer, you can paste them into the certificate file together with your own certificate. Make sure your own certificate comes first, any intermediate certificate next and the root certificate last. If the order is off replicated will not recognize your certificate at all.
If instead you would like to use Let's Encrypt to automatically generate a certificate for Private Packagist then you can continue with the self-signed certificate for now. Please note that the Let's Encrypt certificate won't be used for the admin console.
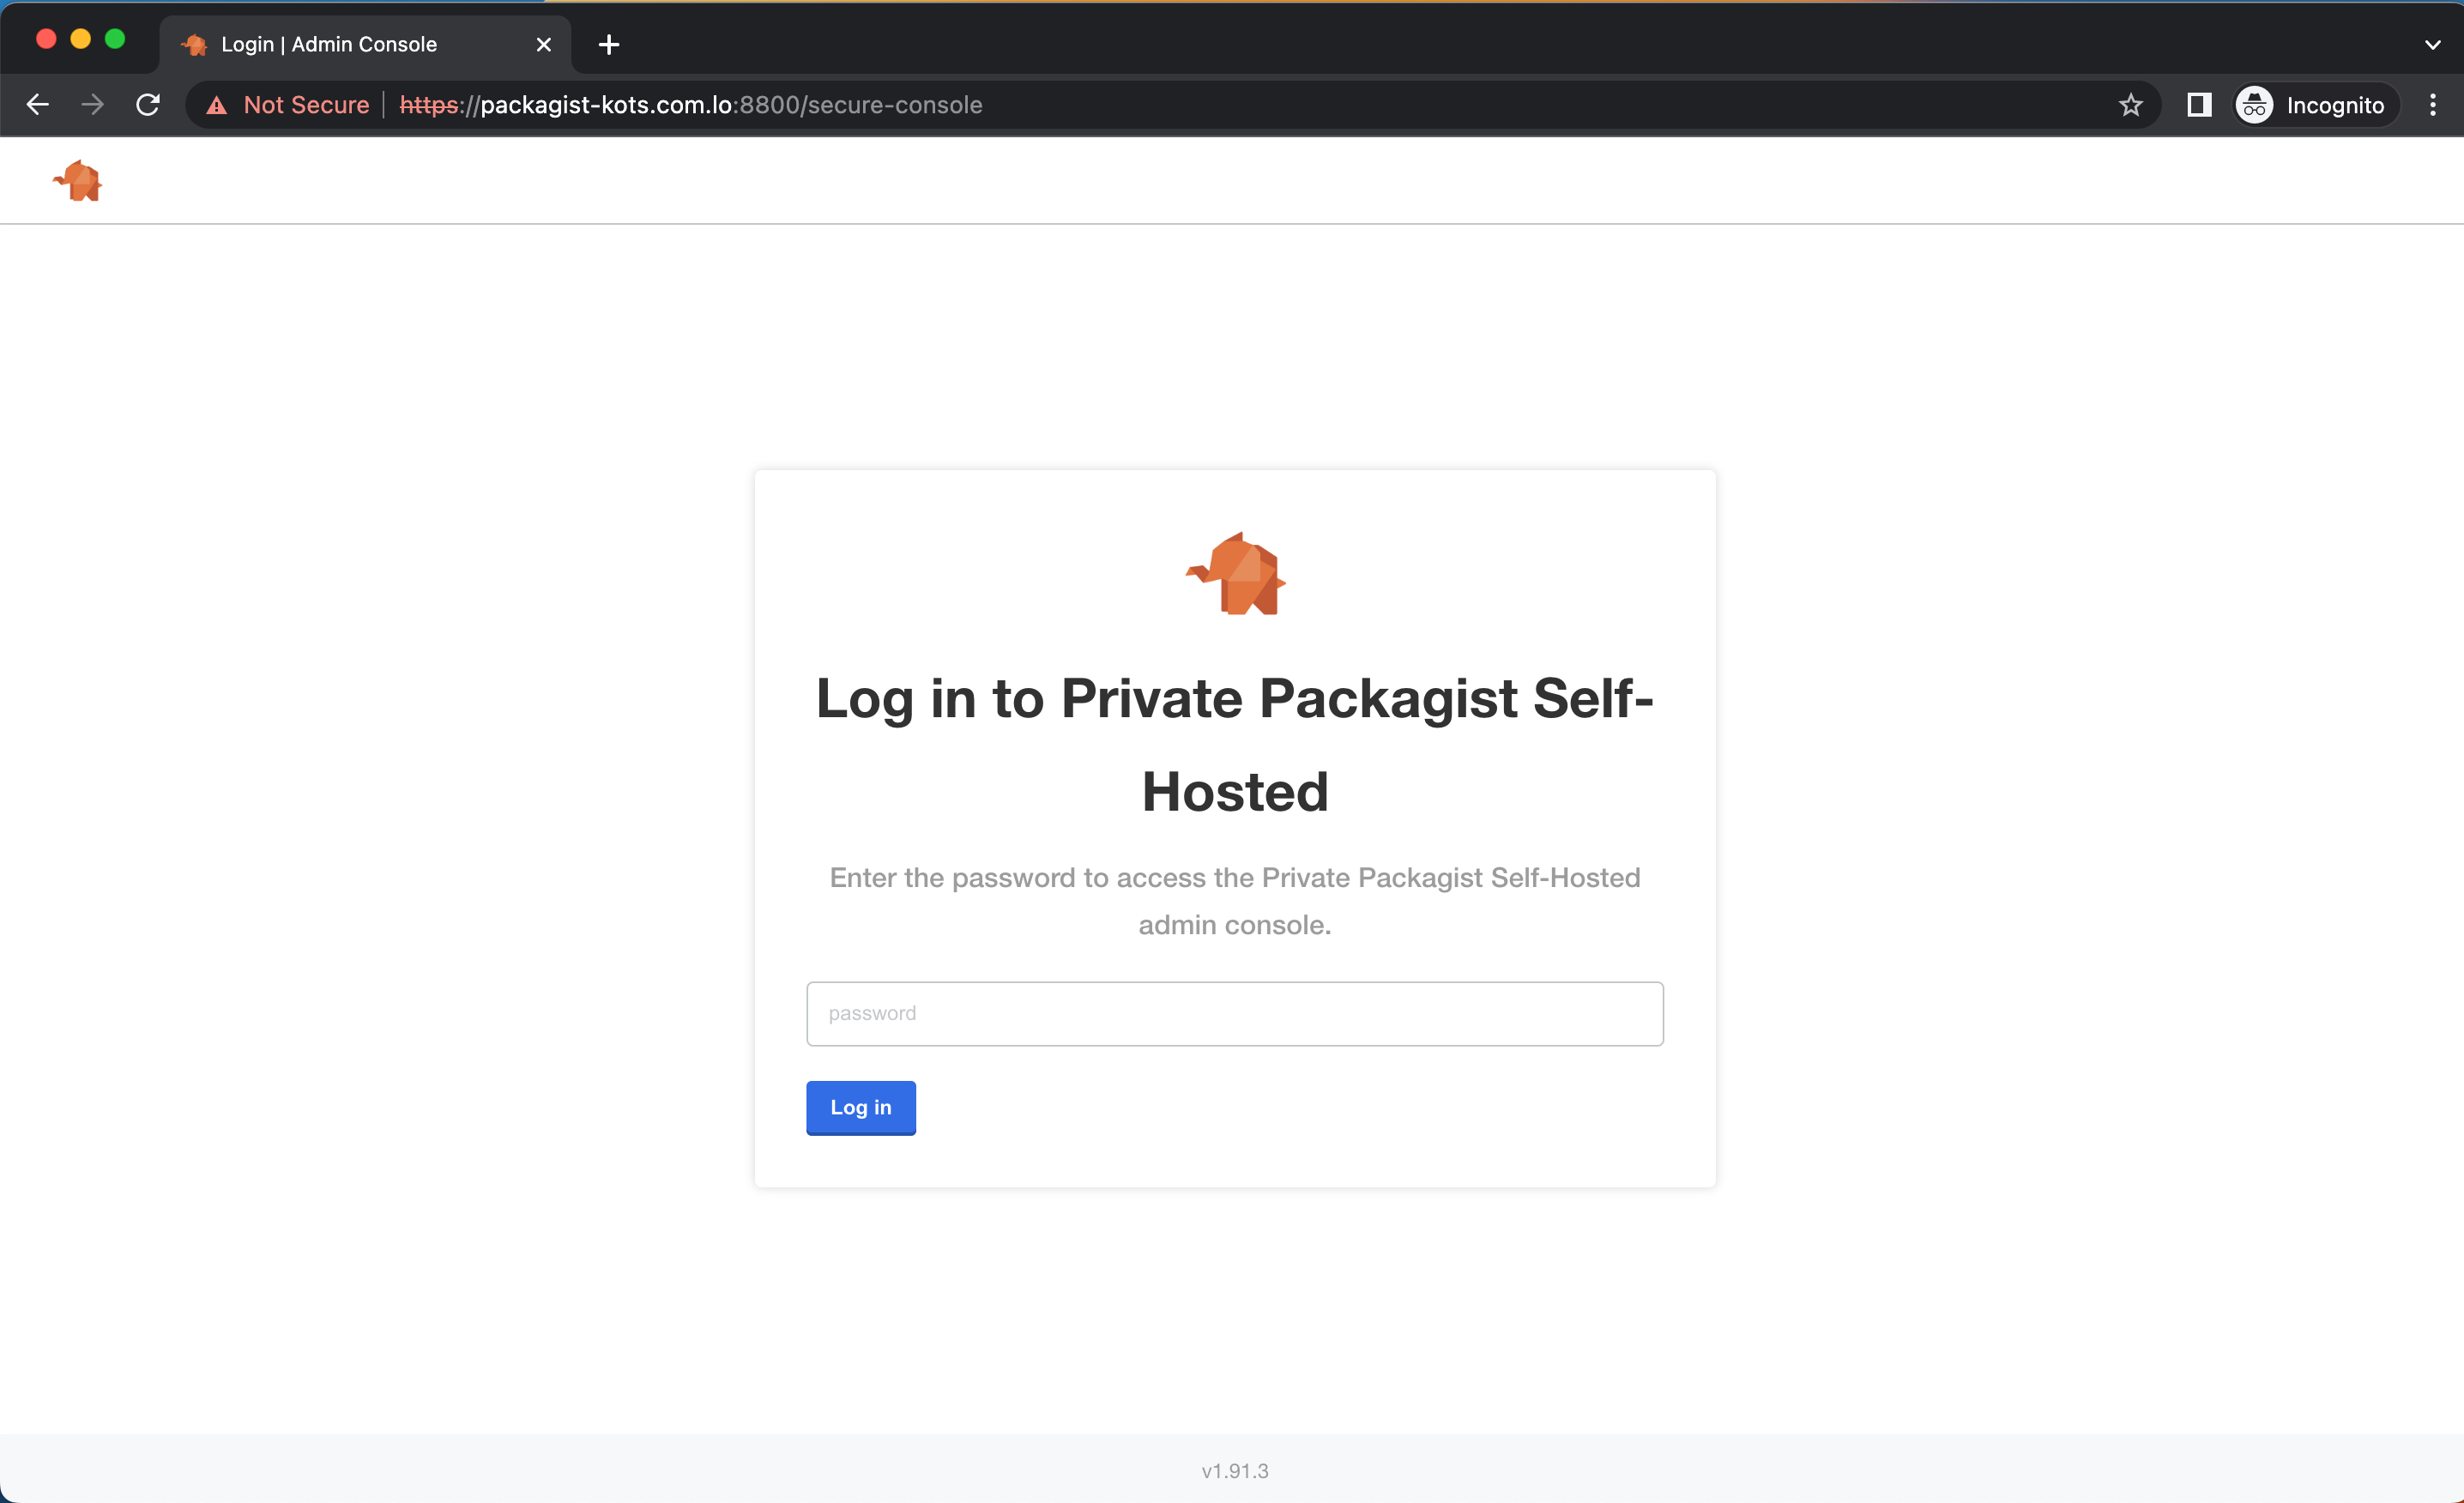
Login to the admin console using the password generated during the kots application installation.
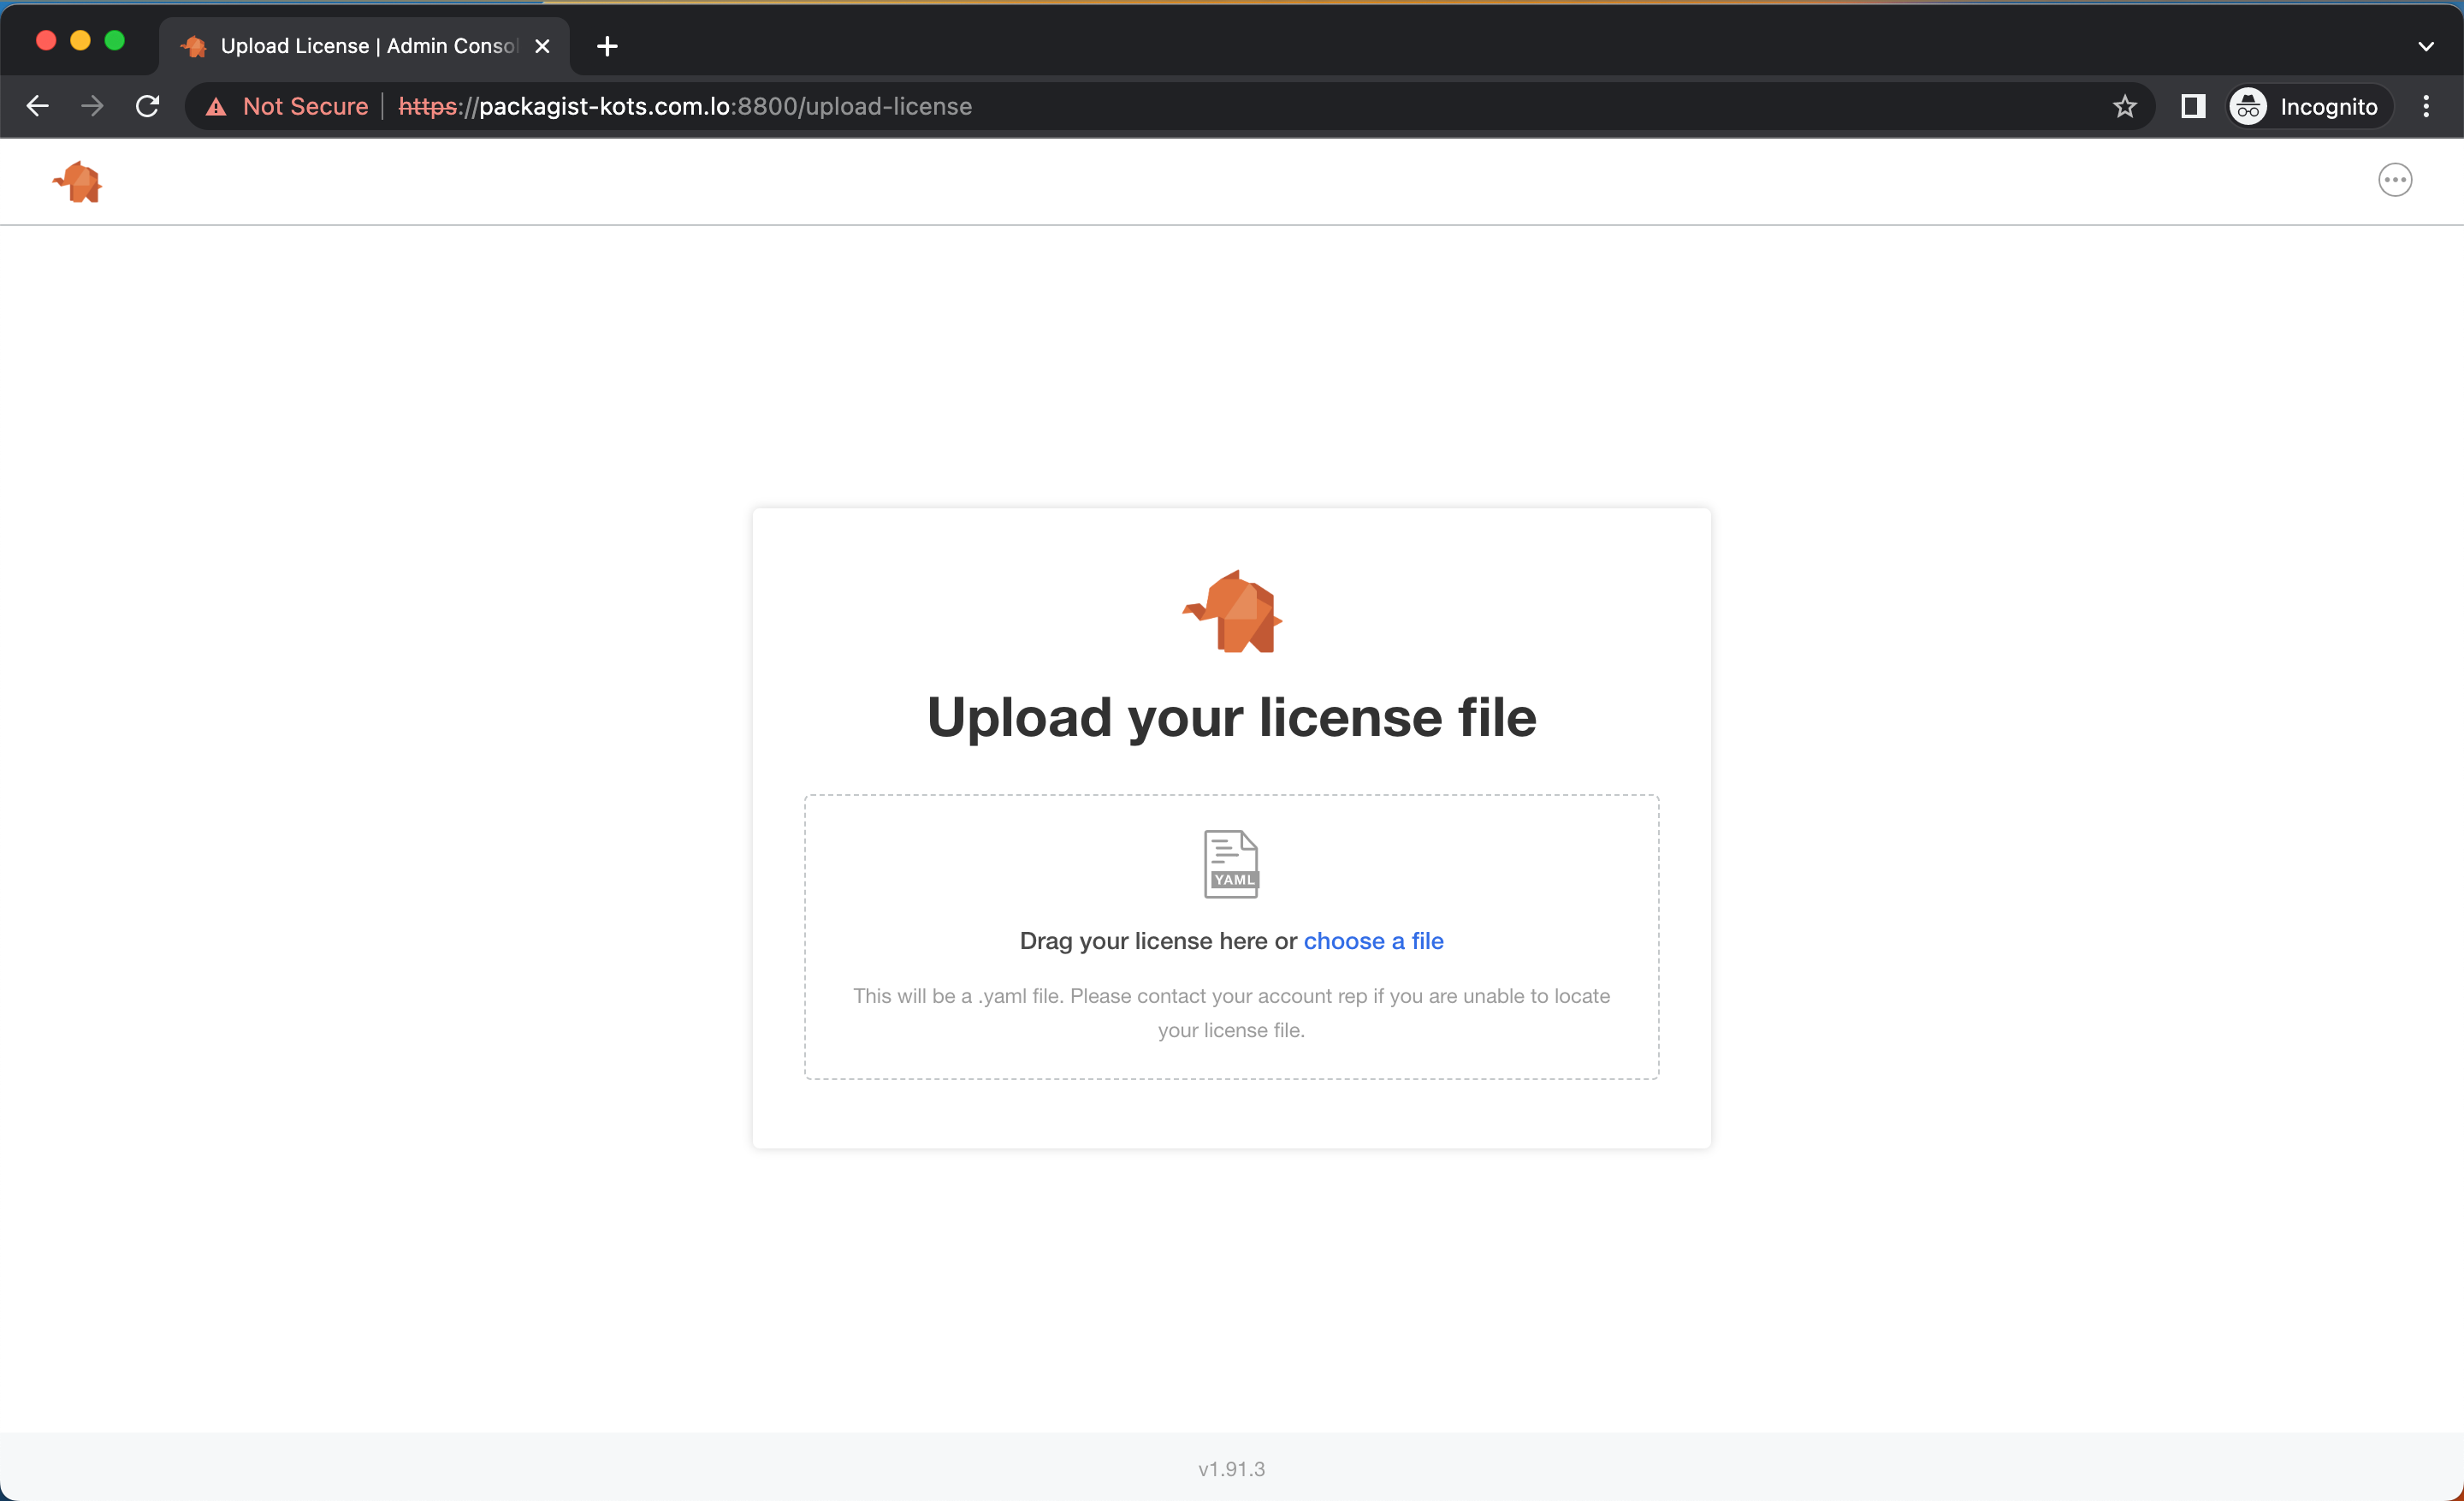
On the next screen, you can upload the supplied .yaml license key file. If you don't have the license key file yet then you can download it from https://packagist.com.
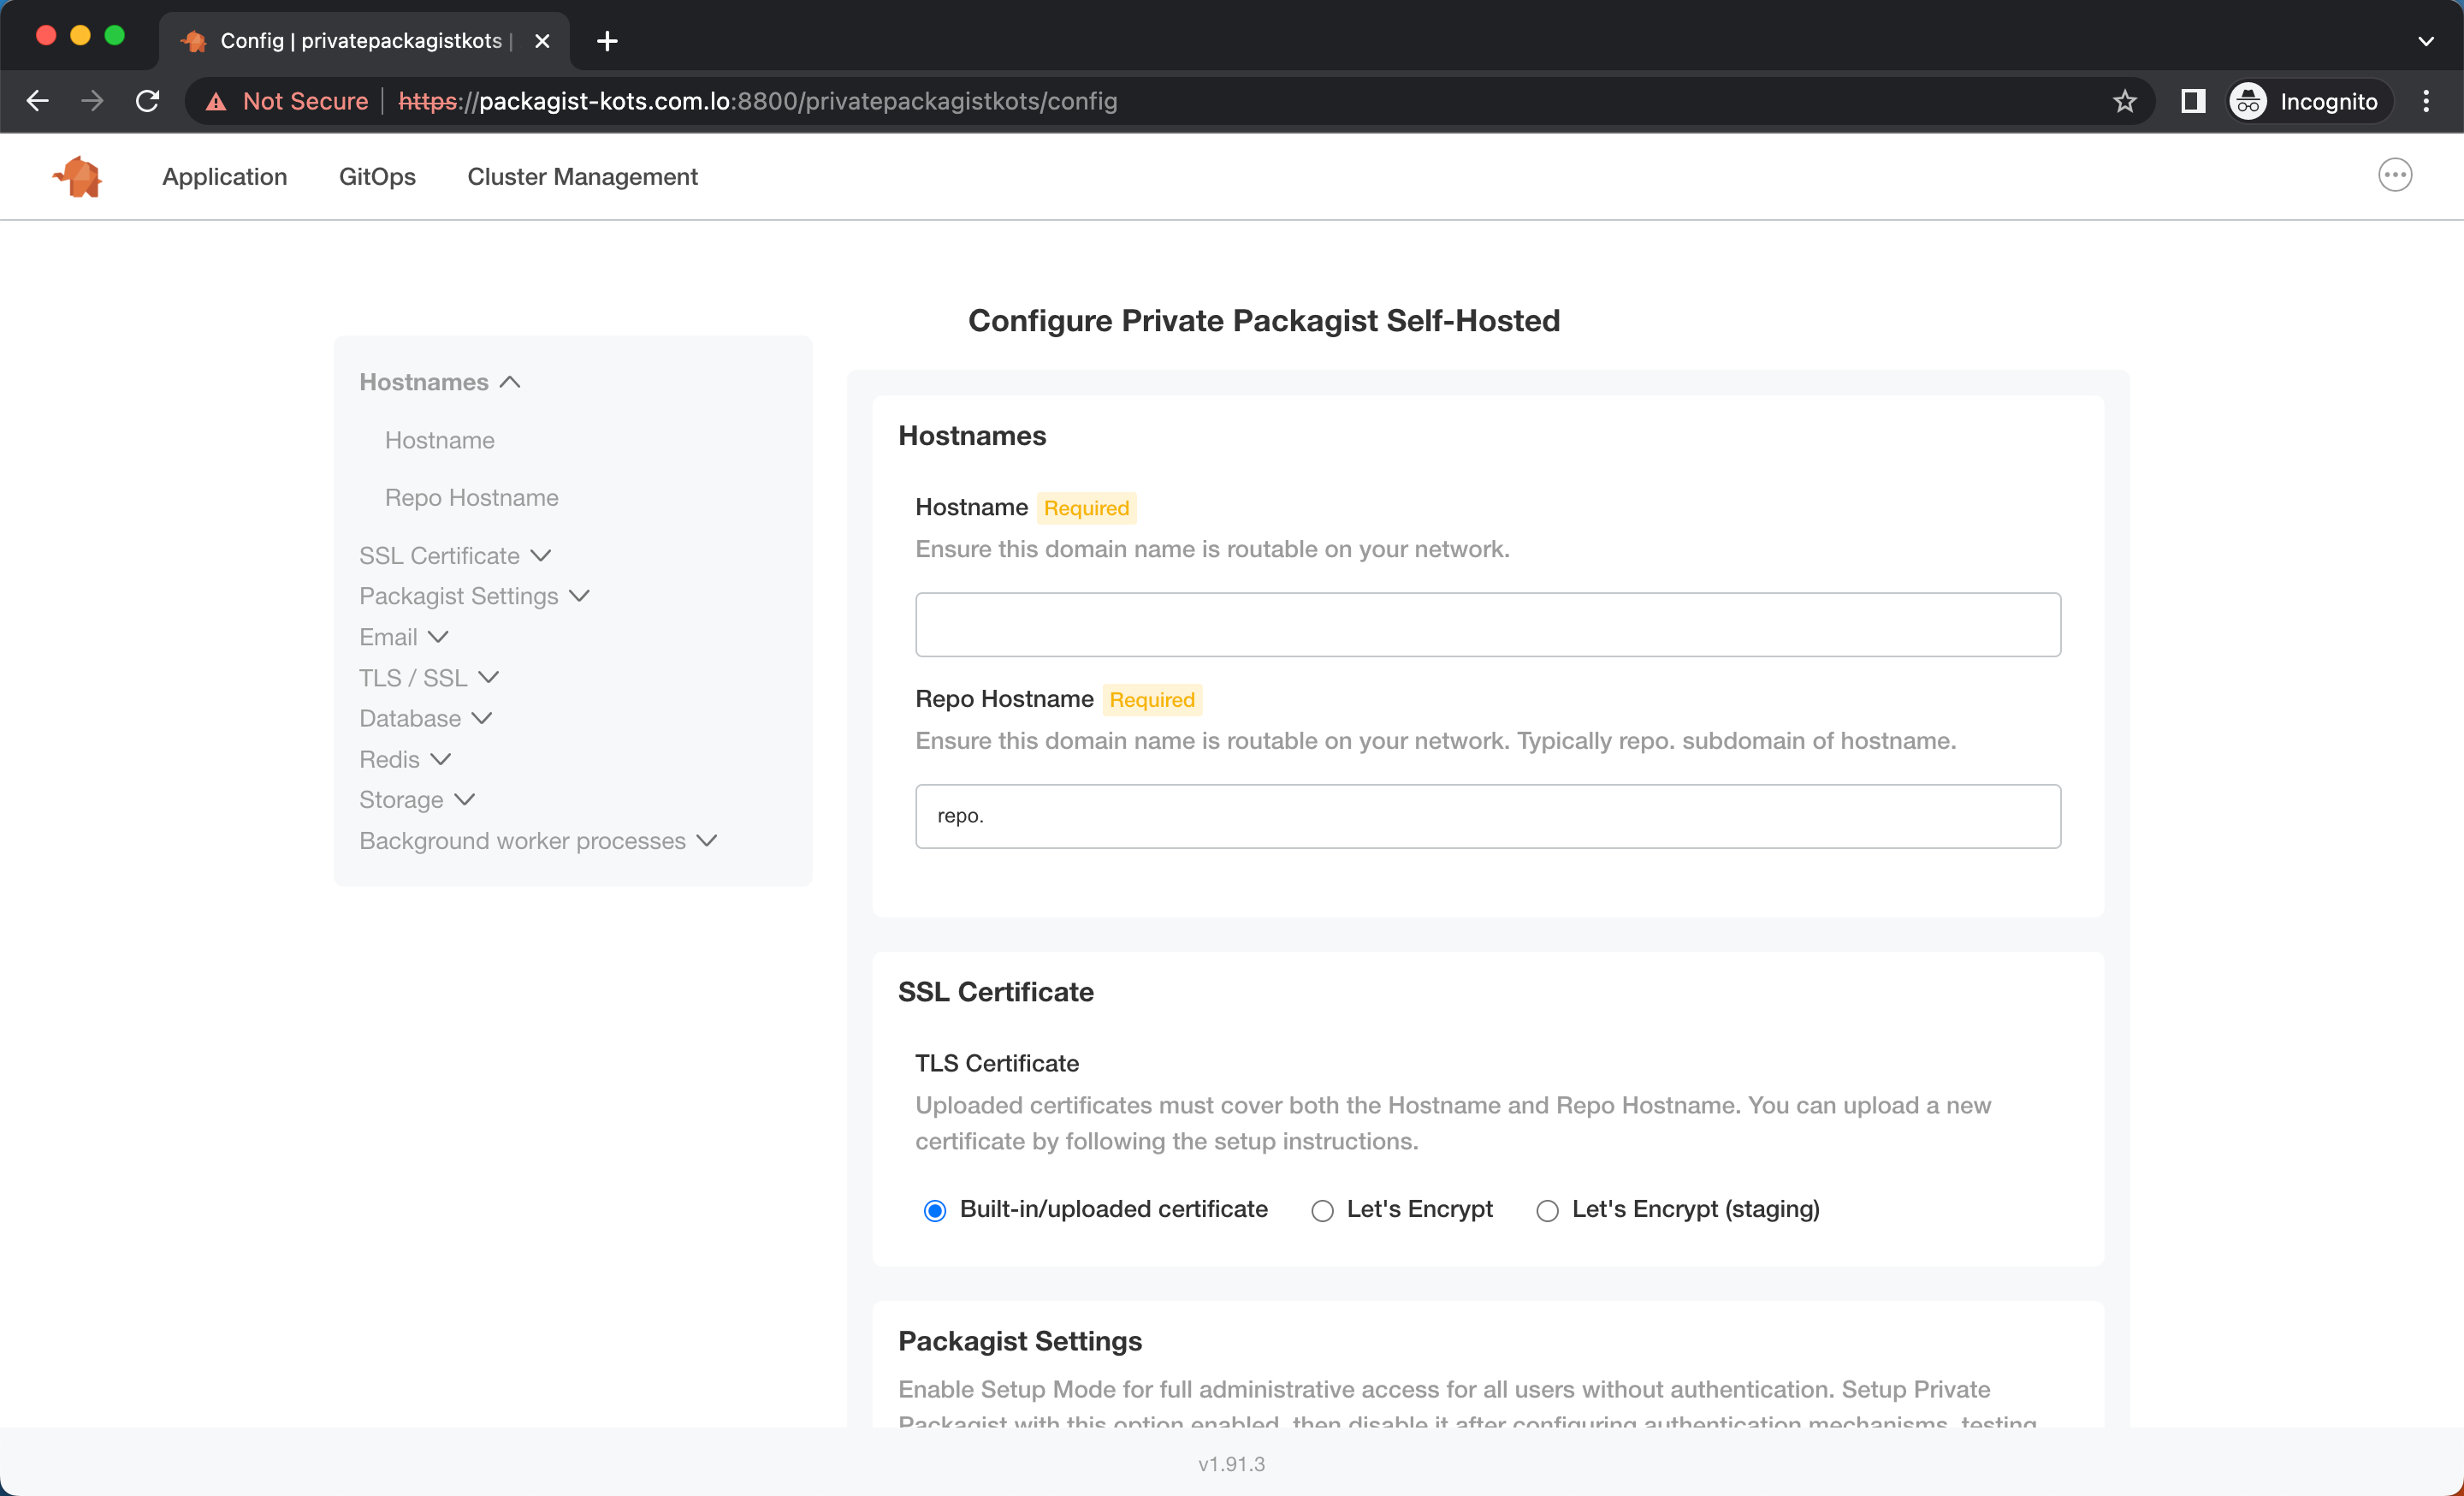
Configure Private Packagist Self-Hosted
Please note that the built-in services (PostgreSQL, MinIO, Redis) are meant to be used with a single-node setup only, because these options rely on local file storage. Consult the documentation of your Cloud Provider what managed services can replace the built-in services (eg. for AWS RDS, S3 and ElastiCache)
The configuration screen is where you can set up the domains used for Private Packagist and the email configuration. It is also the place where you can configure if Private Packagist should use an existing Redis, PostgreSQL, or blob storage.
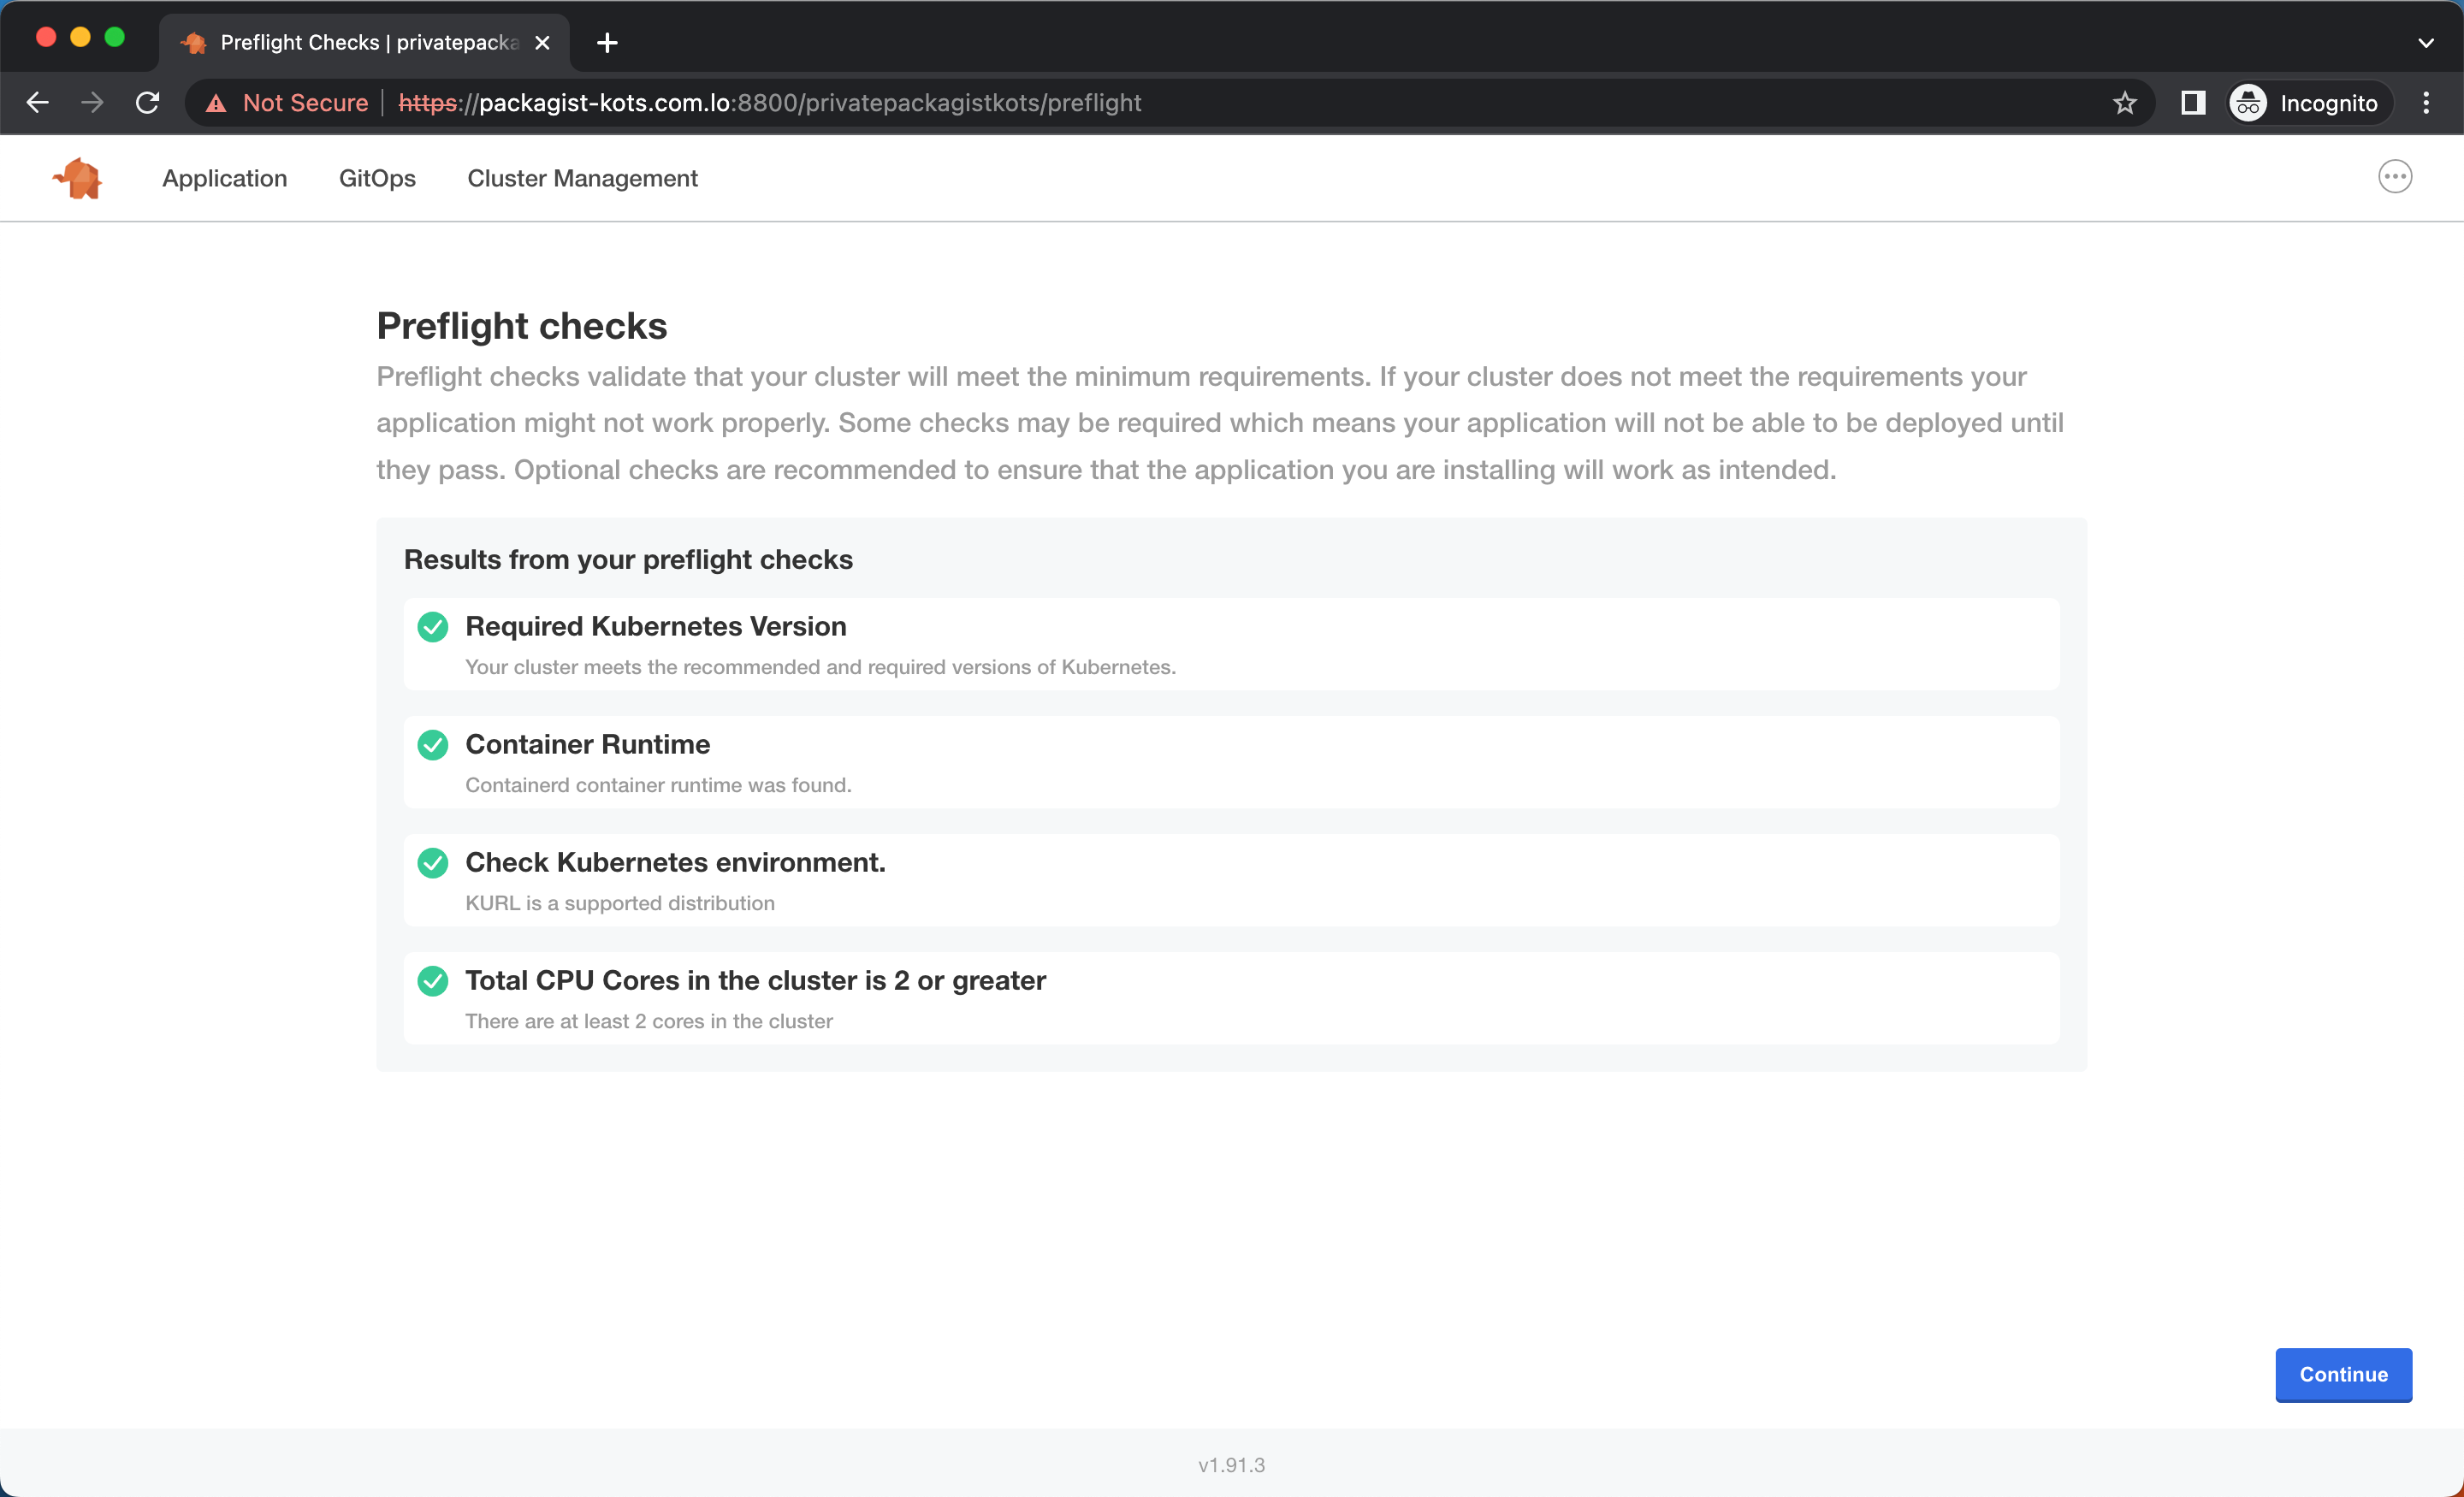
Every configuration change or application update will trigger a preflight check. Once the preflight check have passed, the changes can be applied to your Kubernetes cluster.
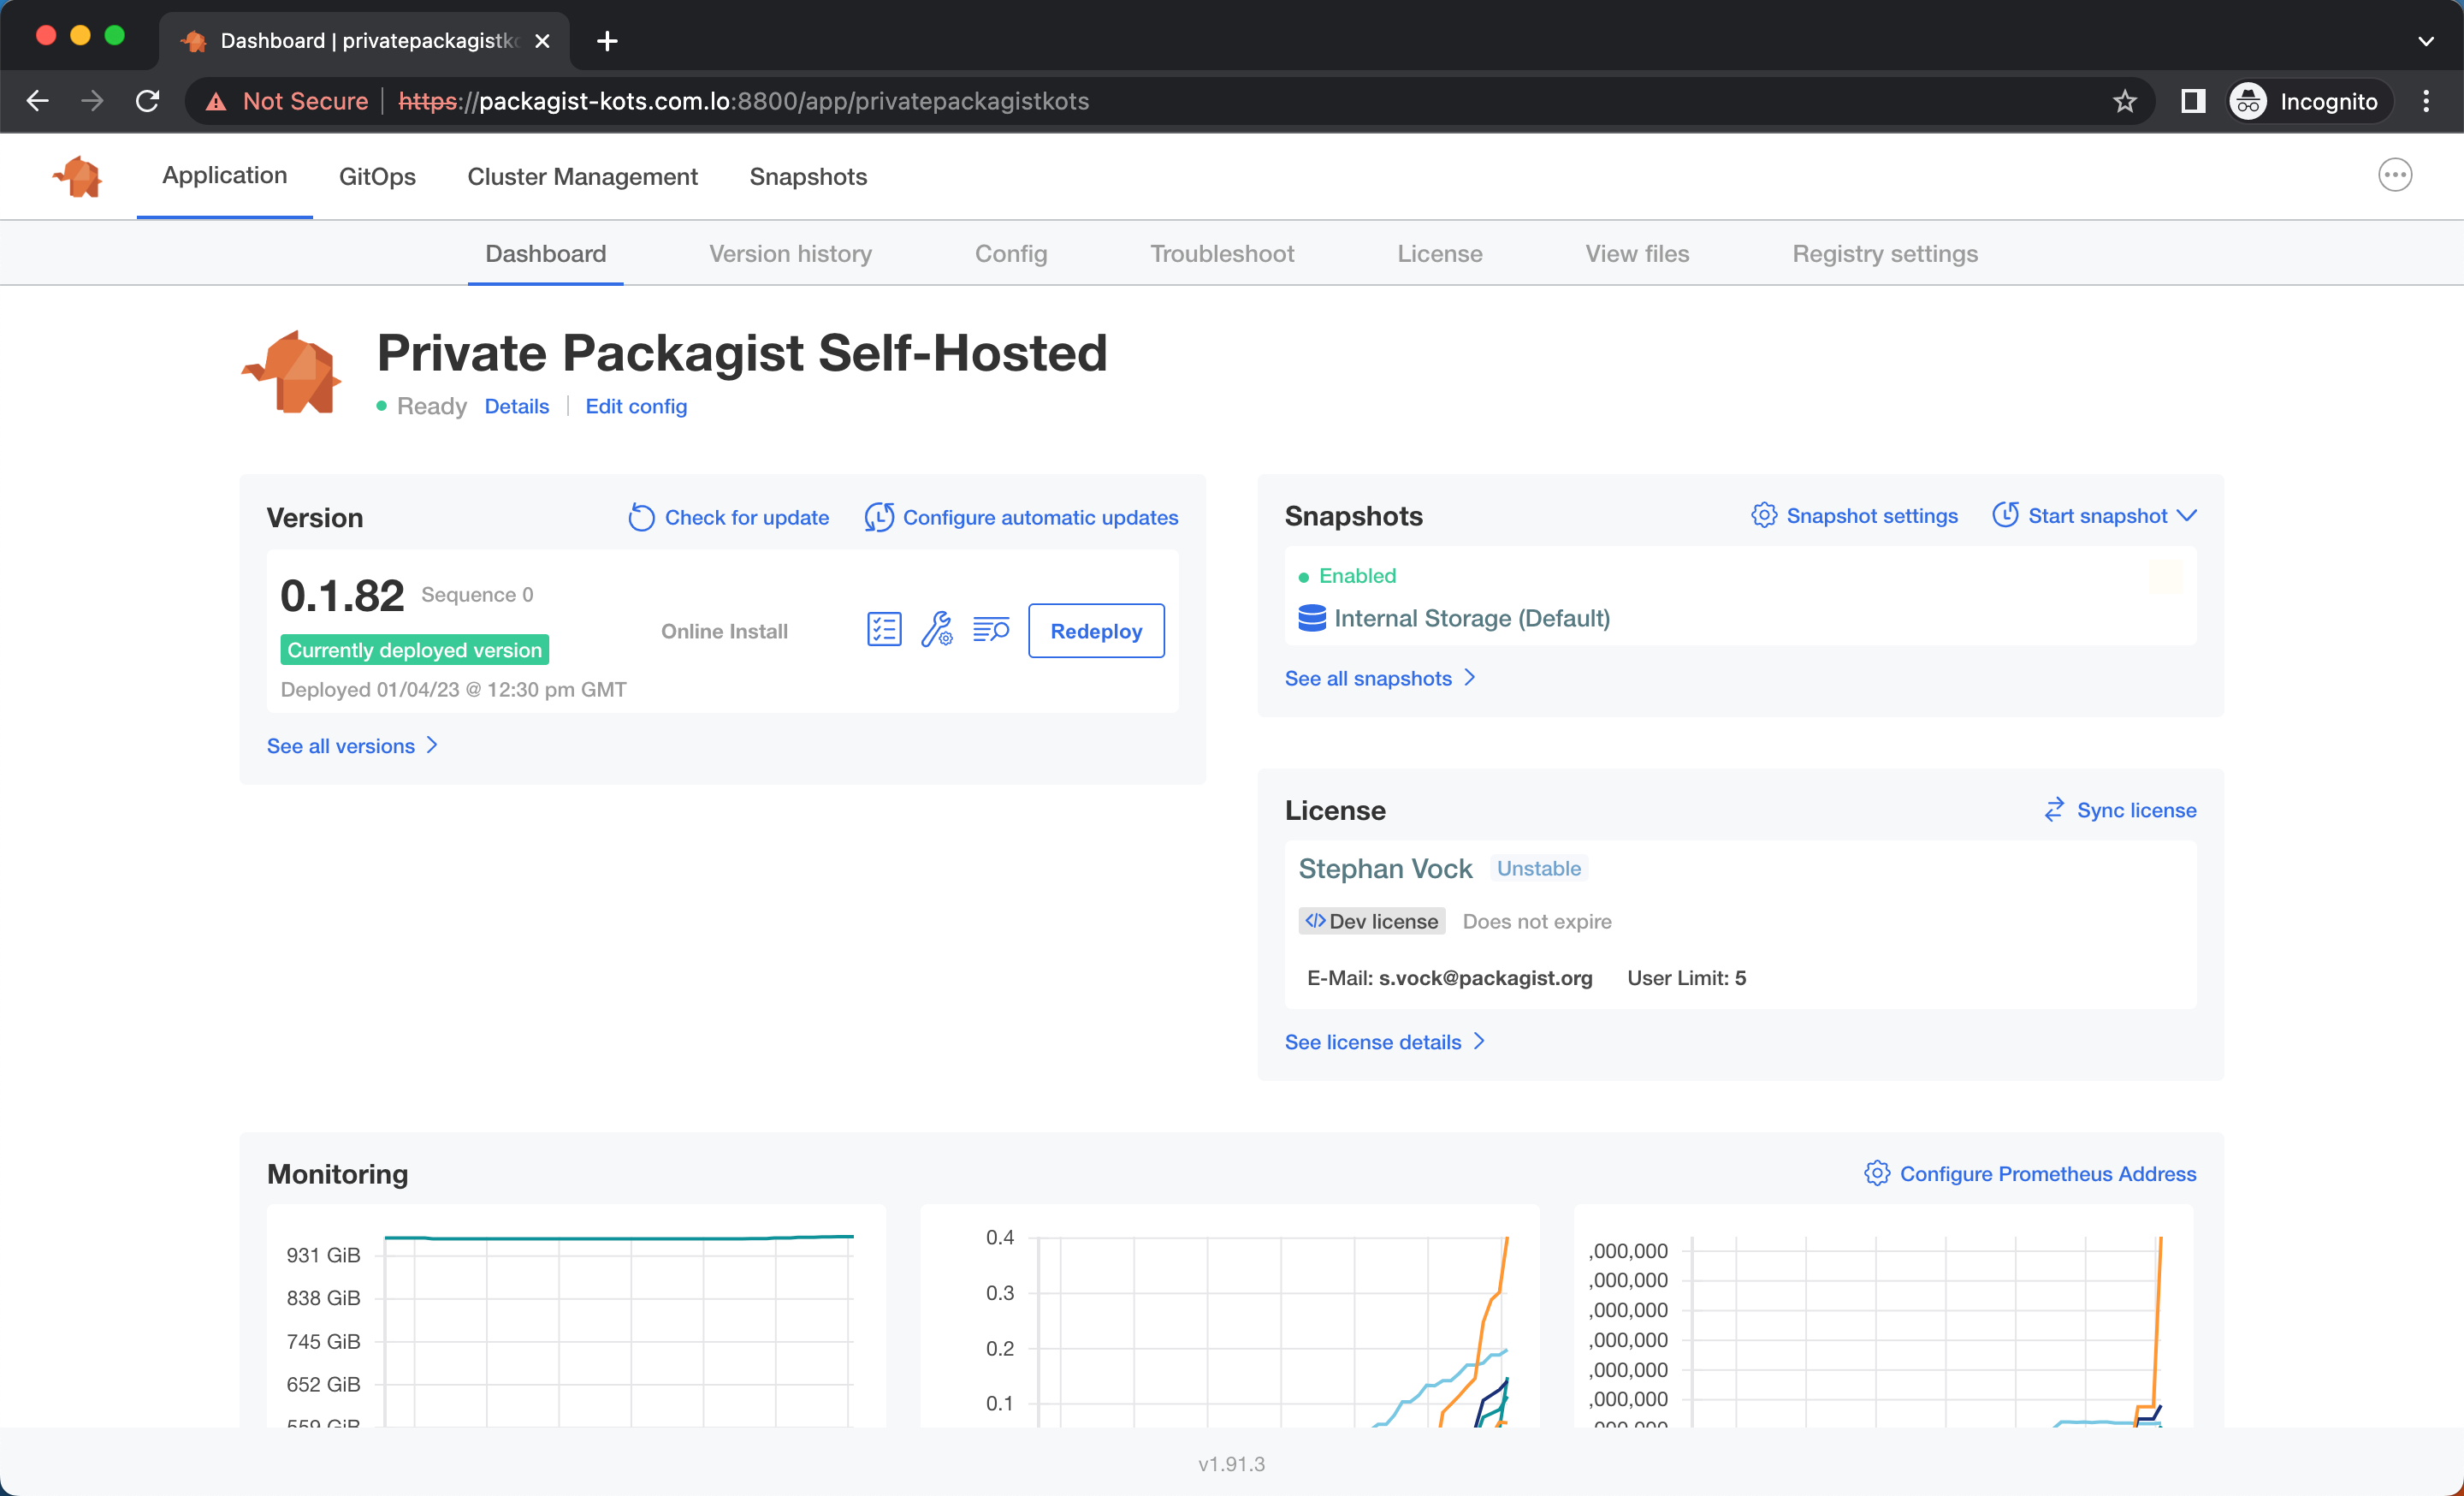
The application overview in the admin console shows you the application status, your current license information, and any available updates for Private Packagist. Once the application has entered the ready state, you can access Private Packagist via the domain configured for the web interface e.g. packagist.myintranet.com and finish the setup there.
Setup authentication and Select Admin
Authentication Setup
Within Private Packagist Self-Hosted, you now need to set up at least one user authentication method. You have the choice between authentication with email addresses and passwords and several OAuth integrations with third-party services. We provide integrations with on-premises versions of GitHub, Bitbucket, GitLab, or their public services on github.com, bitbucket.org, or gitlab.com. Follow the instructions to create the respective required identifiers, tokens, and secrets.
- GitHub (Enterprise) Integration Setup
- Bitbucket.org Integration Setup
- Bitbucket Data Center / Server Integration Setup
- GitLab Integration Setup
- Authentication with Email Addresses and Passwords.
Even if you only plan to let users log in with email addresses and passwords, note that an OAuth integration is also required for synchronization of teams, members, permissions, and packages from GitHub, Bitbucket, or GitLab. This step is required before any synchronization can be set up.
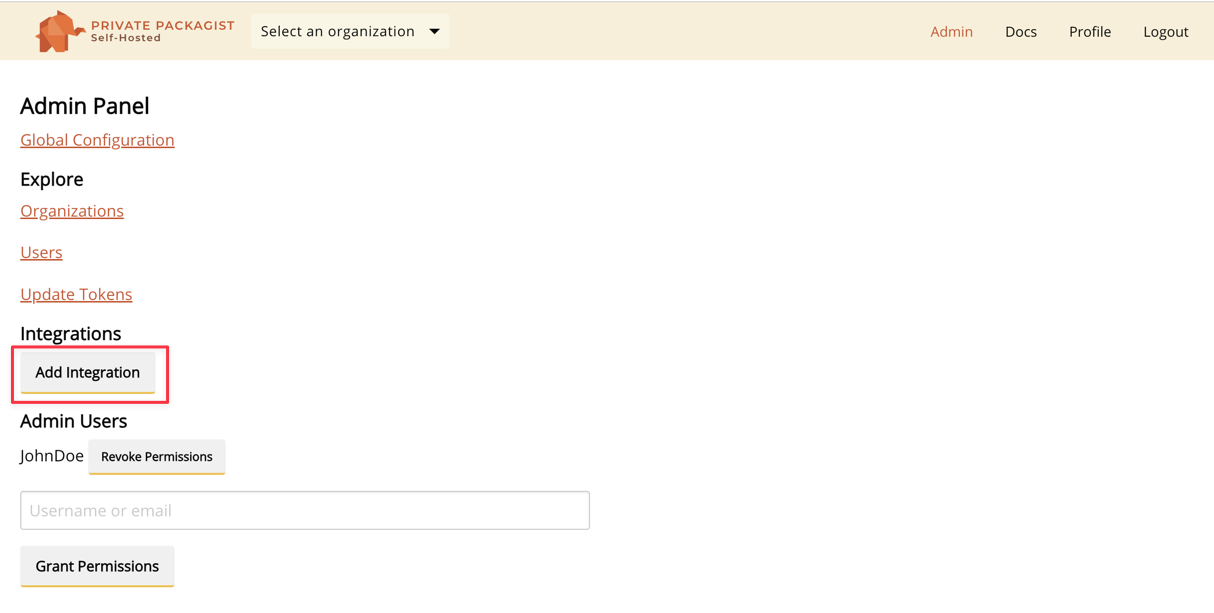
Selecting Admins
After setting up an integration, you can log in through the top menu. Register an account and pick a username.
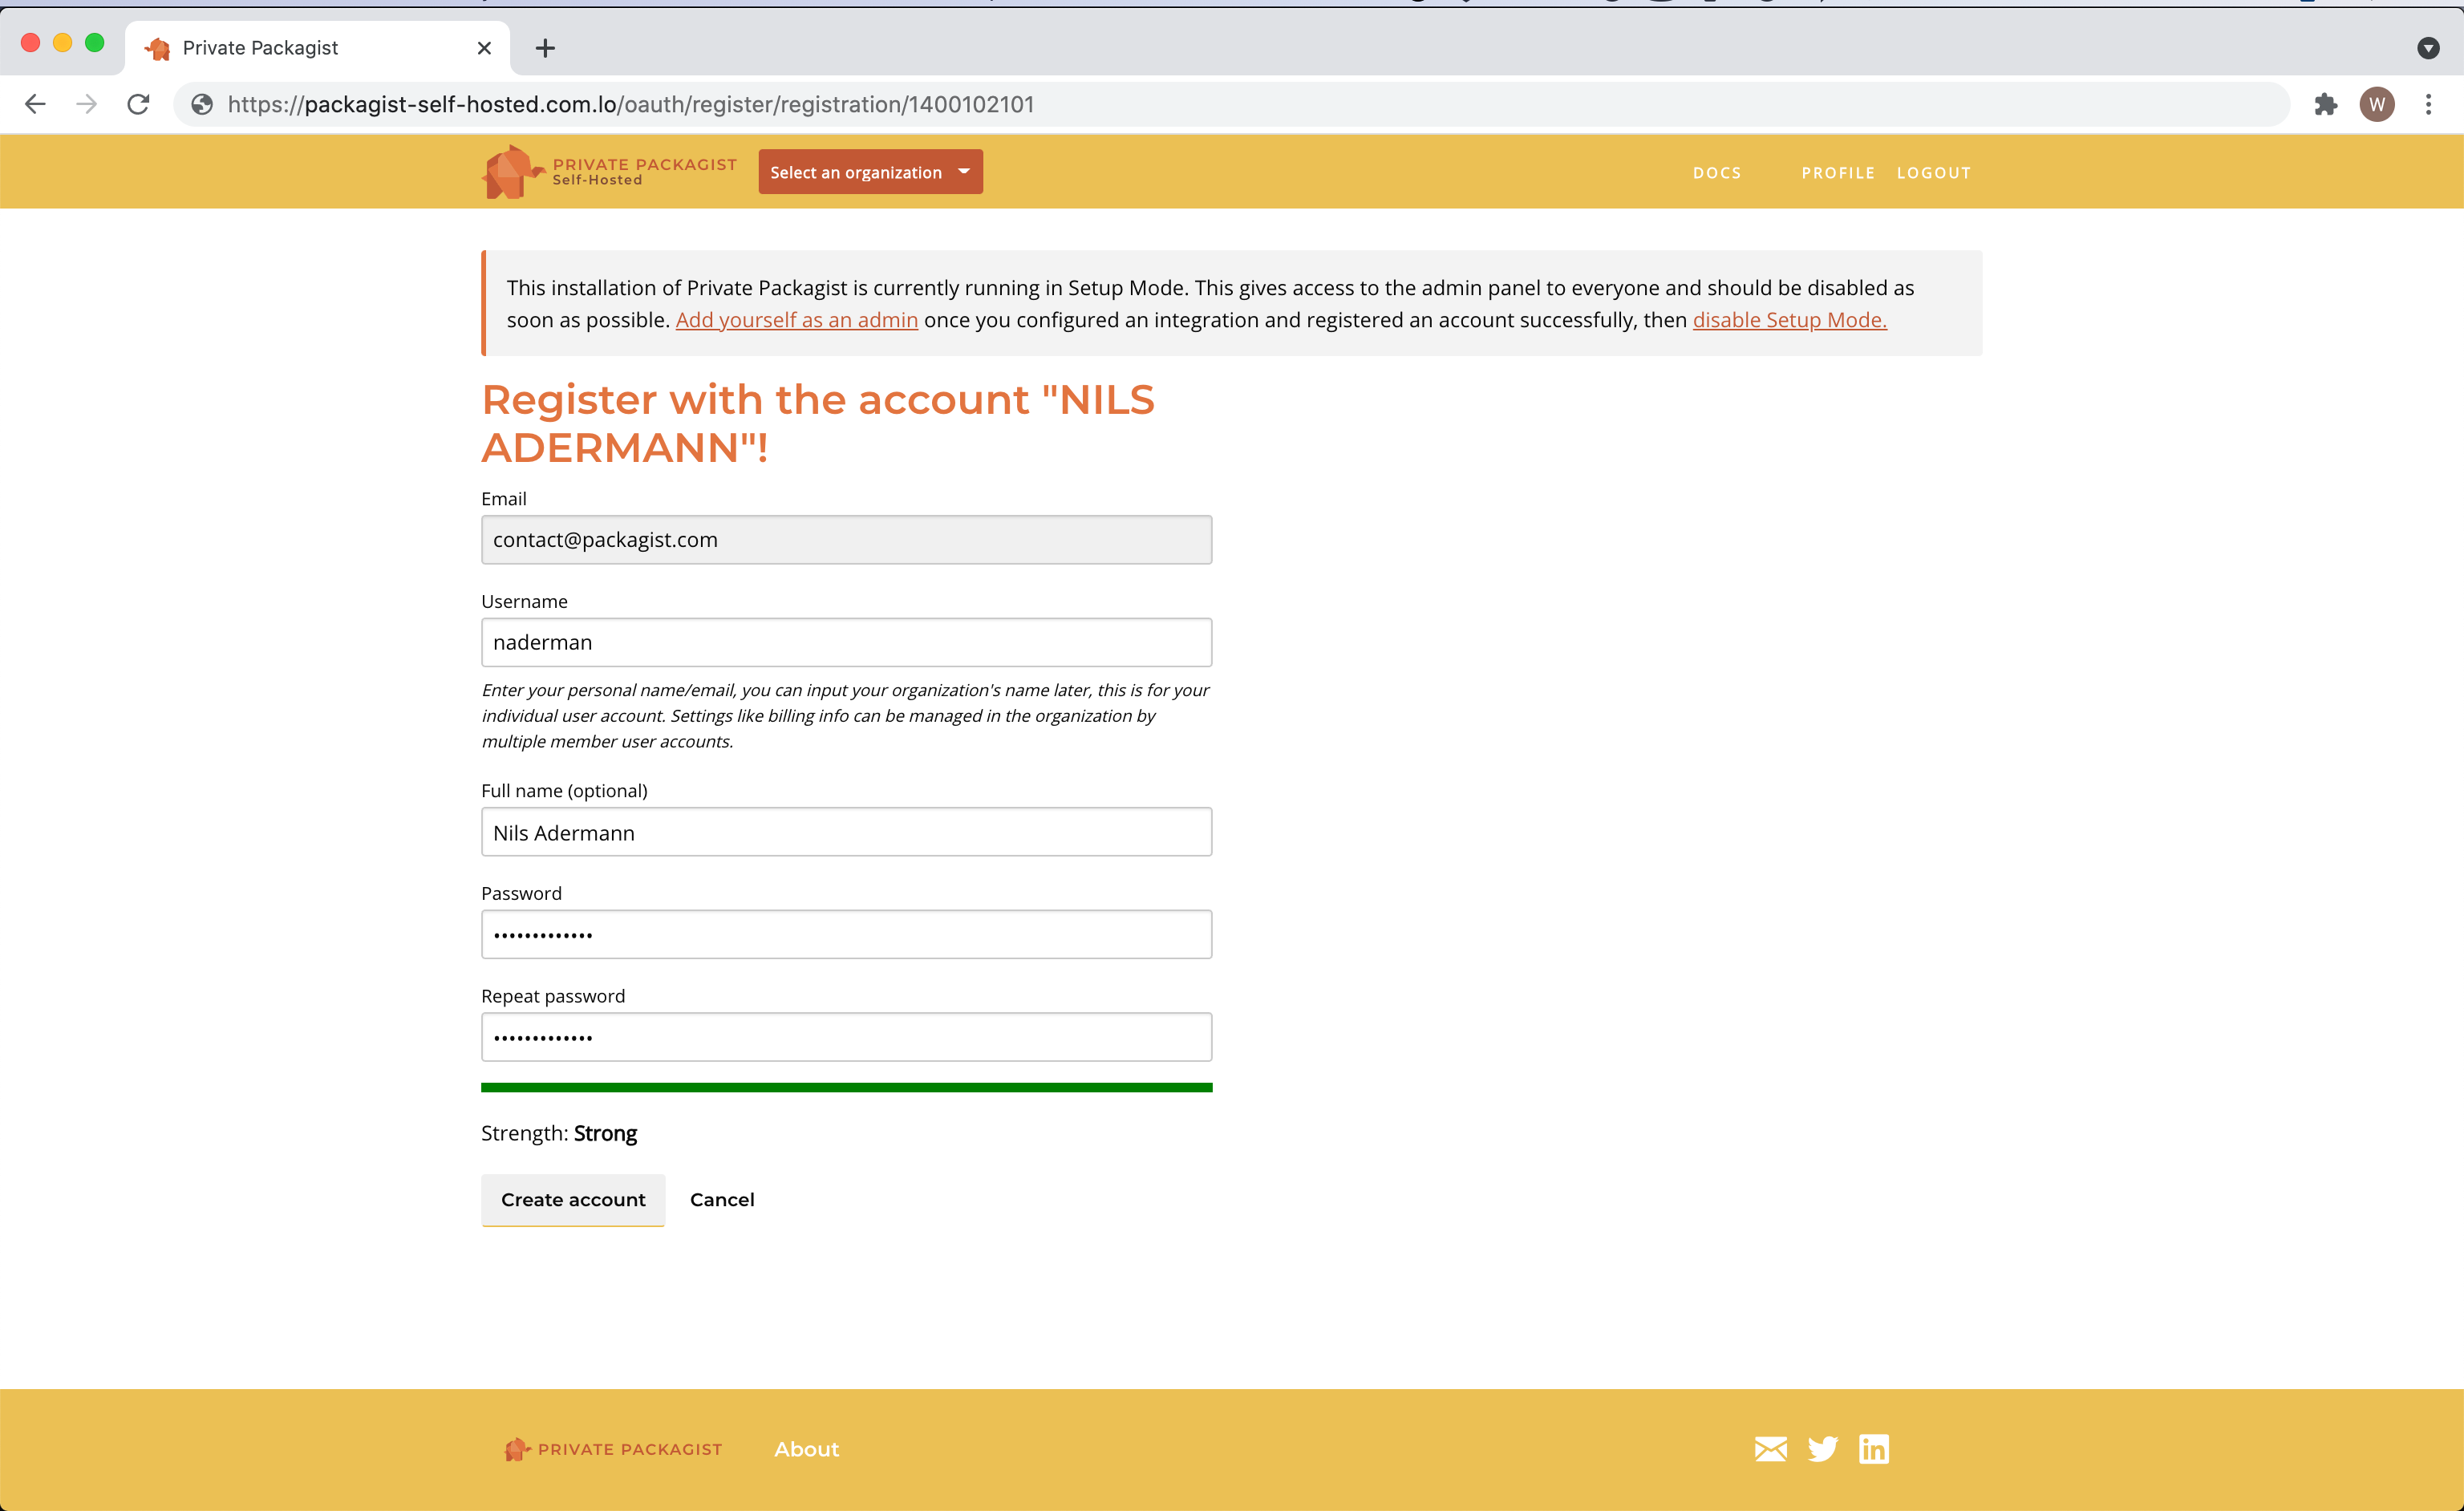
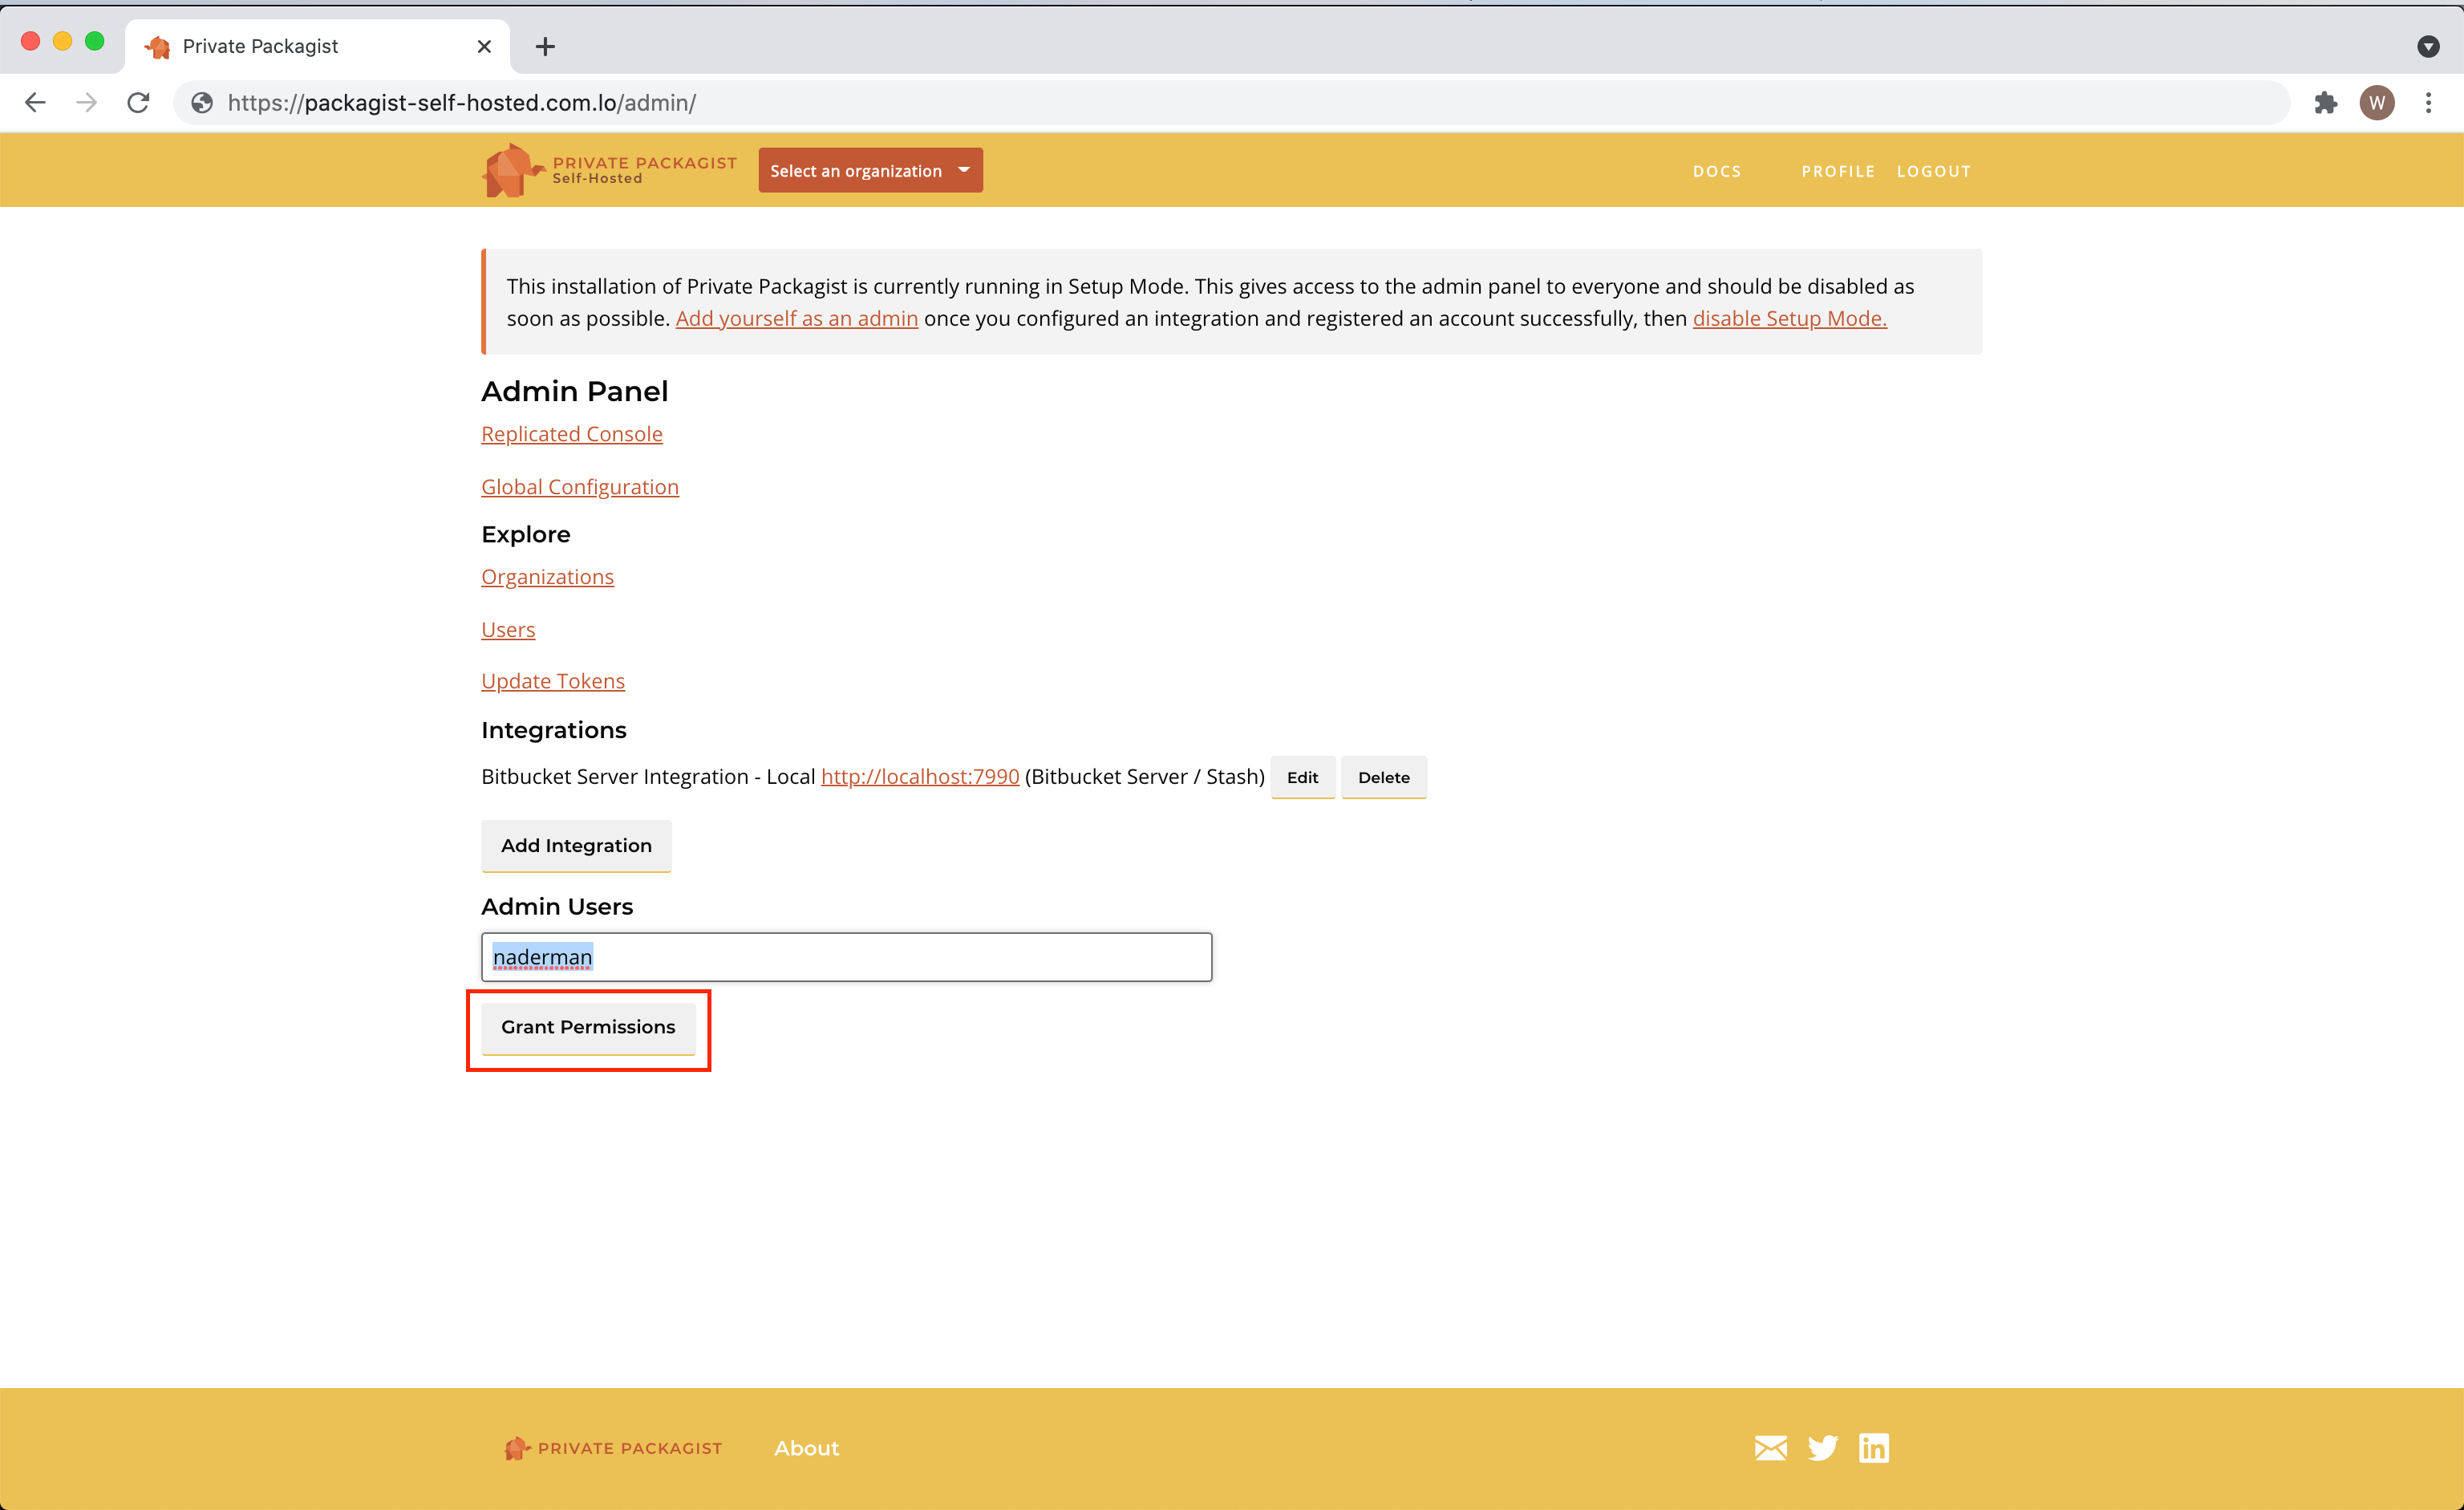
The first user is granted admin permissions automatically. You can grant admin permissions to more users in the admin panel.
Switching to Production Mode
Head back to the admin console to disable the Setup Mode in the configuration. Once the preflight checks passed, you can apply the changes.
That’s it! Private Packagist Self-Hosted is now ready to be used! You’ll find all further information in the web interface.
Database and storage
Private Packagist Self-Hosted will set up PostgreSQL, Redis, and MinIO to store application data and Composer packages. Each of them requires one or more volumes if you prefer to avoid that then you can configure to use your own PostgreSQL, Redis, and blob storage. For blob storage, we currently support Azure Blob Storage, Google Cloud Storage, AWS S3, and other S3-compatible storage solutions.
Please note that the backup solution provided only covers the built-in services and you are responsible for creating backups of any services that you run yourself.
Backups
The Replicated Admin console integrates with Velero, a tool to back up and restore your Kubernetes cluster resources and persistent volumes. It is automatically installed with an embedded cluster installation.
Once your Private Packagist Self-Hosted is up and running, you can configure the storage destination and the backup schedule in the Replicated Admin console under Snapshot settings. We recommend using an external storage solution like Amazon S3 and configuring full snapshots.
To restore Private Packagist Self-Hosted from a snapshot, access the "Full Snapshots" and click on the "Restore from backup" icon. You will then see information on how to either perform a full restore or only restore the Private Packagist Self-Hosted application. During the restore process both Private Packagist Self-Hosted and the Replicated Admin console will become unavailable.
Start Free Trial
Login to create an organization and start your free trial!